If you're new to the world of nail art, it can seem daunting and overwhelming. But with these 10 tips and tricks, you'll be creating beautiful designs in no time! Tip 1: Start with a clean canvas by removing any old nail polish and shaping your nails with a file. This will give you a smooth surface to work on and make your design look more polished. Tip 2: Invest in a good base coat. This will not only protect your nails, but also help your nail polish adhere better and prevent staining. Tip 3: Use a white base coat to make colors pop. If you're using light or pastel colors, a white base will make them appear brighter and more vibrant. Tip 4: Use a toothpick or a small brush for intricate designs. Instead of struggling with a nail art brush, use a toothpick or a small brush to create precise lines and details. Tip 5: Clean up mistakes with a small brush dipped in nail polish remover. This will help you fix any mistakes without having to start over. Tip 6: Seal in your design with a top coat. This will not only make your design last longer, but also give it a glossy finish. Tip 7: Experiment with different tools. Don't limit yourself to just nail art brushes – try using household items like bobby pins, tape, and even sponges to create unique designs. Tip 8: Get inspiration from social media. Follow nail art accounts on Instagram and Pinterest for endless inspiration and tutorials. Tip 9: Practice makes perfect. Don't be discouraged if your first few attempts don't turn out as expected. Keep practicing and you'll eventually get the hang of it. Tip 10: Have fun and be creative! Nail art is all about expressing yourself and having fun with your nails. Don't be afraid to try new things and let your creativity flow.1. "10 Nail Art Tips and Tricks for Beginners"


1. "10 Nail Art Tips and Tricks for Beginners"


Looking for ways to up your nail art game? Check out these genius hacks and tricks that will make your life easier and your designs more impressive! Hack 1: Use a white gel pen to create small details. If you're struggling to create tiny dots or lines with nail polish, a white gel pen can be a game changer. Hack 2: Create your own dotting tool. Simply stick a pin or a toothpick into the eraser of a pencil to create a DIY dotting tool. Hack 3: Use a makeup sponge to create a gradient effect. Dip the sponge in different colors and dab it onto your nails for a beautiful ombre effect. Hack 4: Create a marble effect with plastic wrap. Apply different colors of nail polish onto a plastic wrap, then dab it onto your nails for a unique marble effect. Hack 5: Use a fan brush to create a splatter effect. Dip a fan brush in different colors and flick it onto your nails for a fun splatter effect. Hack 6: Repair a broken nail with a tea bag. Cut a small piece of a tea bag and use nail glue to adhere it to the broken part of your nail. Then, apply a layer of nail polish over it to strengthen the nail. Hack 7: Use a rubber band to create a French tip. Place a rubber band over your nail and use it as a guide to create a perfect French tip. Hack 8: Freeze your nail polish to prevent air bubbles. Before using your nail polish, stick it in the freezer for a few minutes to avoid getting annoying air bubbles in your design. Hack 9: Apply Vaseline around your nails to prevent polish from staining your skin. This will create a barrier and make it easier to clean up any mistakes. Hack 10: Use a matte top coat to create a different look. If you want to switch up your glossy finish, try using a matte top coat for a more sophisticated look.2. "The Best Nail Art Hacks and Tricks You Need to Know"


2. "The Best Nail Art Hacks and Tricks You Need to Know"


Want to take your nail art skills to the next level? Follow these expert tips to improve your technique and create flawless designs. Tip 1: Use a cuticle oil before painting your nails. This will not only nourish your cuticles, but also prevent polish from sticking to them. Tip 2: Use three thin coats instead of one thick coat. This will prevent your polish from smudging and help it dry faster. Tip 3: Use a white nail polish as a base for glitter. This will make the glitter stand out more and prevent it from looking dull. Tip 4: Don't forget to cap the edges of your nails with polish. This will help prevent chipping and make your design last longer. Tip 5: Always clean your nail art brushes after each use. This will prevent them from getting stiff and make them last longer. Tip 6: Practice your non-dominant hand. It may be challenging at first, but with practice, you'll be able to create designs on both hands perfectly. Tip 7: Use a quick-dry top coat to speed up the drying process. This will save you time and prevent smudging. Tip 8: Use a white nail polish to create a base for neon colors. This will make the neon shades appear brighter and more vibrant. Tip 9: Don't be afraid to mix and match patterns and colors. Sometimes, the most unexpected combinations can create the most stunning designs. Tip 10: Practice, practice, practice! Like any skill, nail art takes time and practice to master. Keep trying new techniques and designs to improve your skills.3. "Expert Tips for Perfecting Your Nail Art Technique"


3. "Expert Tips for Perfecting Your Nail Art Technique"


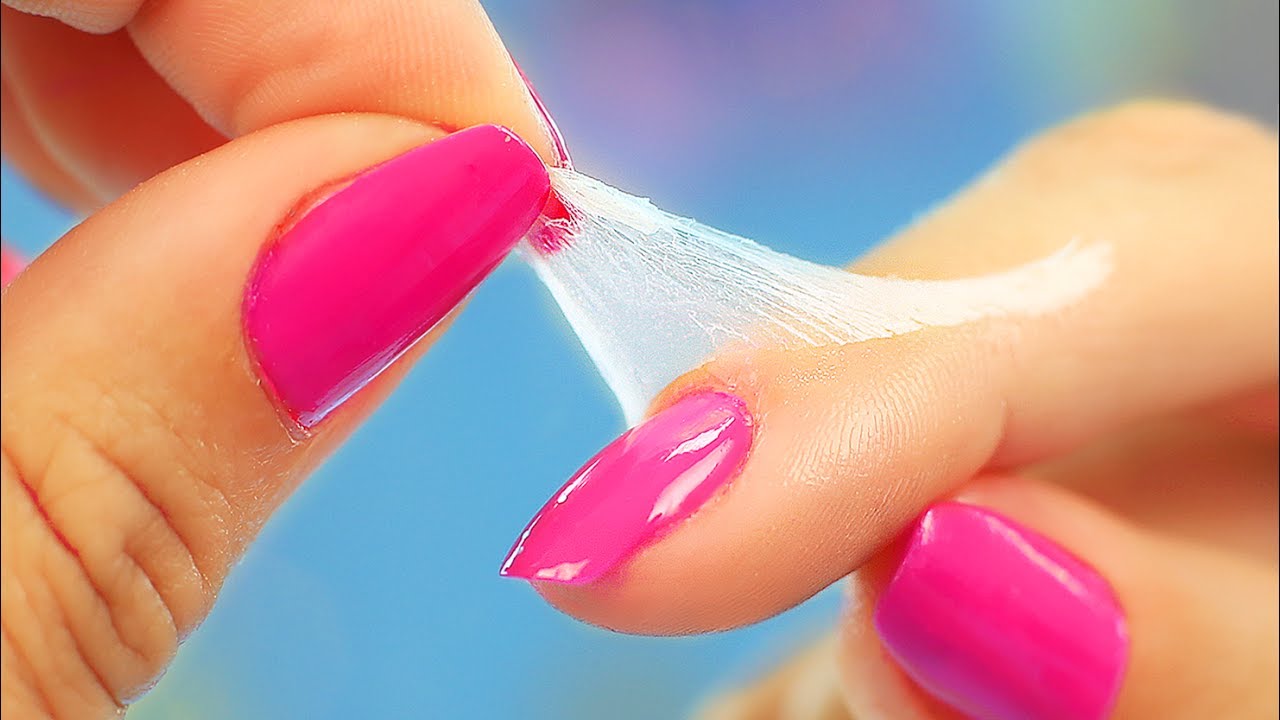
There's nothing more frustrating than spending time and effort on a beautiful nail art design, only to have it chip after a day or two. These tricks will help your manicure last longer. Trick 1: Apply a thin layer of white vinegar before painting your nails. This will remove any oils from your nails and help the polish adhere better. Trick 2: Wrap the tips of your nails with polish. After painting your nails, swipe the brush along the edge of your nails to seal the tips and prevent chipping. Trick 3: Use a gel top coat. This will not only give your nails a glossy finish, but also make your design last longer and prevent chipping. Trick 4: Apply a top coat every other day. This will help refresh your manicure and make it last longer. Trick 5: Wear gloves while doing household chores. Chemicals and harsh detergents can damage your nails and cause your polish to chip. Trick 6: Use a nail polish thinner. If your nail polish starts to get thick and clumpy, add a few drops of nail polish thinner to restore its consistency. Trick 7: Avoid soaking your nails in water for too long. This can cause your nails to expand and contract, which can lead to chipping. Trick 8: Don't use your nails as tools. Using your nails to open cans or peel off stickers can cause damage and make your manicure chip faster. Trick 9: Keep your hands moisturized. Dry hands and cuticles can cause your polish to peel off, so make sure to keep them moisturized. Trick 10: Use a nail strengthener. This will not only make your nails stronger, but also help your polish stay on longer.4. "Nail Art Tricks to Make Your Manicure Last Longer"


4. "Nail Art Tricks to Make Your Manicure Last Longer"


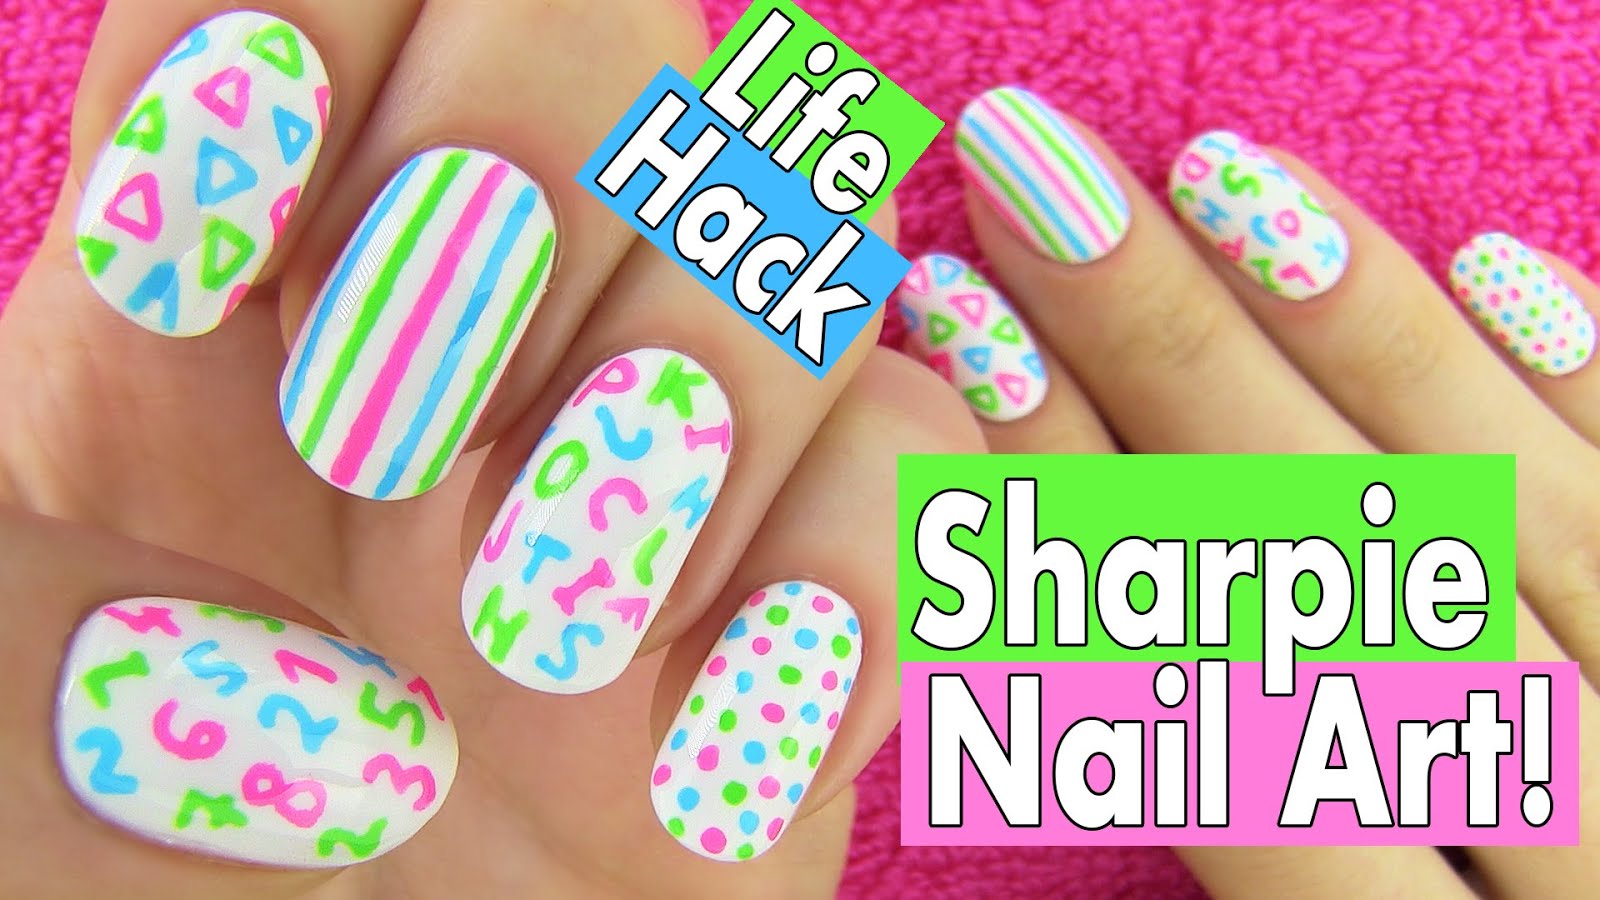
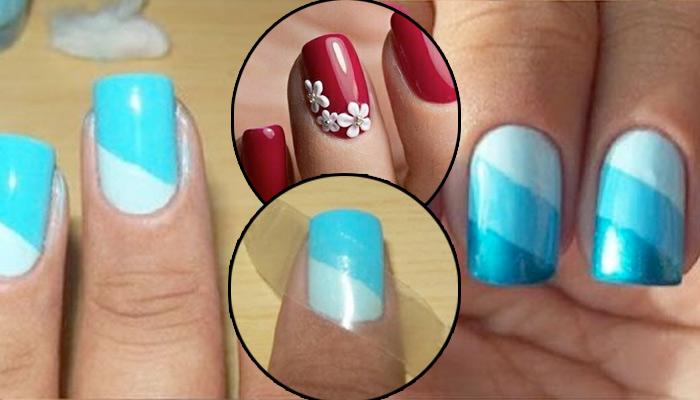
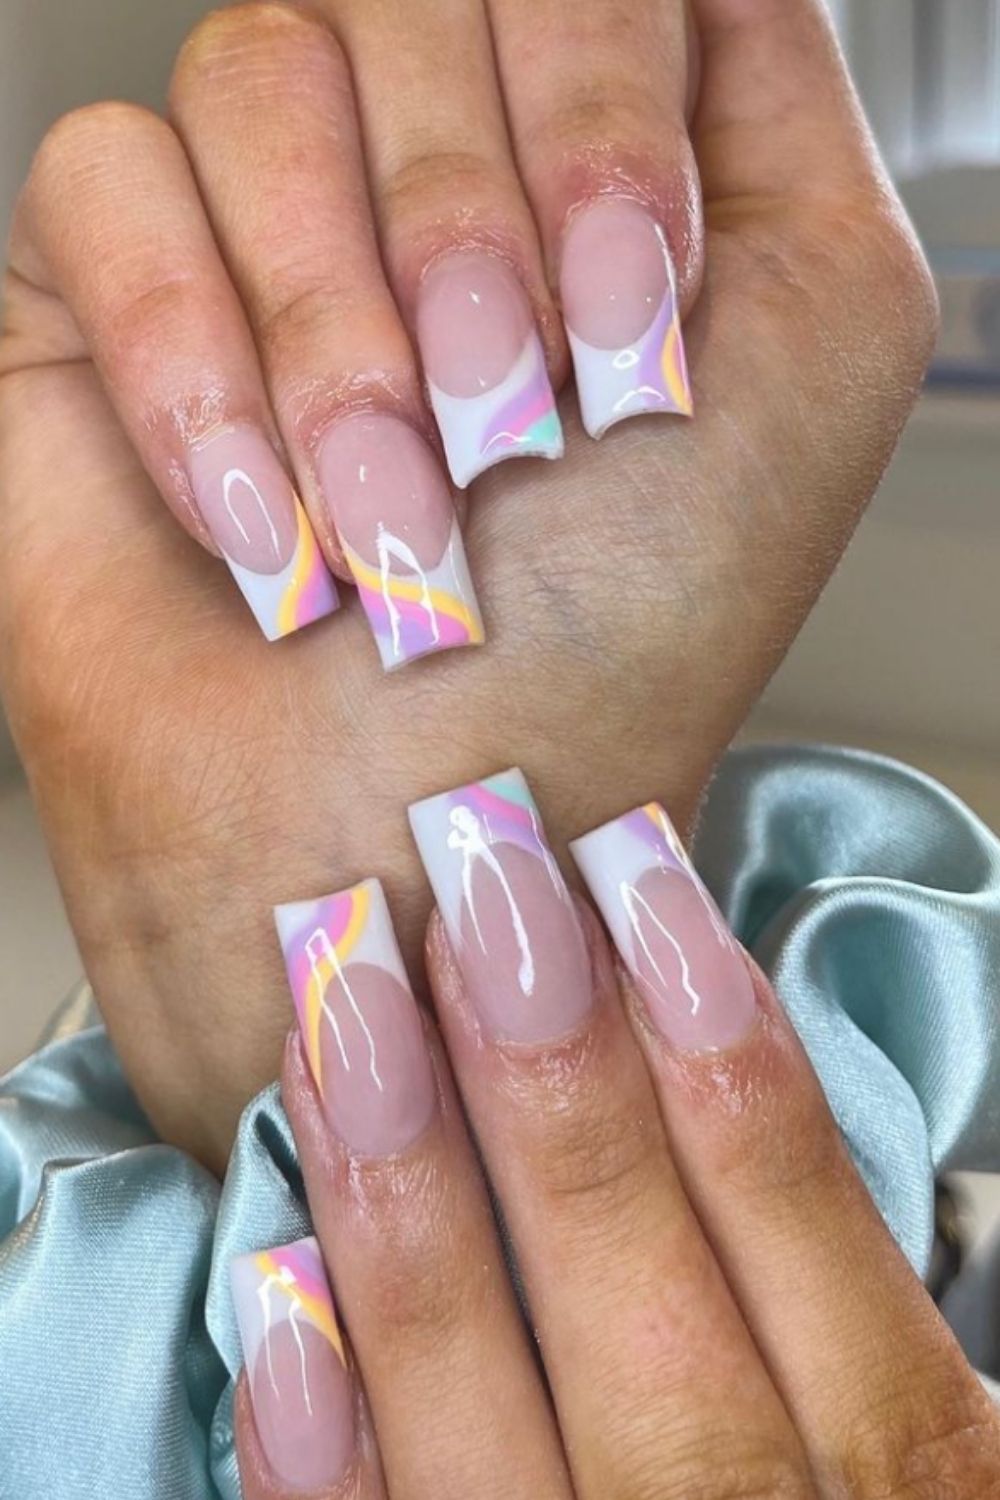
Nail art is a fun way to express yourself and add a pop of color to any outfit. Here are some creative ideas and tips for every occasion. Idea 1: Create a floral design for spring. Use pastel colors and a toothpick to create small flowers on your nails. Idea 2: Try a geometric design for a modern look. Use tape to create straight lines and different colors for a bold design. Idea 3: Show off your love for music with a musical note design. Use a toothpick to create small musical notes on your nails. Idea 4: Use a glittery top coat for a glamorous look. Apply a glitter top coat over a solid color for a touch of sparkle. Idea 5: Create a beach-inspired design for summer. Use different shades of blue and white to create waves on your nails. Idea 6: Show your love for animals with a cute animal print design. Use a dotting tool to create small animal prints on your nails. Idea 7: Try a negative space design for a modern twist. Use tape to create a negative space on your nails and paint the exposed part with a different color. Idea 8: Use a metallic nail polish for a bold look. Metallic shades like gold and silver can add a touch of glamour to any design. Idea 9: Create a galaxy-inspired design for a dreamy look. Use different shades of blue, purple, and silver to create a galaxy effect on your nails. Idea 10: Show off your patriotism with a flag design for a holiday or special event. Use nail art brushes to create the flag of your choice on your nails.5. "Creative Nail Art Ideas and Tips for Every Occasion"

5. "Creative Nail Art Ideas and Tips for Every Occasion"


Just starting out with nail art? These essential tips will help you master the basics and create beautiful designs. Tip 1: Start with simple designs. Don't try to do anything too complicated at first – start with basic designs like dots, stripes, and flowers. Tip 2: Use scotch tape to create straight lines. This will help you create clean and precise lines without the need for a steady hand. Tip 3: Use a white base for bright colors. If you're using neon or bright colors, a white base will make them stand out more. Tip 4: Use a top coat to blend colors. If you're using multiple colors, apply a top coat to help blend them together for a seamless transition. Tip 5: Practice on a fake nail. If you're still struggling with creating designs on your own nails, try practicing on a fake nail first. Tip 6: Use a toothpick to create different shapes. You don't need fancy nail art brushes – a toothpick can create dots, lines, and other shapes with ease. Tip 7: Don't be afraid to make mistakes. Nail art is all about experimenting and having fun, so don't be discouraged if your first few attempts don't turn out perfectly. Tip 8: Look for inspiration everywhere. Nature, fashion, and even food can provide inspiration for unique and creative nail art designs. Tip 9: Use a cotton swab dipped in nail polish remover to clean up mistakes. This will help you fix any small mistakes without ruining your design. Tip 10: Have patience. Nail art takes time and practice to master, so don't get discouraged if your designs don't turn out exactly how you want them to.6. "Mastering the Basics: Essential Nail Art Tips for Beginners"

6. "Mastering the Basics: Essential Nail Art Tips for Beginners"


Take your nail art to the next level with these must-know tricks that will help you create flawless designs every time. Trick 1: Use a plastic bag to create a marbled effect. Apply different colors of nail polish onto a plastic bag, mix them together with a toothpick, and dab it onto your nails for a unique marbled effect. Trick 2: Use a blow dryer to speed up the drying process. Set your blow dryer to the cool setting and hold it a few inches away from your nails to help your polish dry faster. Trick 3: Create a lace design with a doily. Place a doily over your nails and paint over it with a different color to create a beautiful lace pattern. Trick 4: Use a makeup brush to create a gradient effect. Dip a makeup brush in different colors and sweep it across your nails for a soft gradient effect. Trick 5: Use a small brush to clean up cuticle and skin. Dip a small brush in nail polish remover and use it to clean up any excess polish around your nails. Trick 6: Use a bobby pin to create dots of different sizes. Simply dip the end of a bobby pin in nail polish and use it to create different sized dots on your nails. Trick 7: Apply a matte top coat over glitter polish for a unique look. This will give your glitter polish a more subdued and sophisticated finish. Trick 8: Use a white nail polish as a base for neon colors. This will make the neon shades appear brighter and more vibrant.7. "10 Must-Know Nail Art Tricks for Flawless Designs"


7. "10 Must-Know Nail Art Tricks for Flawless Designs"
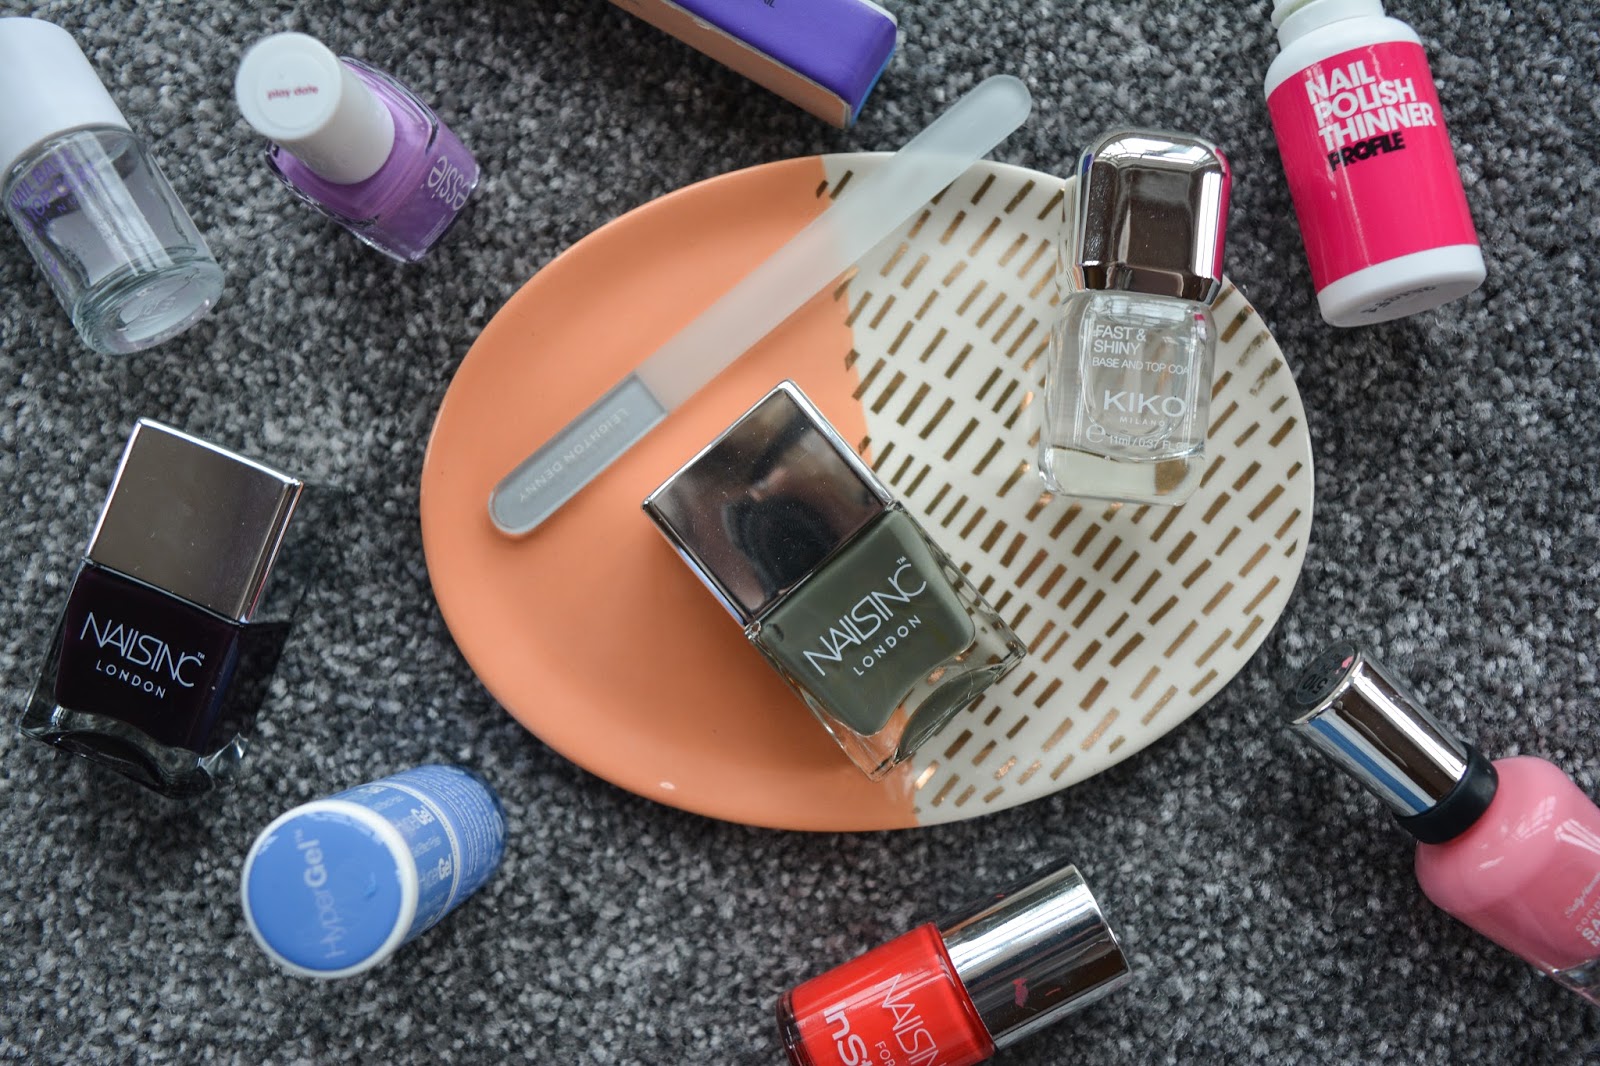
Maximize the Use of Tools and Accessories

Invest in Quality Tools
 When it comes to creating the perfect nail art, having the right tools is essential. Investing in high-quality tools will not only make the application process easier, but it will also result in a more professional and precise design. Make sure to have a set of
nail art brushes
in different sizes and shapes, as well as a good quality
dotting tool
for creating small details.
Nail stencils
are also a great investment for creating intricate designs with ease.
When it comes to creating the perfect nail art, having the right tools is essential. Investing in high-quality tools will not only make the application process easier, but it will also result in a more professional and precise design. Make sure to have a set of
nail art brushes
in different sizes and shapes, as well as a good quality
dotting tool
for creating small details.
Nail stencils
are also a great investment for creating intricate designs with ease.
Get Creative with Household Items
 You don't always have to spend a fortune on expensive tools and accessories to create stunning nail art. Look around your house for items that you can repurpose for your nail designs. For example, a
toothpick
can be used to create small dots, a
bobby pin
can work as a dotting tool, and
scotch tape
can be used as a stencil for creating straight lines. Get creative and experiment with different household items to achieve unique and creative nail art designs.
You don't always have to spend a fortune on expensive tools and accessories to create stunning nail art. Look around your house for items that you can repurpose for your nail designs. For example, a
toothpick
can be used to create small dots, a
bobby pin
can work as a dotting tool, and
scotch tape
can be used as a stencil for creating straight lines. Get creative and experiment with different household items to achieve unique and creative nail art designs.
Don't Forget the Base and Top Coat
 Using a base coat is crucial for protecting your nails and creating a smooth canvas for your designs. It also helps the nail polish adhere better and prevents staining. A top coat is just as important, as it adds shine and prolongs the life of your nail art. Look for a
quick-drying top coat
to avoid smudging your design. Additionally, using a
gel top coat
can help your nail art last even longer.
By maximizing the use of tools and accessories, you can take your nail art to the next level. Remember to always invest in quality tools, get creative with household items, and use a base and top coat for a professional finish. With these tips and tricks, you'll be creating beautiful nail art designs in no time.
Start practicing and have fun!
Using a base coat is crucial for protecting your nails and creating a smooth canvas for your designs. It also helps the nail polish adhere better and prevents staining. A top coat is just as important, as it adds shine and prolongs the life of your nail art. Look for a
quick-drying top coat
to avoid smudging your design. Additionally, using a
gel top coat
can help your nail art last even longer.
By maximizing the use of tools and accessories, you can take your nail art to the next level. Remember to always invest in quality tools, get creative with household items, and use a base and top coat for a professional finish. With these tips and tricks, you'll be creating beautiful nail art designs in no time.
Start practicing and have fun!


