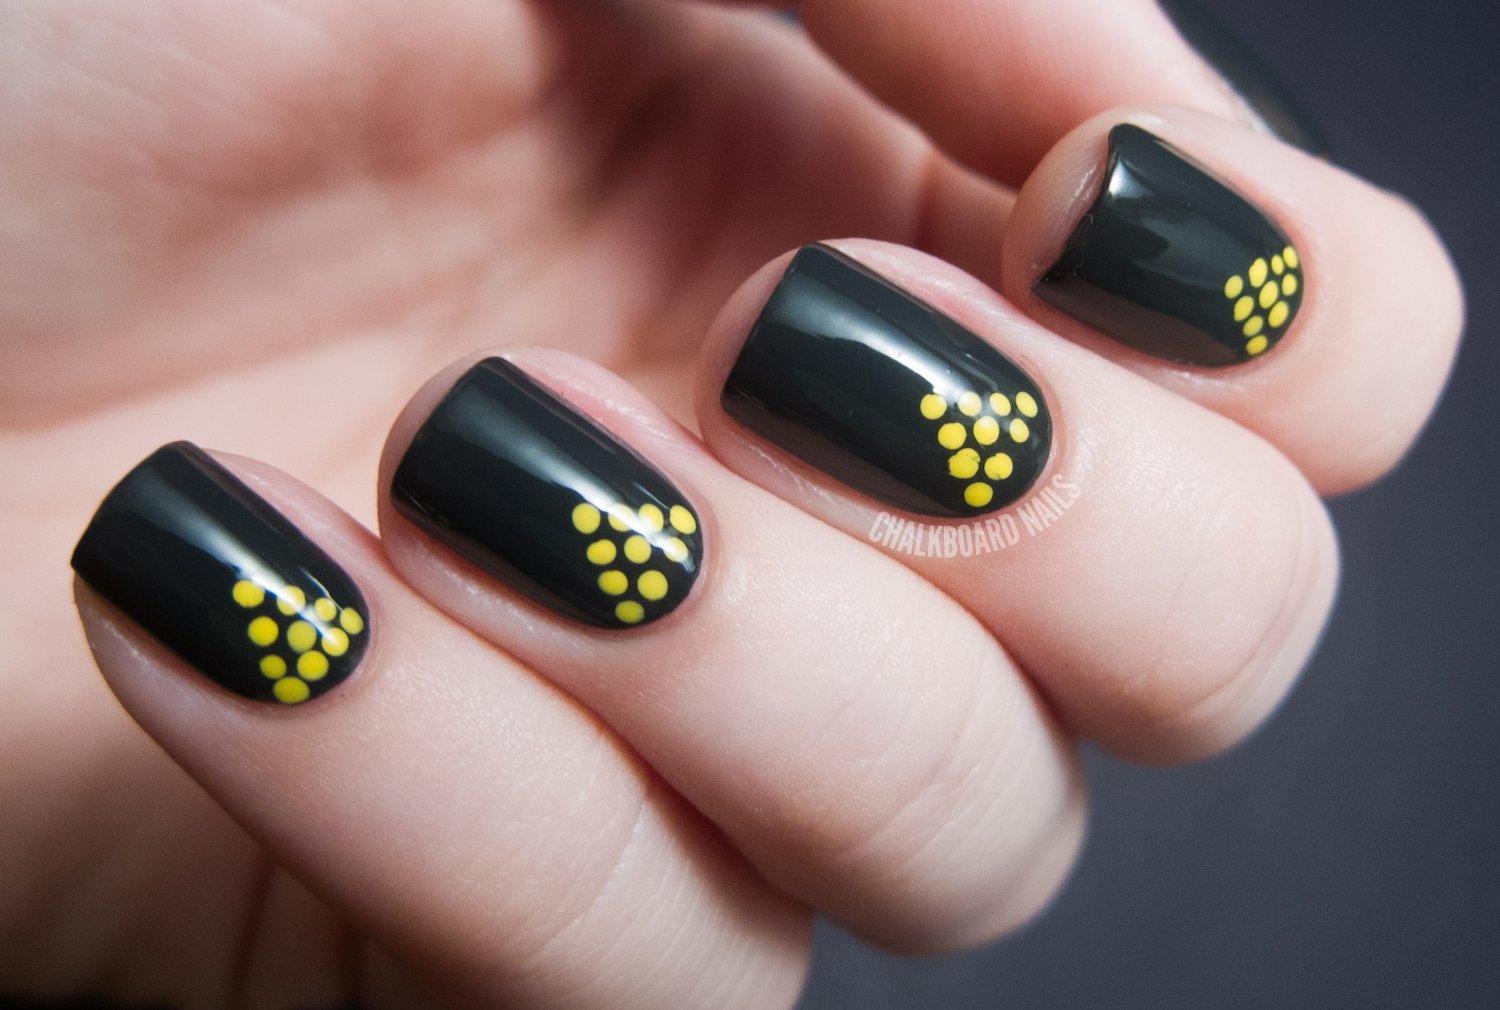
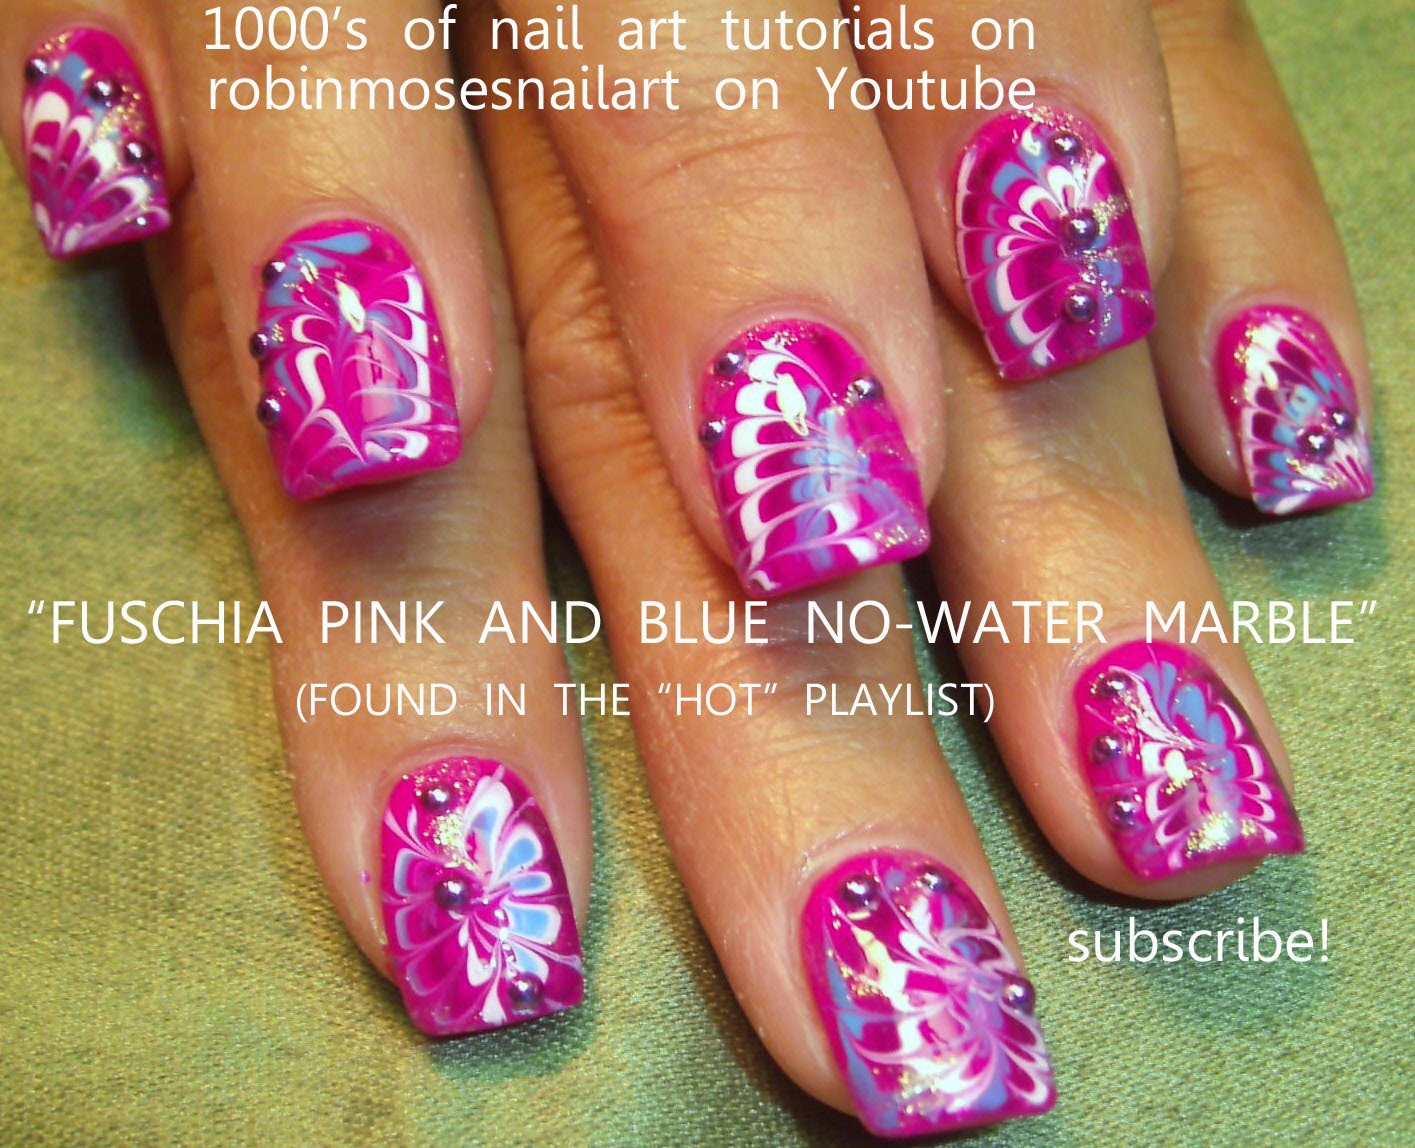
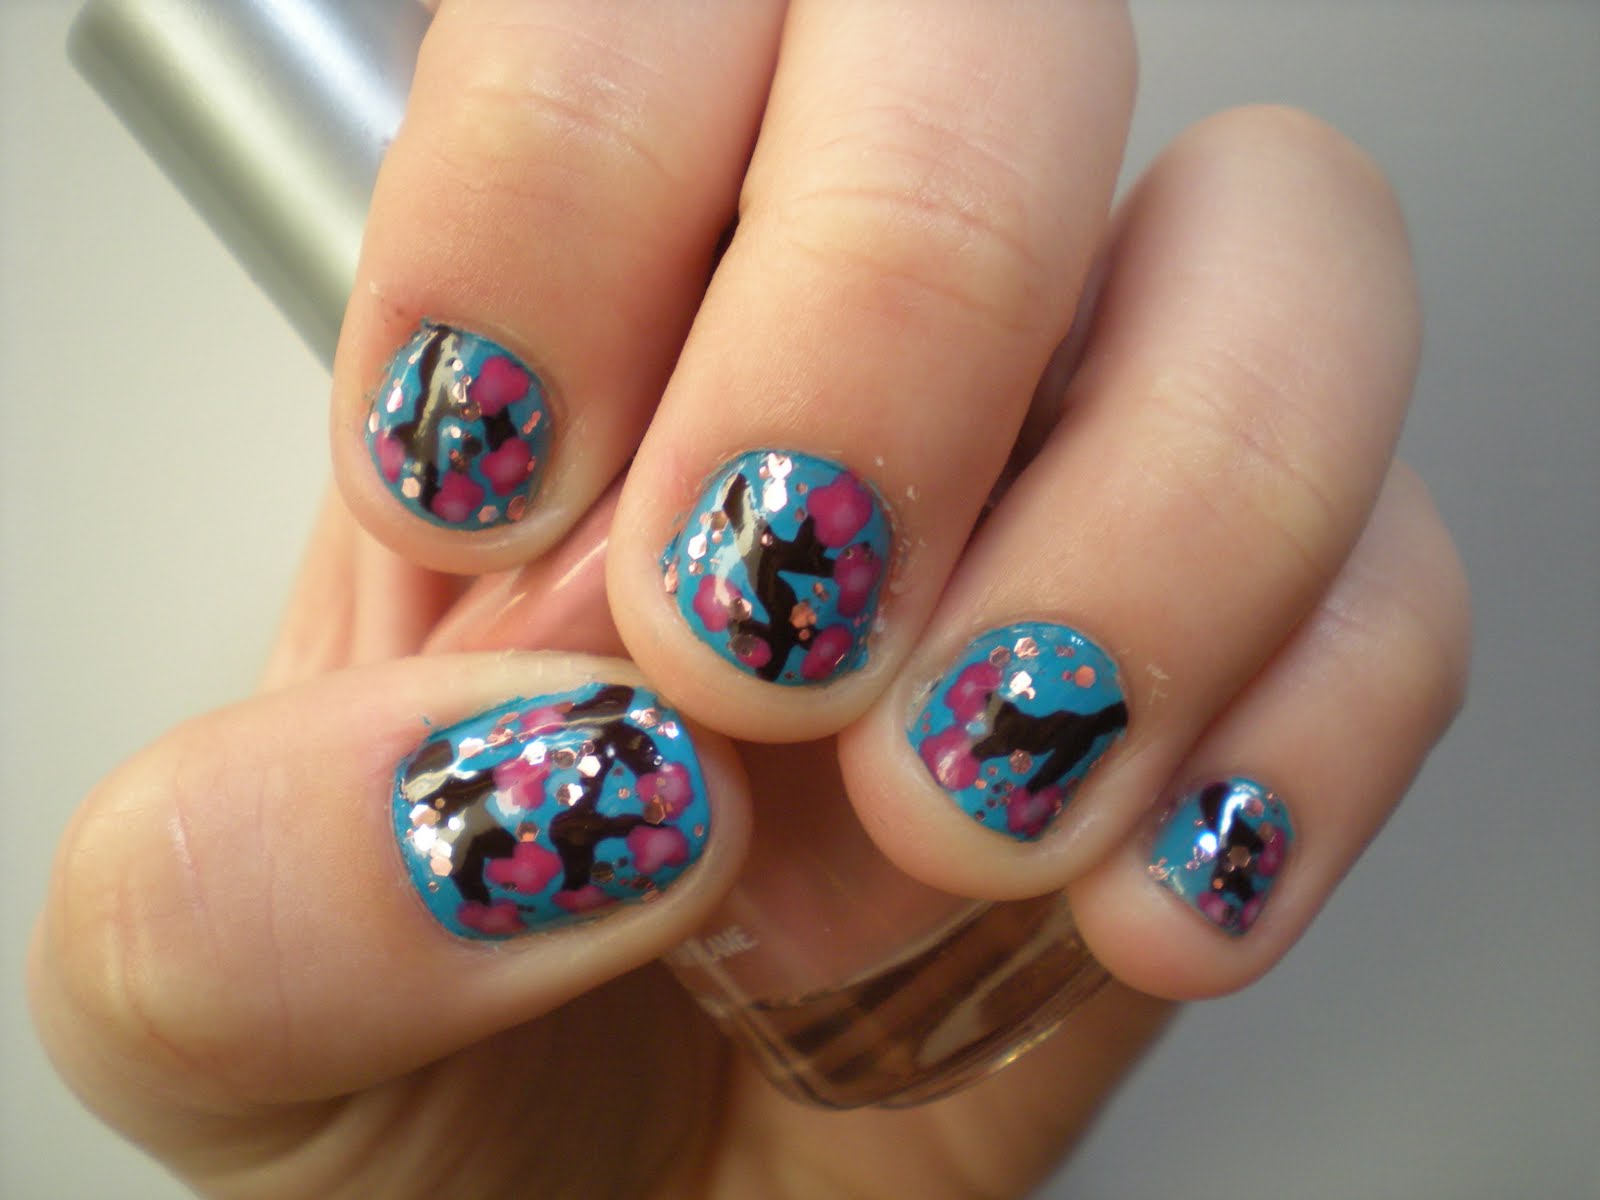
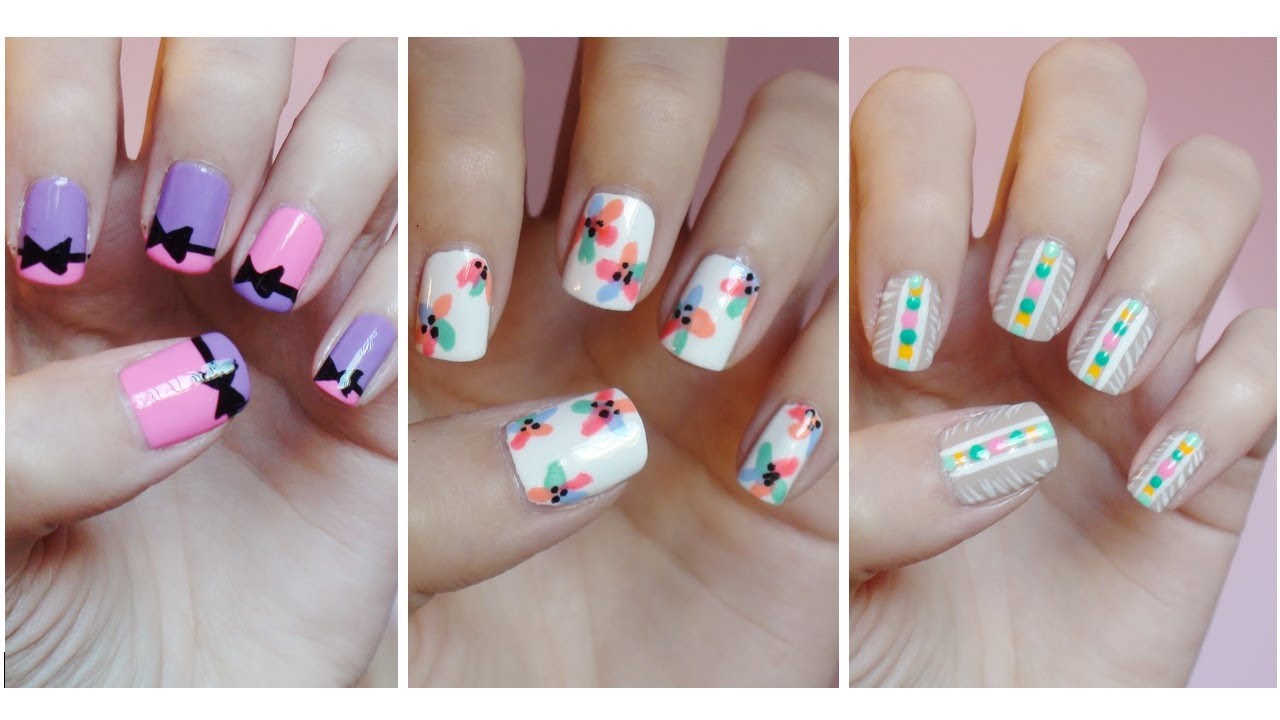
Floral nail designs are perfect for beginners because they are easy to create and can instantly add a touch of femininity to your nails. To achieve this cute and simple floral nail design, start by painting your nails with a light pink nail polish. Once it's dry, use a nail art pen or a small brush to create small dots in a darker pink or red shade. These dots will serve as the base for your flowers. Next, use a small brush to create petals around the dots, using a white nail polish. You can also use a toothpick to achieve this. Make sure to leave some space between the petals to create a more realistic look. Once the petals are dry, use a darker shade of green nail polish to create stems for your flowers. You can also add some leaves using the same method. Finish off the design by adding small dots in the center of each flower using a yellow nail polish. Seal it all in with a clear top coat and you'll have a beautiful floral design on your nails!1. Simple Floral Nail Design for Beginners

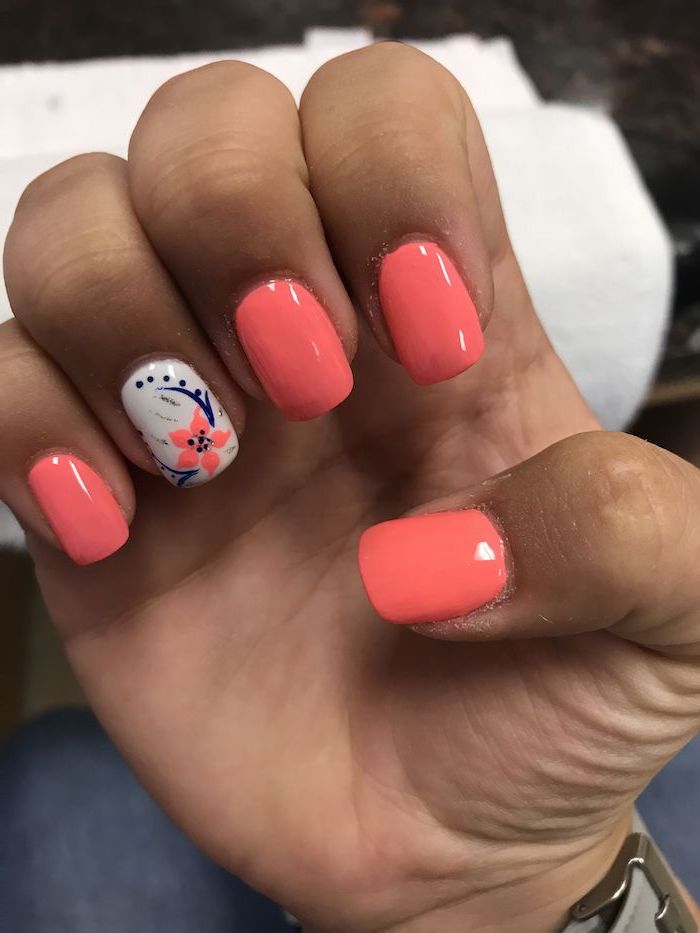

1. Simple Floral Nail Design for Beginners


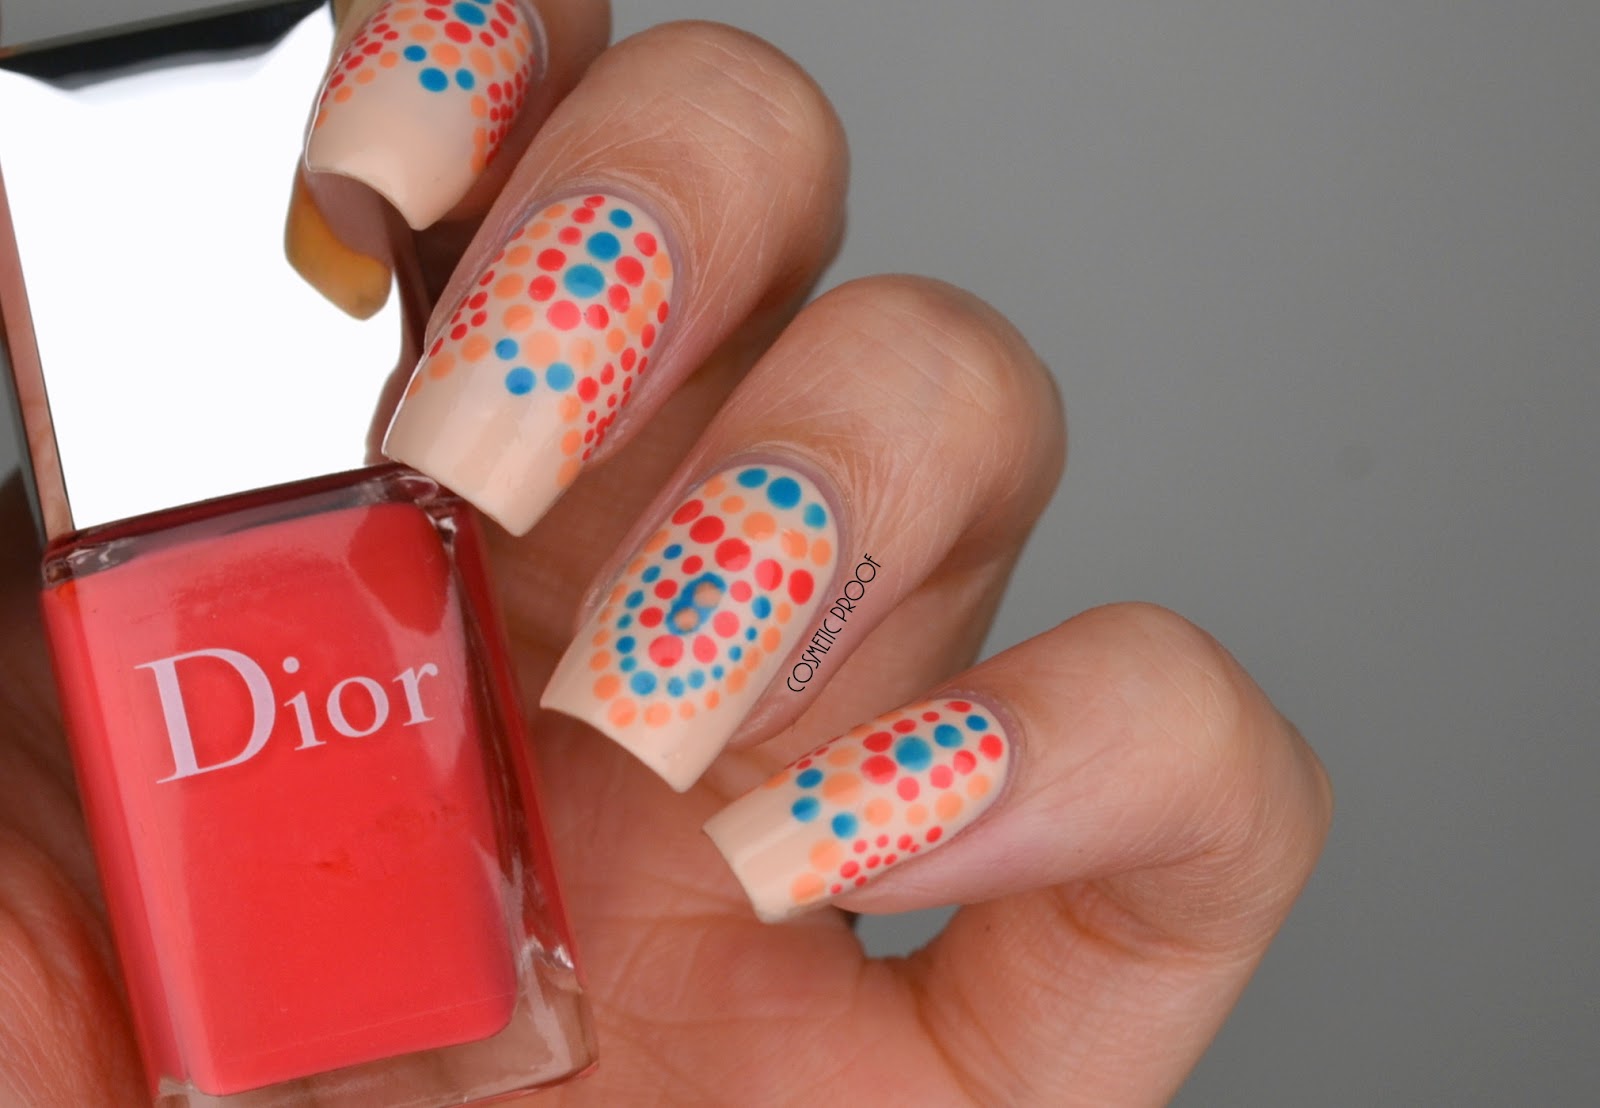
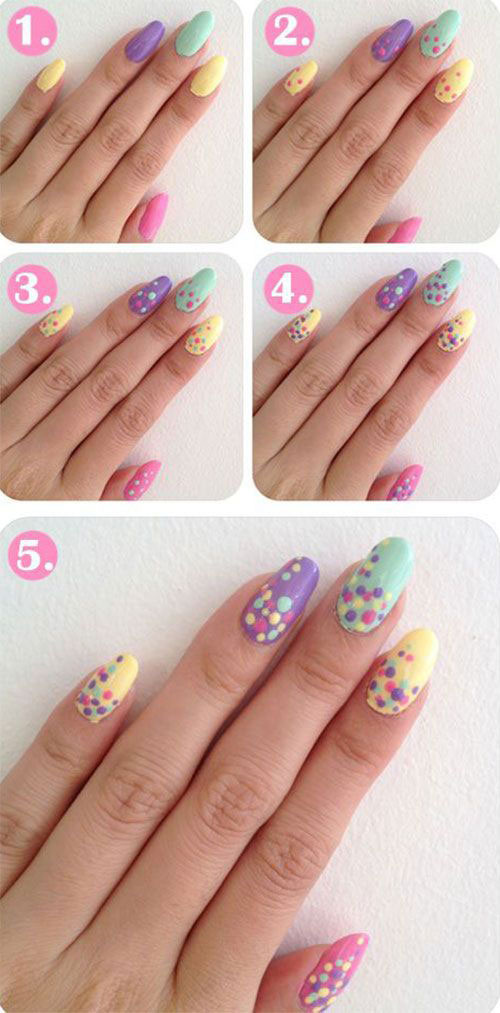
Polka dots are a classic design that never goes out of style. And the best part? They are super easy to create, making it perfect for beginners. To achieve this cute polka dot nail art, start by painting your nails with a light pink nail polish. This will serve as the base color for your design. Next, take a dotting tool or a toothpick and dip it into a white nail polish. Use this tool to create small dots all over your nails. You can create a pattern or place them randomly, it's up to you! For an added touch, you can also use a glitter nail polish to create larger dots on top of the white ones. This will add some sparkle and dimension to your design. Finish off with a clear top coat and you'll have a fun and easy polka dot nail design.2. Easy Polka Dot Nail Art Tutorial
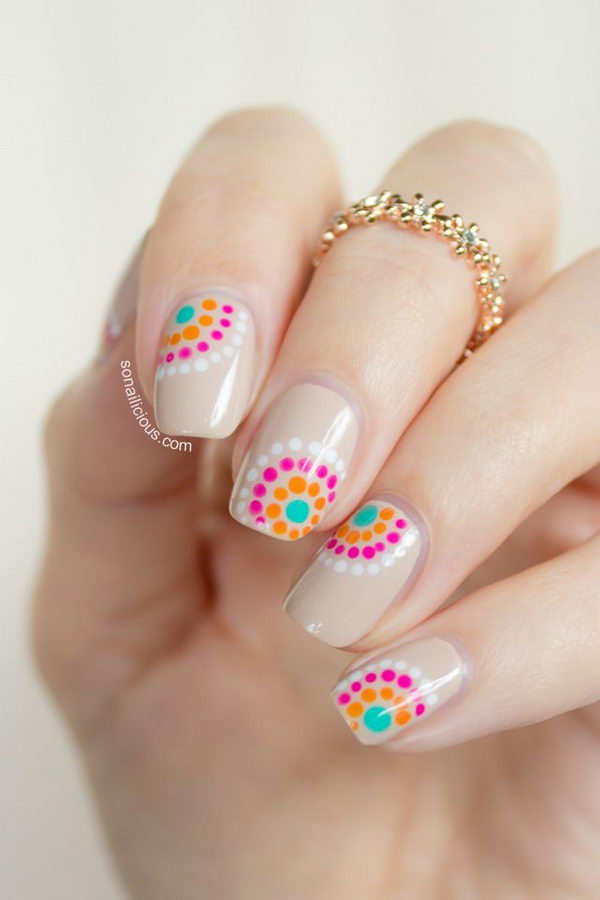

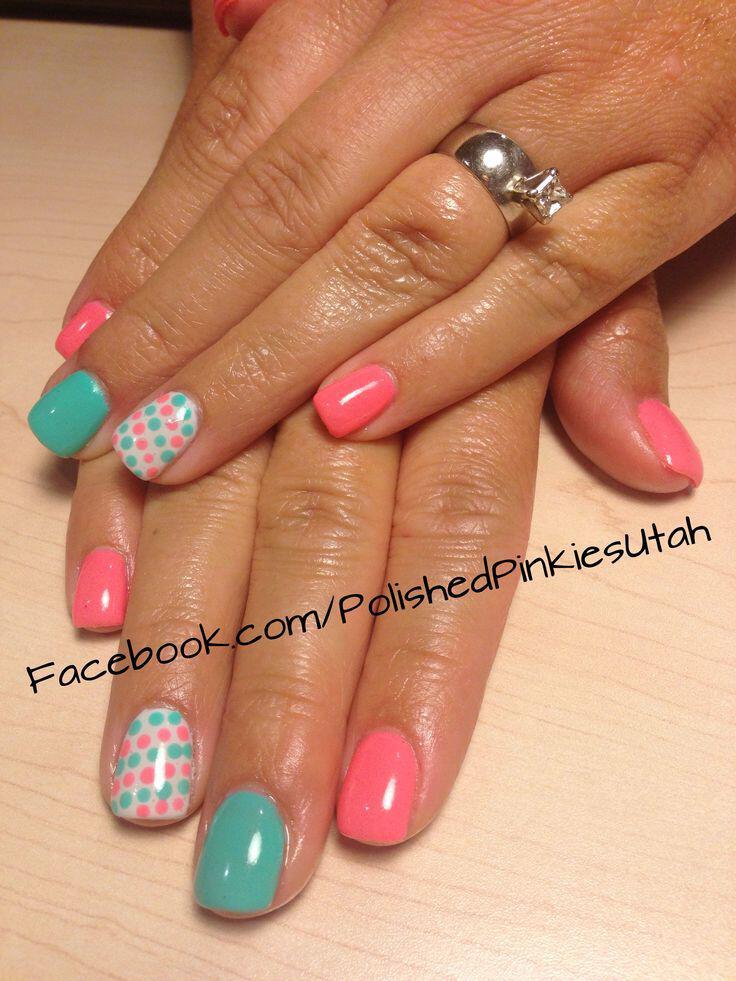
2. Easy Polka Dot Nail Art Tutorial


.JPG)
Rainbow nails are perfect for beginners because they are colorful and fun, but also very easy to create. To achieve this cute rainbow striped nail design, start by painting your nails with a white nail polish. This will serve as the base color for your rainbow stripes. Next, take a nail art brush or a striper brush and dip it into a red nail polish. Create a vertical line on one side of your nail. Next, use orange and create another line right next to the red one, followed by yellow, green, blue, and purple. Make sure to leave a small space between each line. Once all the colors are dry, go back in with a black nail polish and create thin lines in between each color. This will give the illusion of a rainbow. Finish off with a clear top coat and you'll have a fun and colorful rainbow striped nail design!3. Cute Rainbow Striped Nails Step by Step


3. Cute Rainbow Striped Nails Step by Step


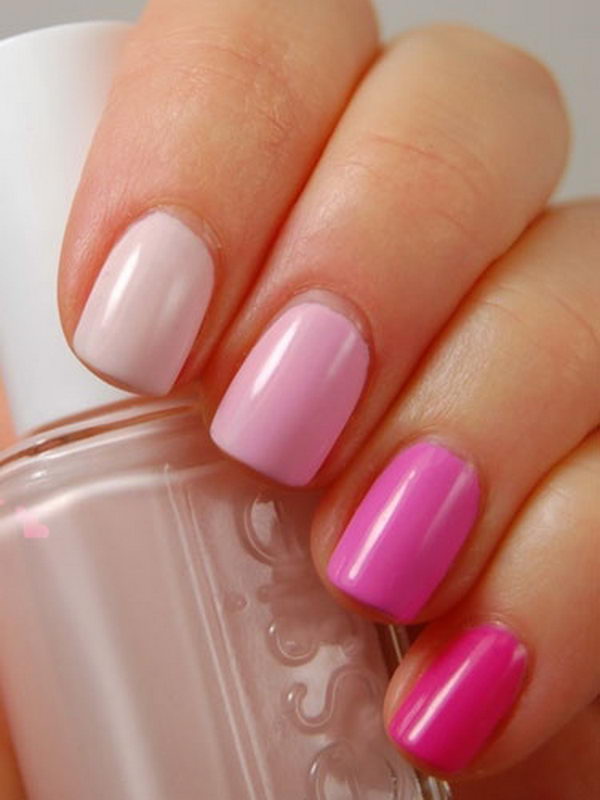
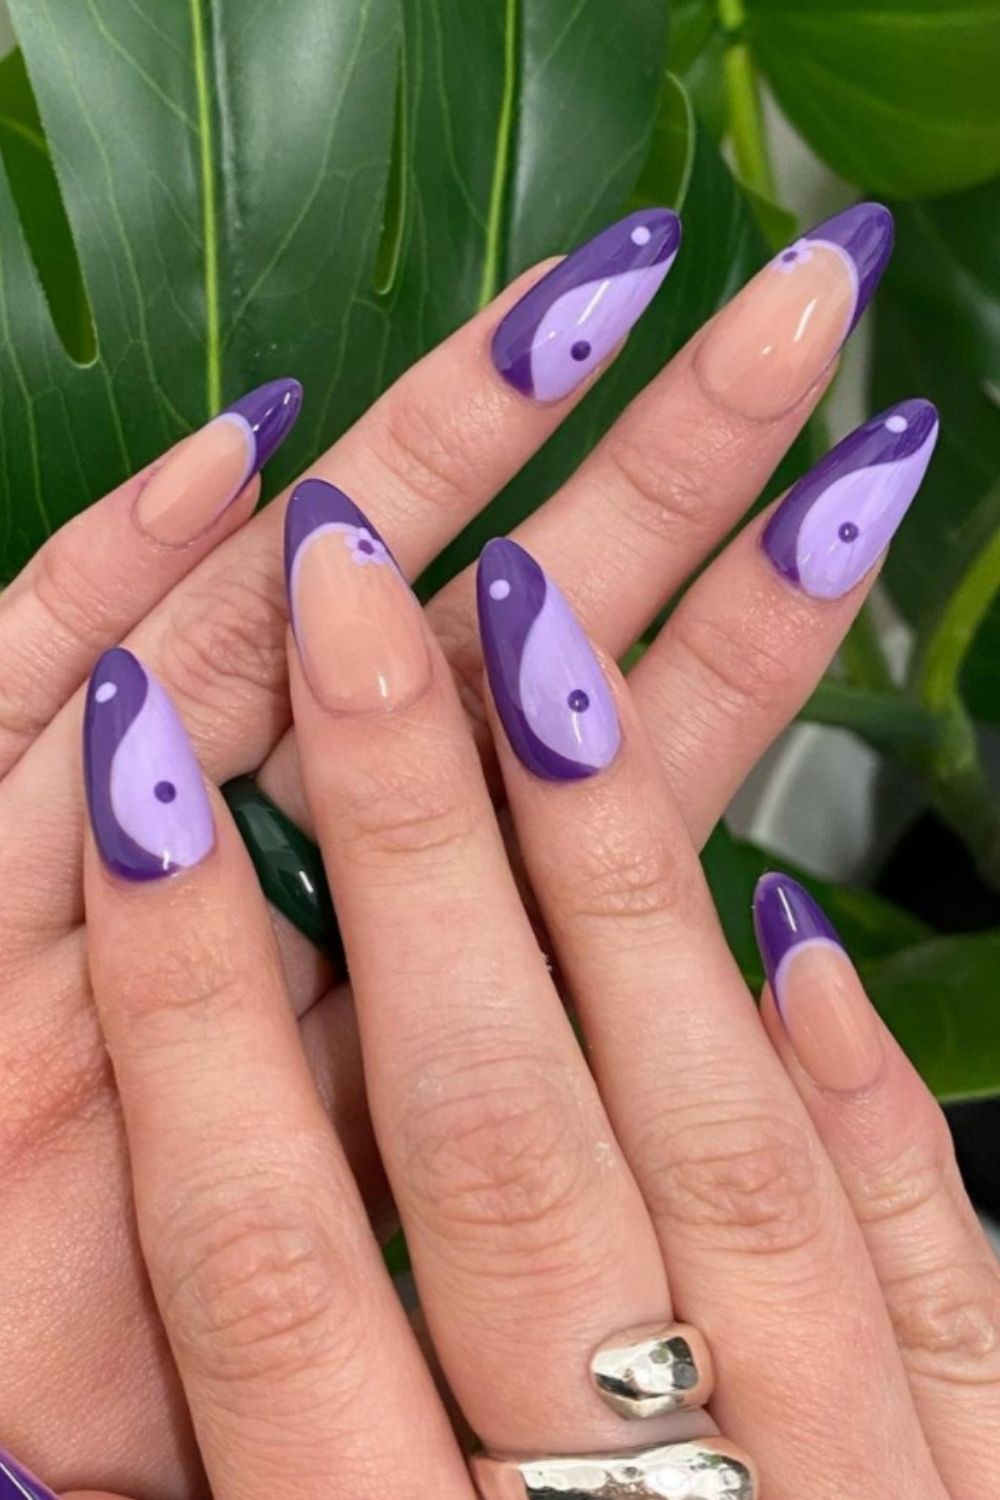
Ombre nails are a trendy and cute design that is perfect for beginners. To achieve this look, start by painting your nails with a light pink nail polish. Once it's dry, take a makeup sponge and apply white, pink, and purple nail polish in horizontal stripes onto the sponge. Gently dab the sponge onto your nails, making sure to blend the colors together to create a gradient effect. You may need to repeat this step a few times to achieve your desired look. Once the colors are dry, apply a clear top coat to seal in the design. You can also experiment with different colors to create your own unique ombre nail design. Just remember to use colors that blend well together to achieve a smooth transition.4. Beginner's Guide to Ombre Nails


4. Beginner's Guide to Ombre Nails


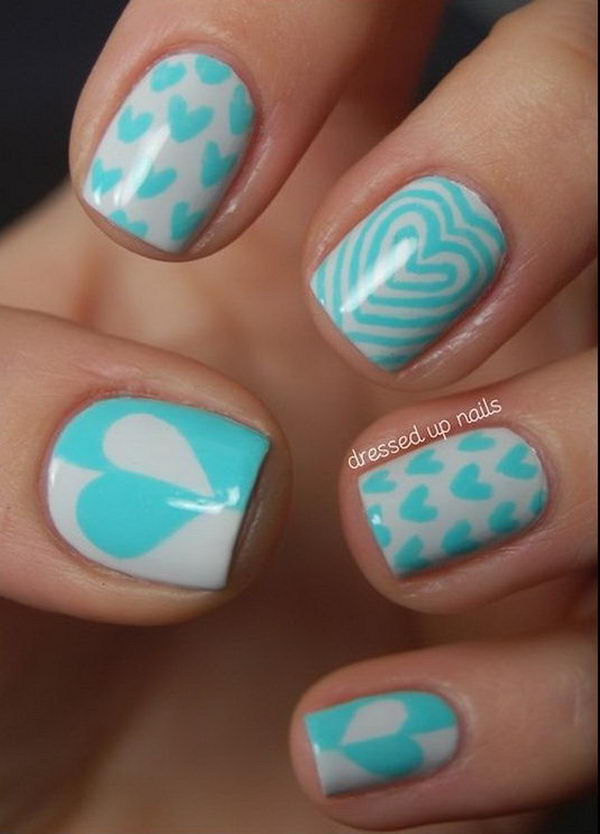
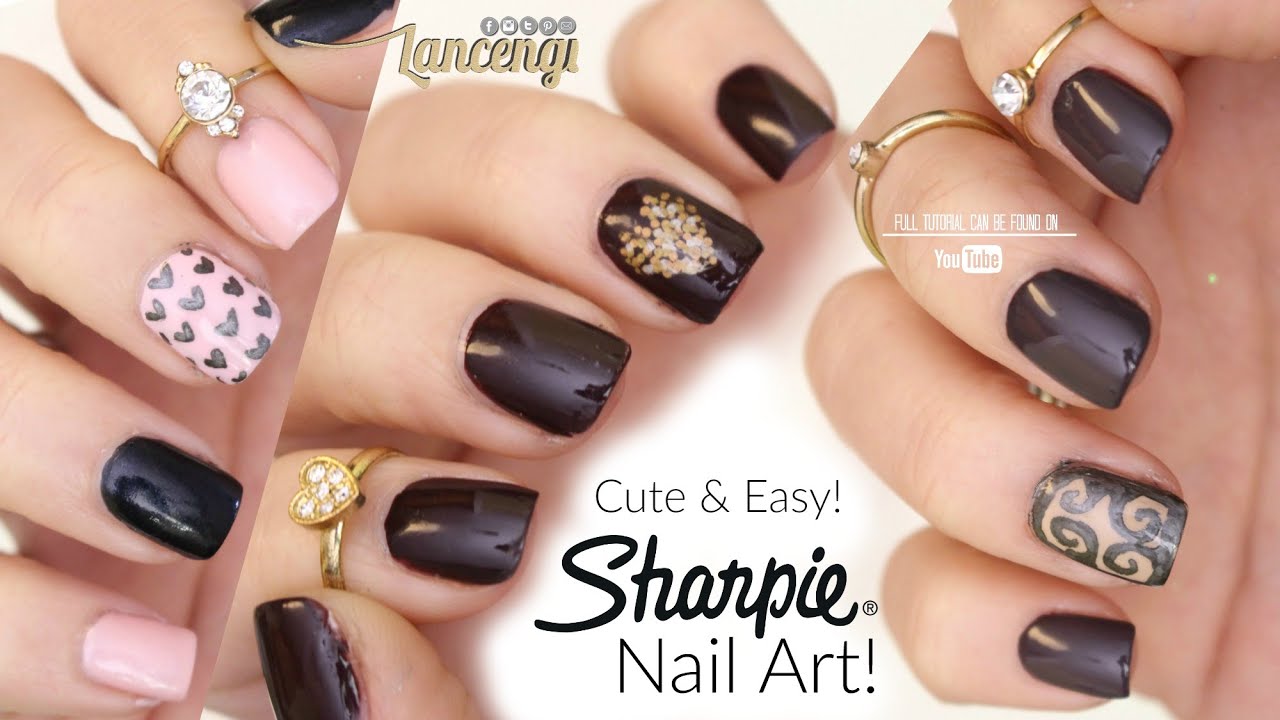
This cute and simple heart nail design is perfect for beginners who want to add a touch of love to their nails. To achieve this design, start by painting your nails with a light pink nail polish. Once it's dry, use a nail art brush or a toothpick to create two small dots next to each other in the center of your nail. Next, use the same tool to create a small triangle above the dots, connecting them. This will create the top of the heart. Next, create a small curve on each side of the triangle to complete the heart shape. You can also use a glitter nail polish to add some sparkle to your design. Finish off with a clear top coat and you'll have a cute and easy heart nail design!5. Adorable Heart Nail Design for Beginners


5. Adorable Heart Nail Design for Beginners


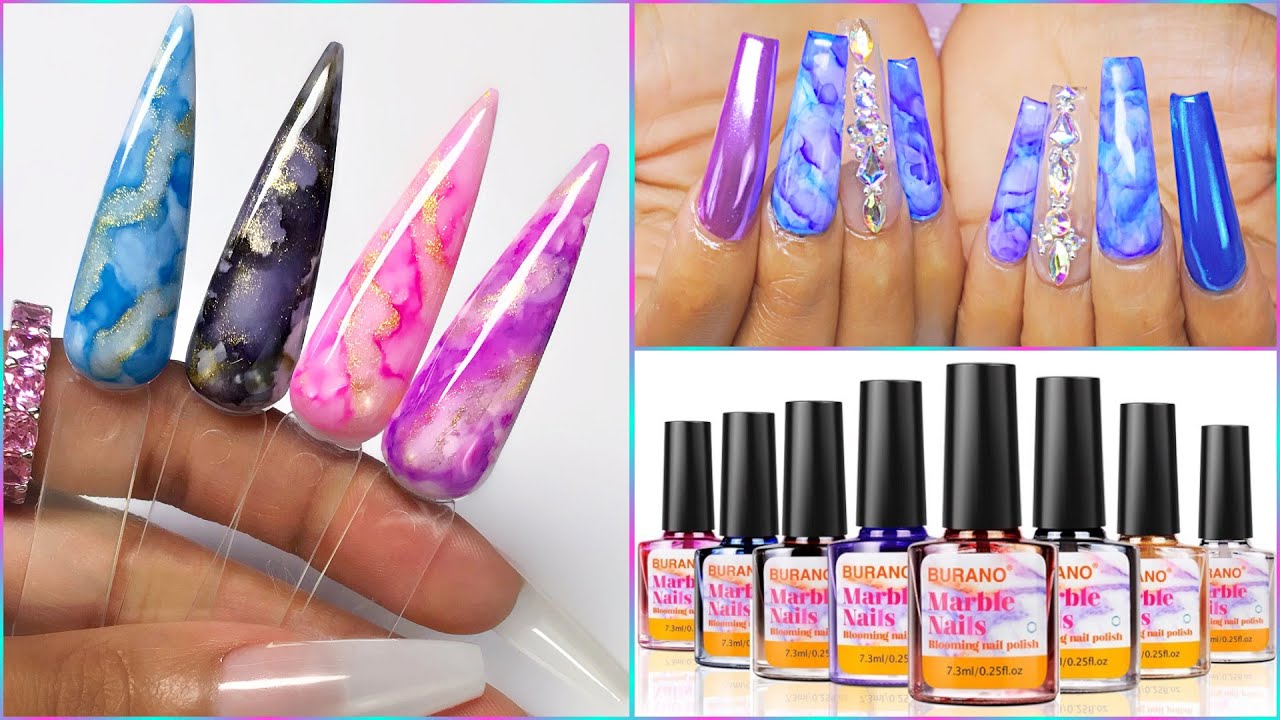
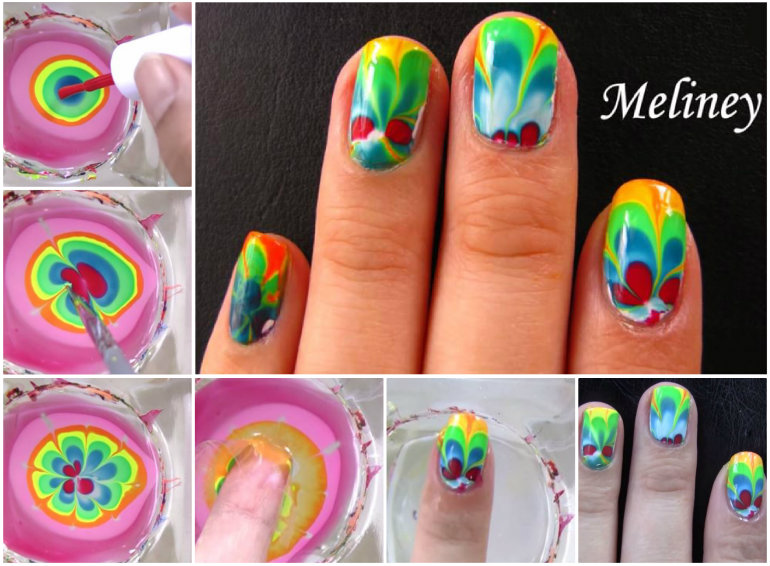
Water marble nails may seem intimidating, but they are actually quite easy to create. To achieve this unique and beautiful design, start by filling a small cup with room temperature water. Next, take a white nail polish and drop a few drops onto the surface of the water. Next, take a toothpick and create swirls in the polish. Once you're happy with the design, dip your nail into the water, making sure to submerge the entire nail. Use a toothpick to remove any excess polish around your finger. Once your nail is completely dry, clean up any remaining polish around your finger with a cotton swab and nail polish remover. Finish off with a clear top coat and you'll have a beautiful and unique water marble nail design.6. Step by Step Guide to Water Marble Nails

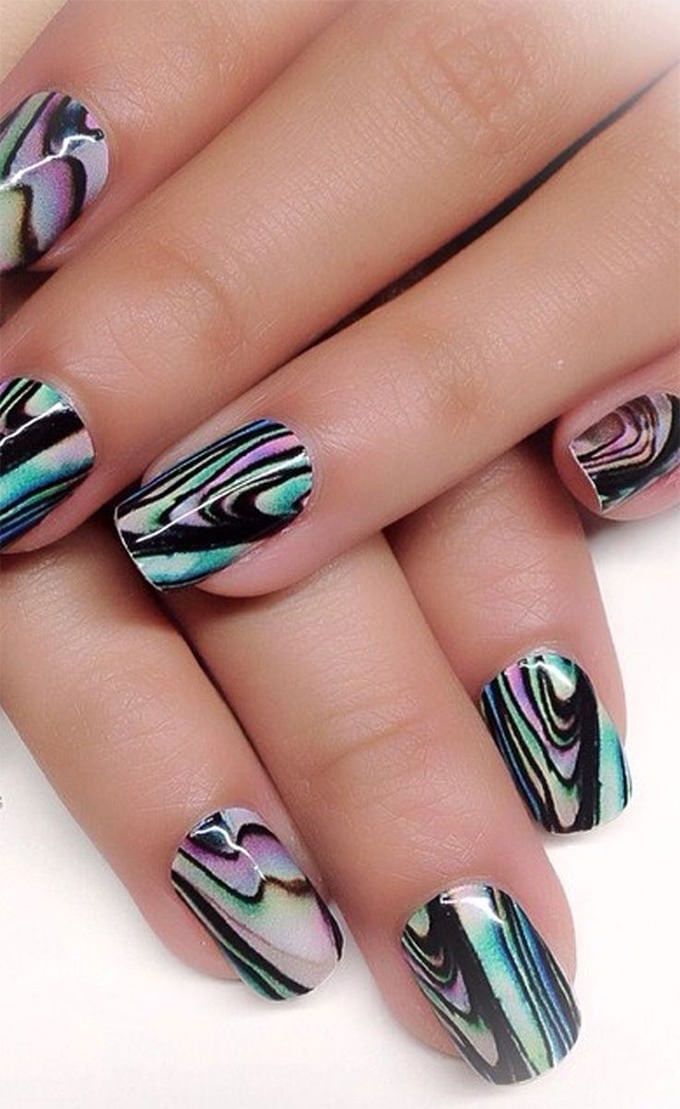
6. Step by Step Guide to Water Marble Nails


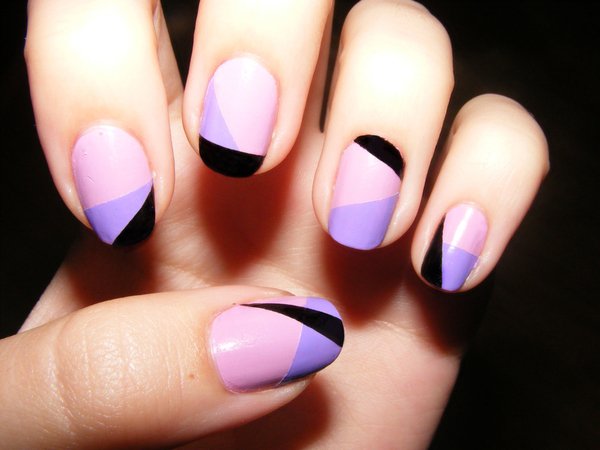
Geometric nail designs are a fun and trendy way to add some flair to your nails. And the best part? They are super easy to create, making it perfect for beginners. To achieve this design, start by painting your nails with a light pink nail polish. Next, take a striper brush or a nail art brush and create vertical lines on your nails using a black nail polish. Once the lines are dry, use the same brush to create horizontal lines to form small squares on your nails. For an added touch, you can also use a glitter nail polish to create triangles on top of the squares. This will add some sparkle and dimension to your design. Finish off with a clear top coat and you'll have a fun and easy geometric nail art design.7. Easy Geometric Nail Art Tutorial for Beginners
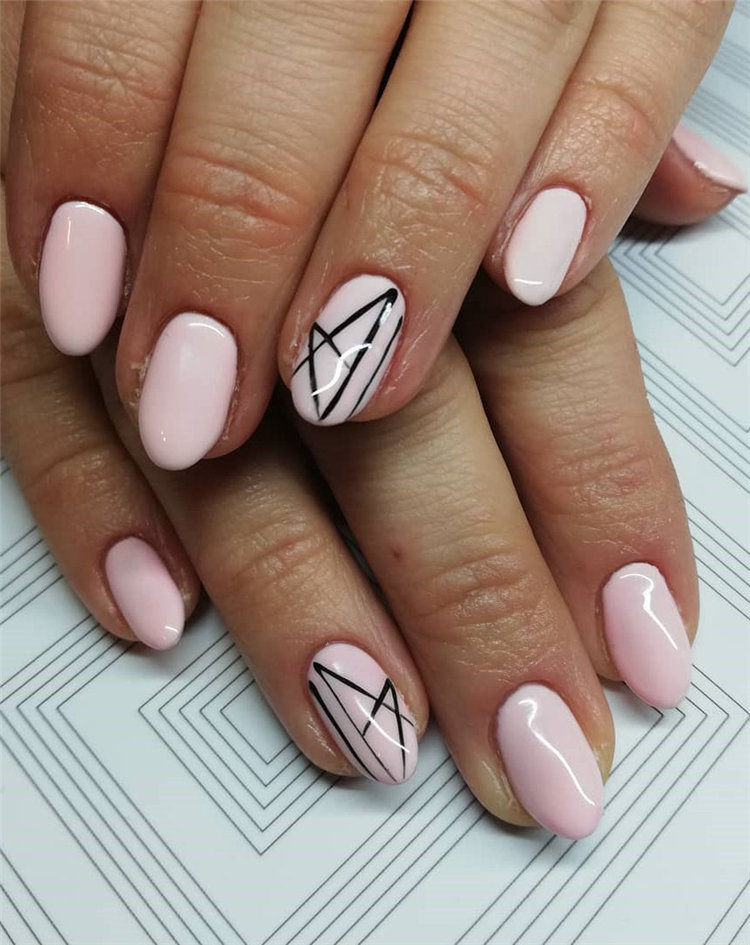

7. Easy Geometric Nail Art Tutorial for Beginners

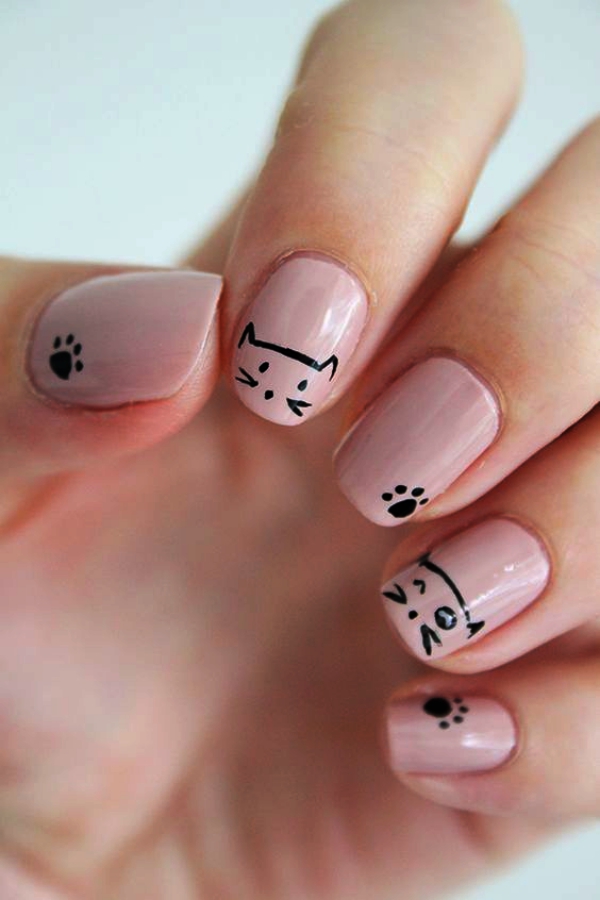
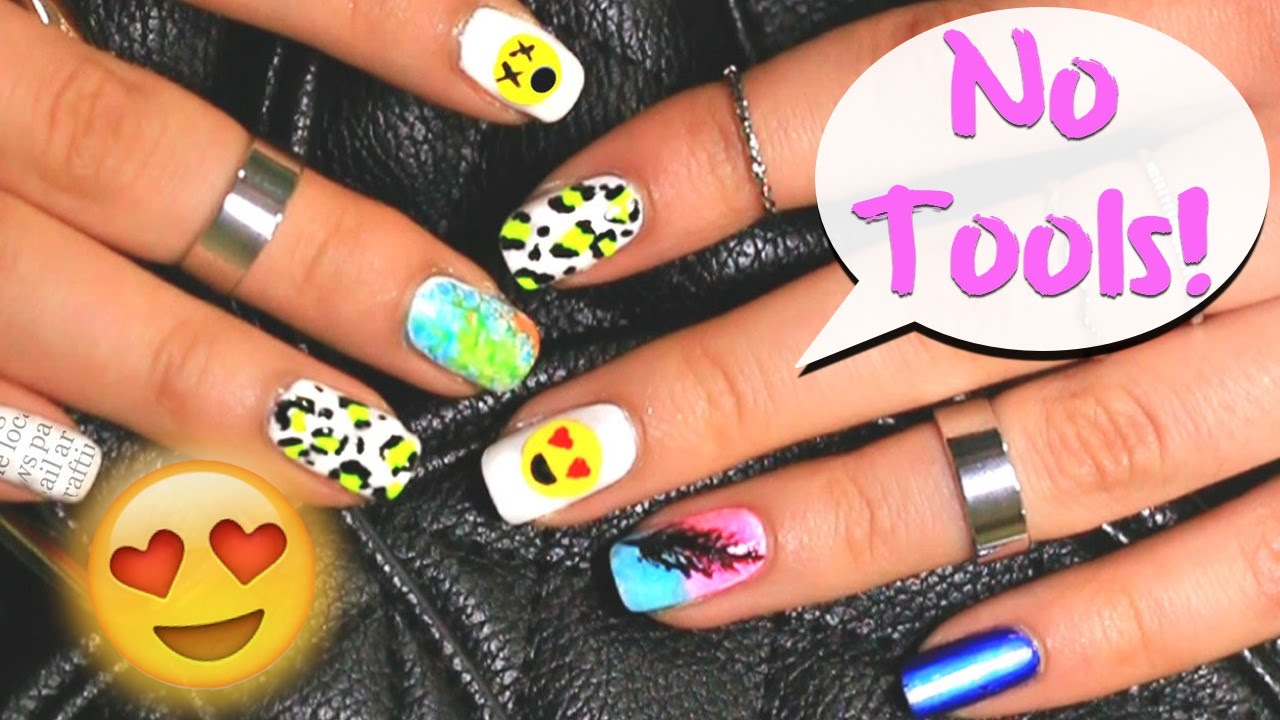
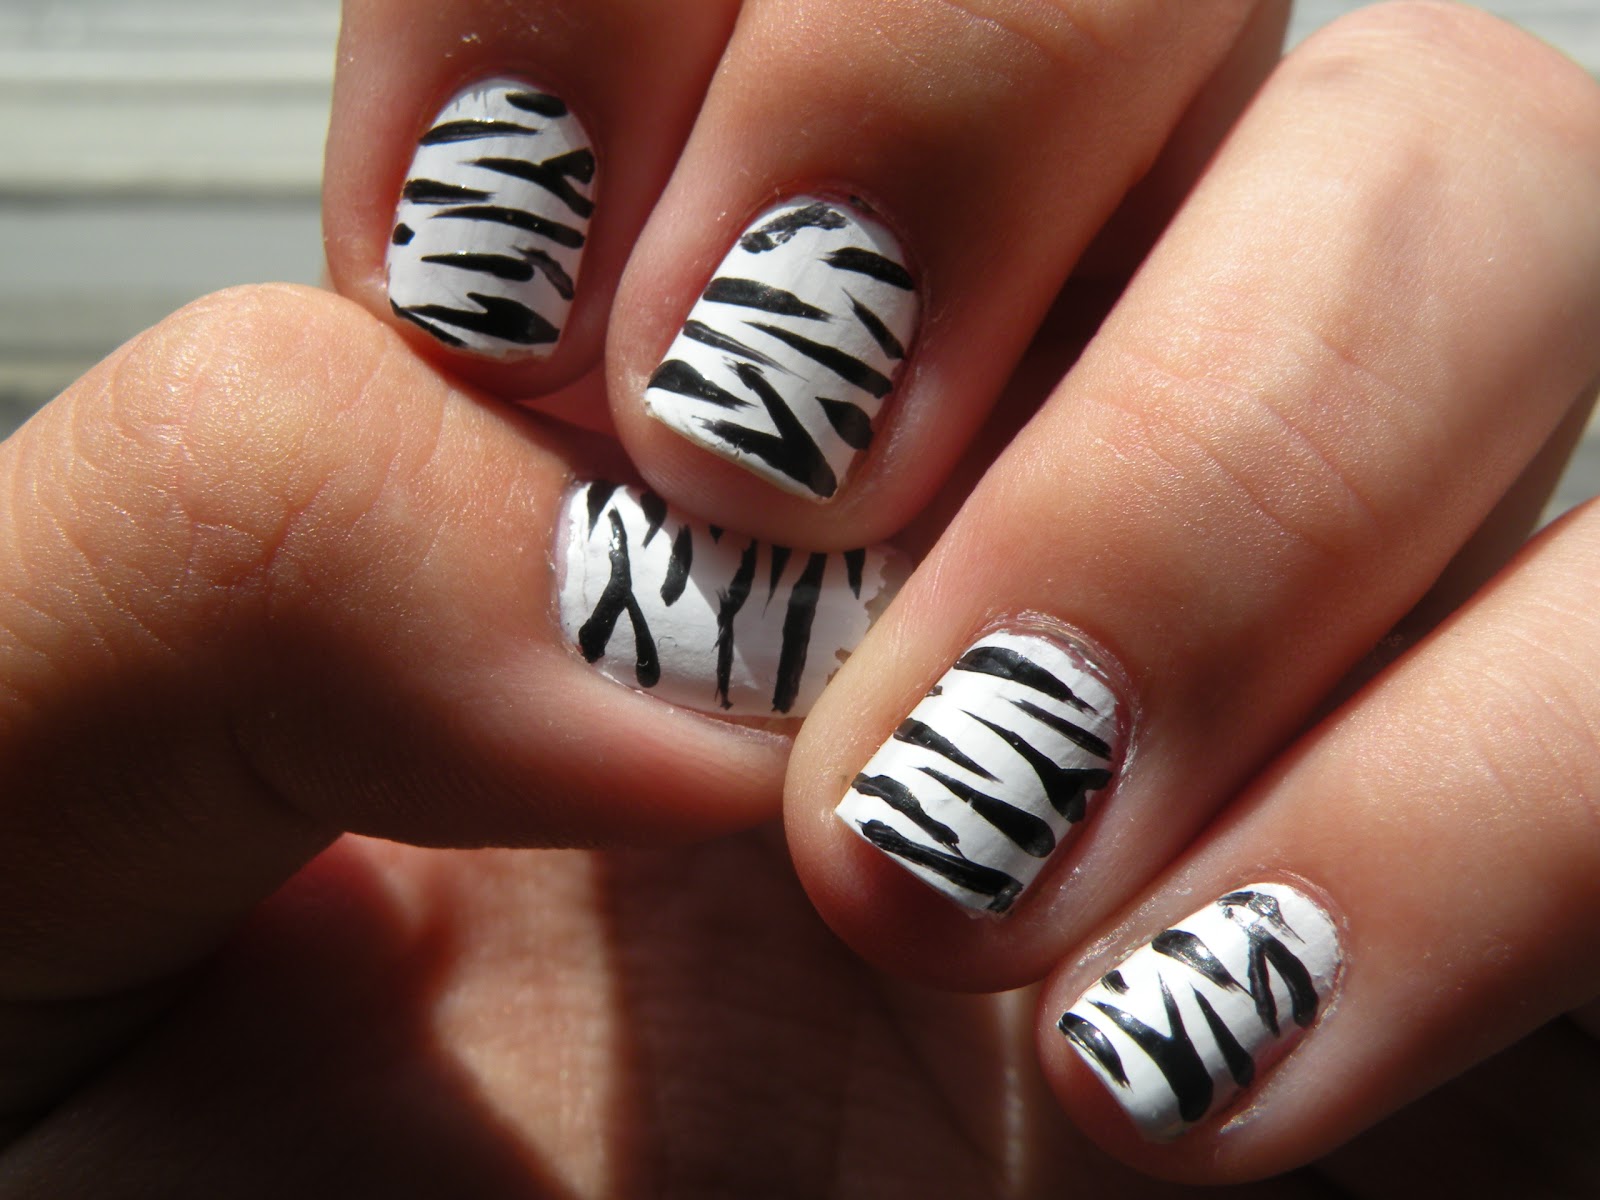
Animal print nails are a cute and fun way to add some personality to your nails. And the best part? They are super easy to create, making it perfect for beginners. To achieve this design, start by painting your nails with a light pink nail polish. Next, take a nail art brush or a dotting tool and create random spots on your nails using a black nail polish. These spots can be different sizes and shapes, just like a real animal print. Once the black spots are dry, use a toothpick to create small dots in between the spots using a white nail polish. This will add some dimension to your animal print design. Finish off with a clear top coat and you'll have cute and fun animal print nails.8. Cute Animal Print Nails Step by Step

8. Cute Animal Print Nails Step by Step

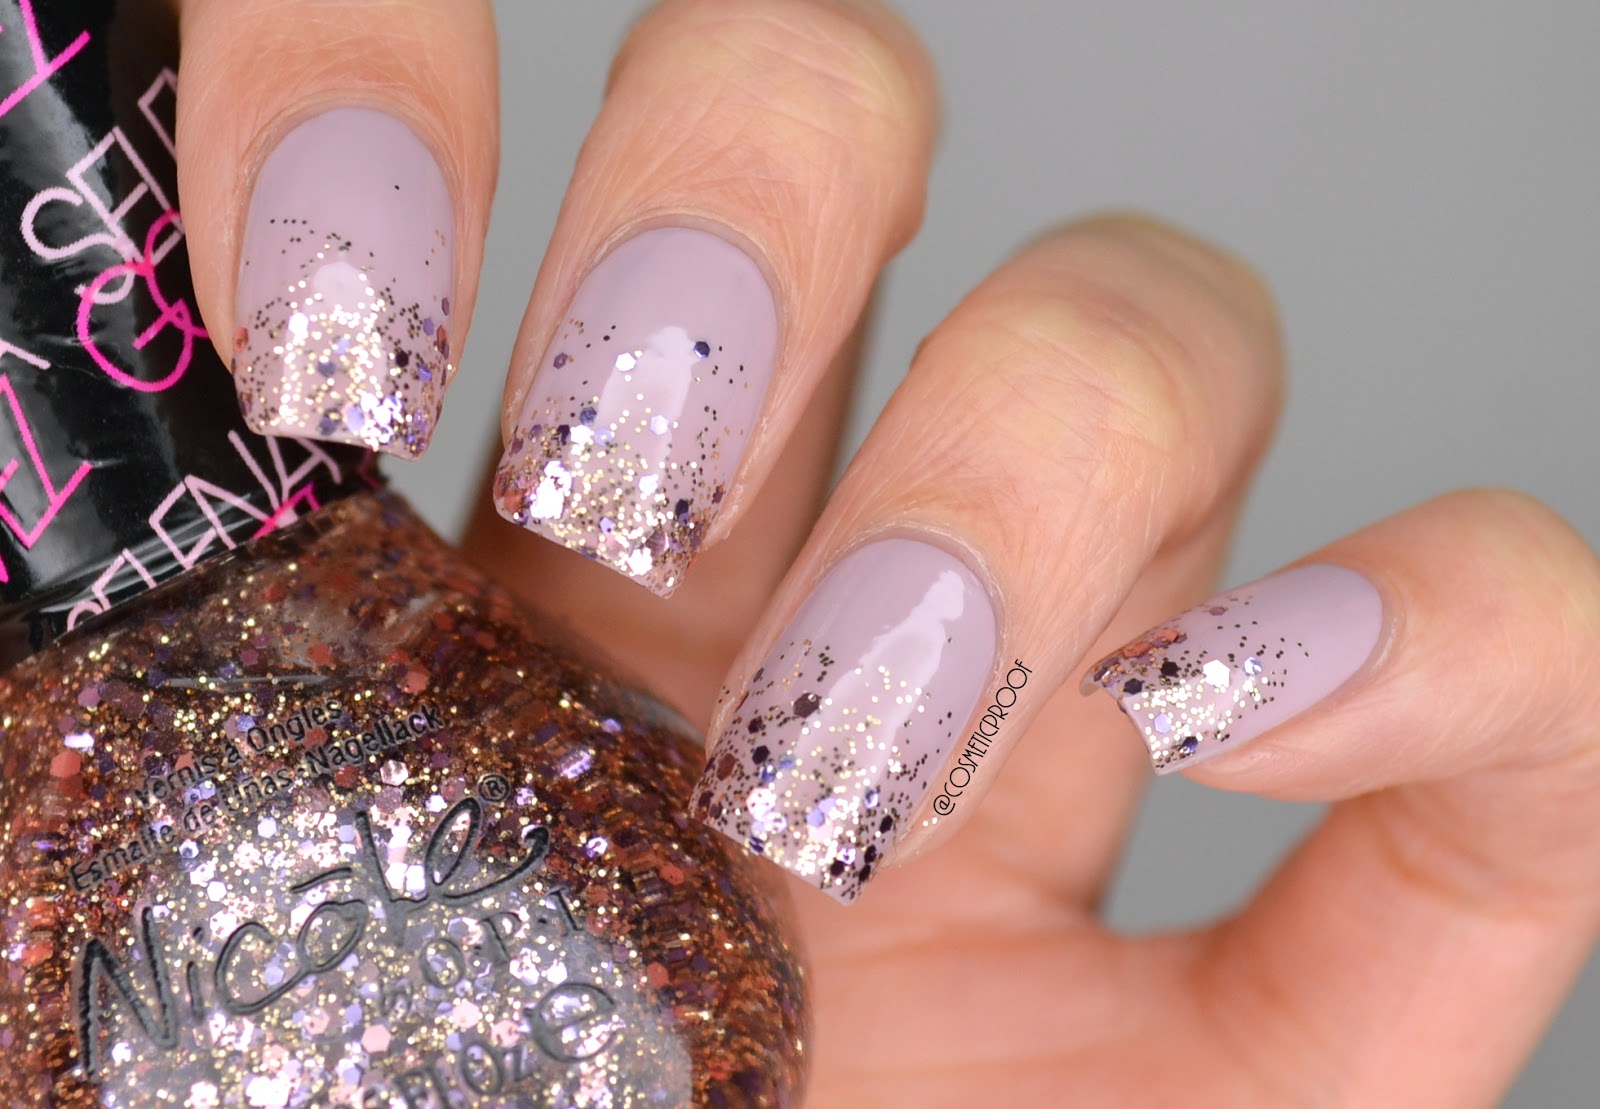
Glitter gradient nails are a fun and easy way to add some sparkle to your nails. To achieve this design, start by painting your nails with a light pink nail polish. Once it's dry, take a makeup sponge and apply glitter nail polish in horizontal stripes onto the sponge. Gently dab the sponge onto your nails, making sure to blend the glitter into the base color. You may need to repeat this step a few times to achieve your desired level of glitter. Once the glitter is dry, apply a clear top coat to seal in the design. You can also experiment with different colors of glitter to create your own unique glitter gradient nail design. Just remember to use colors that blend well together to achieve a smooth transition.9. Beginner's Guide to Glitter Gradient Nails
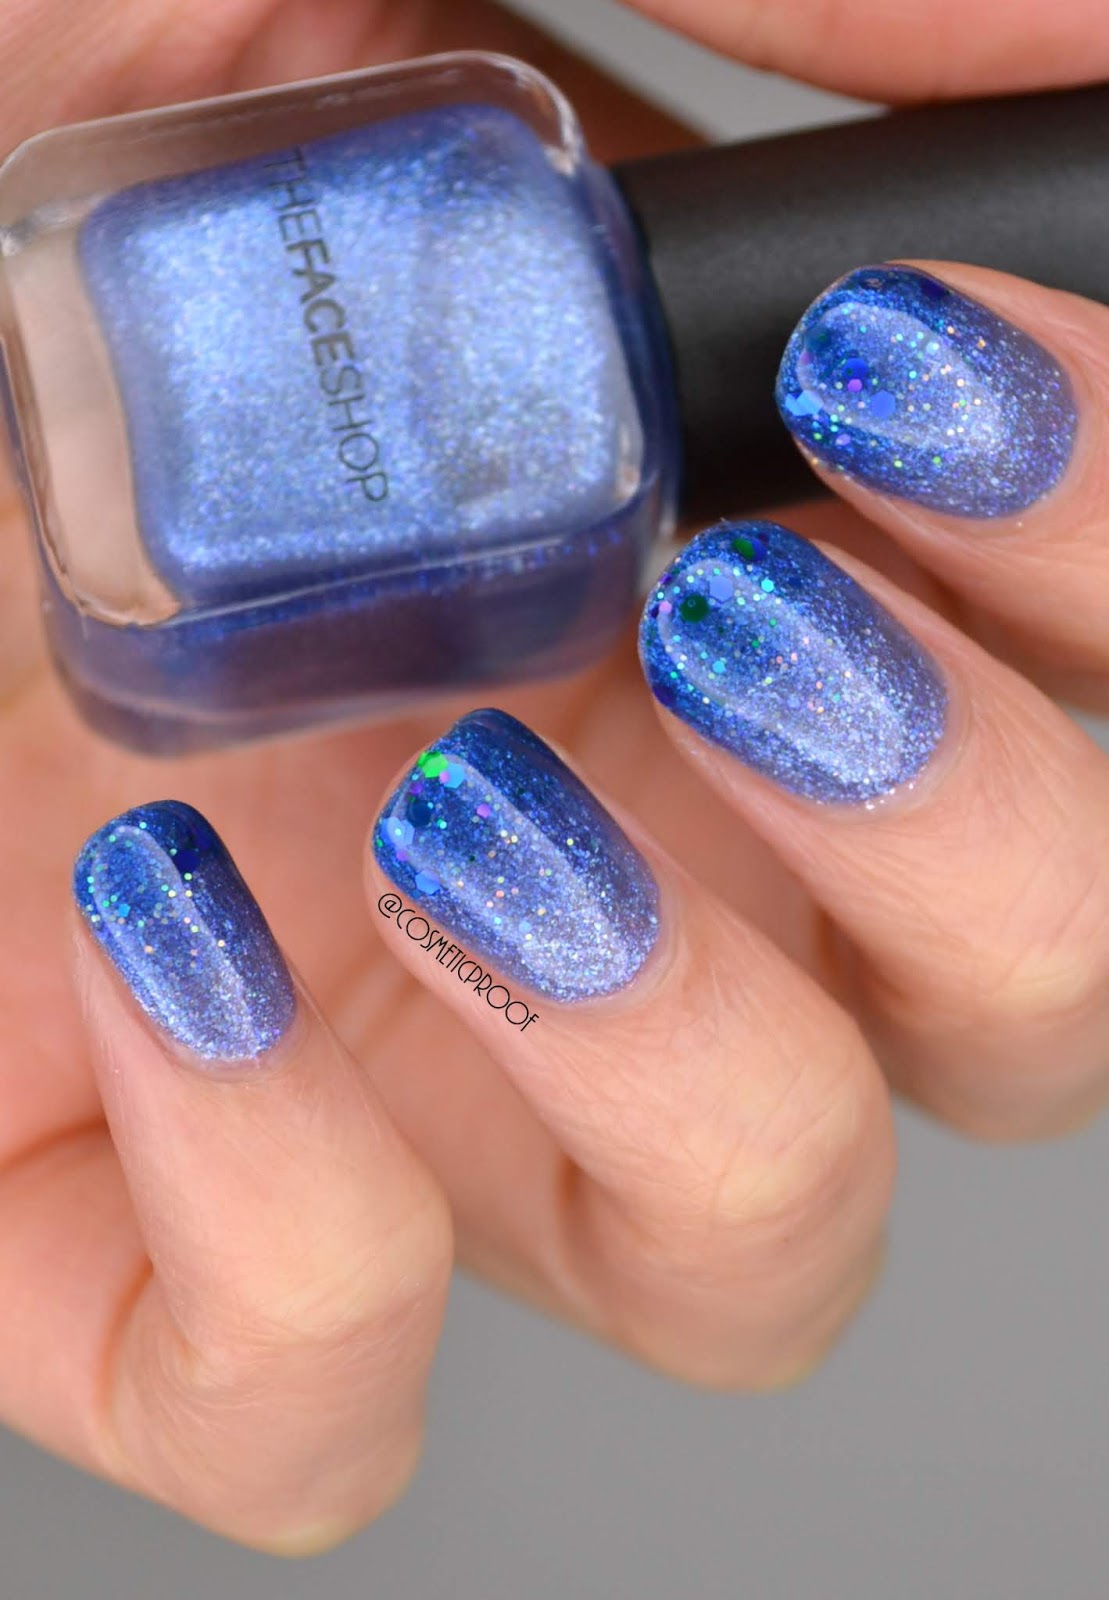


9. Beginner's Guide to Glitter Gradient Nails


Striped nail designs are classic and look great on any nail length. And the best part? They are super easy to create, making it perfect for beginners. To achieve this design, start by painting your nails with a light pink nail polish. Next, take a striper brush or a nail art brush and create vertical lines on your nails using a white nail polish. Once the lines are dry, use the same brush to create horizontal lines in a different color. You can use any color you like, but a dark pink or black will create a nice contrast. For an added touch, you can also use a glitter nail polish to create thin lines in between the colored lines. This will add some sparkle and dimension to your design. Finish off with a clear top coat and you'll have a simple and cute striped nail design.10. Simple Striped Nail Design for Beginners

10. Simple Striped Nail Design for Beginners
How to Create Cute and Easy Nail Designs for Beginners: A Step-by-Step Guide

Introduction
 Are you tired of always having plain and boring nails? Do you want to add some fun and creativity to your nail game? Look no further, because we have the perfect solution for you – cute and easy nail designs for beginners! With just a few simple steps, you can achieve beautiful and unique nail designs that will have everyone asking, “How did you do that?” So let’s get started and discover the world of easy nail art.
Step 1: Gather Your Supplies
 Before we begin, make sure you have all the necessary supplies to create your cute and easy nail design. You will need a base coat, a top coat, your chosen nail polish colors, a nail art brush or toothpick, and some cotton swabs for cleanup. Once you have everything ready, you can start creating your masterpiece.
Step 2: Apply a Base Coat
 To ensure your nail design lasts longer, start by applying a base coat to your nails. This will also help protect your nails from any potential damage caused by the nail polish.
Step 3: Choose Your Colors
 Now it’s time to get creative! Choose two or three different nail polish colors that complement each other.
Pastel shades
are perfect for beginners as they are easier to work with and create a softer look.
Now it’s time to get creative! Choose two or three different nail polish colors that complement each other.
Pastel shades
are perfect for beginners as they are easier to work with and create a softer look.
Step 4: Create the Base
 Using your chosen base color, paint all your nails and let them dry completely. This will serve as the base for your nail design.
Step 5: Get Creative with Designs
 Once your base color is completely dry, it’s time to get creative with your designs. You can create
stripes, polka dots, flowers, or hearts
, the possibilities are endless. Use a nail art brush or toothpick to carefully draw your chosen design on your nails. Don’t worry if it’s not perfect, imperfections can add character to your nails.
Once your base color is completely dry, it’s time to get creative with your designs. You can create
stripes, polka dots, flowers, or hearts
, the possibilities are endless. Use a nail art brush or toothpick to carefully draw your chosen design on your nails. Don’t worry if it’s not perfect, imperfections can add character to your nails.
Step 6: Add Finishing Touches
 Once your designs are in place, let them dry for a few minutes before adding a top coat. This will not only seal your design but also make it last longer. You can also add some
glitter or rhinestones
to give your nails an extra sparkle.
Once your designs are in place, let them dry for a few minutes before adding a top coat. This will not only seal your design but also make it last longer. You can also add some
glitter or rhinestones
to give your nails an extra sparkle.
Step 7: Clean Up
 Using a cotton swab dipped in nail polish remover, carefully clean up any excess nail polish around your nails. This will give your nails a clean and polished look.
Step 8: Show Off Your Nails
 Congratulations, you have successfully created a cute and easy nail design! Now it’s time to show off your new and unique nails to the world. Don’t be afraid to experiment with different designs and colors, and most importantly, have fun with it!
With these simple steps, you can create beautiful and eye-catching nail designs that will leave everyone impressed. So go ahead and try out these beginner-friendly nail designs and let your creativity shine. Happy nail art-ing!
Congratulations, you have successfully created a cute and easy nail design! Now it’s time to show off your new and unique nails to the world. Don’t be afraid to experiment with different designs and colors, and most importantly, have fun with it!
With these simple steps, you can create beautiful and eye-catching nail designs that will leave everyone impressed. So go ahead and try out these beginner-friendly nail designs and let your creativity shine. Happy nail art-ing!
Conclusion
 In conclusion, creating cute and easy nail designs for beginners is not as daunting as it may seem. With the right tools and a little bit of practice, you can achieve stunning nail designs that will make a statement. So why wait? Gather your supplies and start creating your own unique nail designs today!


