Are you tired of plain, single-colored nails? Looking for a fun and easy way to add some pizzazz to your manicure? Look no further than striping tape nail designs! With just a few simple steps, you can achieve a professional-looking nail design that is sure to turn heads. In this tutorial, we will guide you through the process of creating your own easy striping tape nail design.1. Easy Striping Tape Nail Design Tutorial


1. Easy Striping Tape Nail Design Tutorial

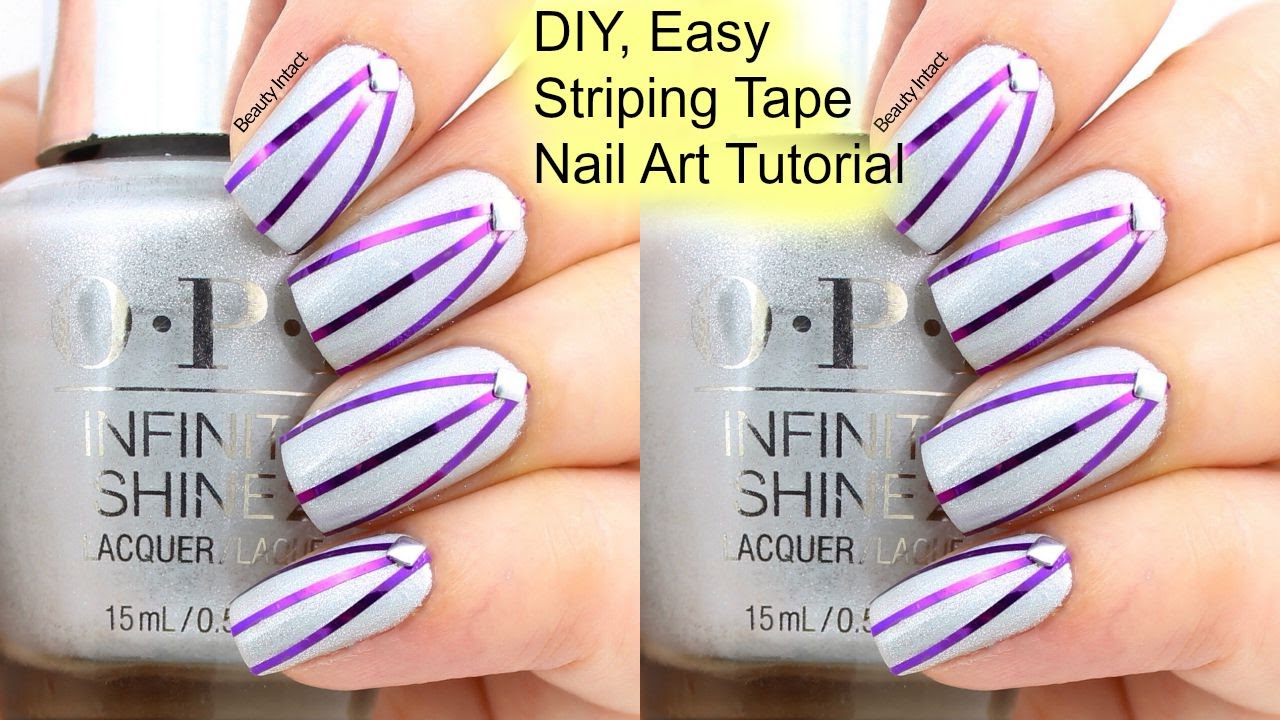


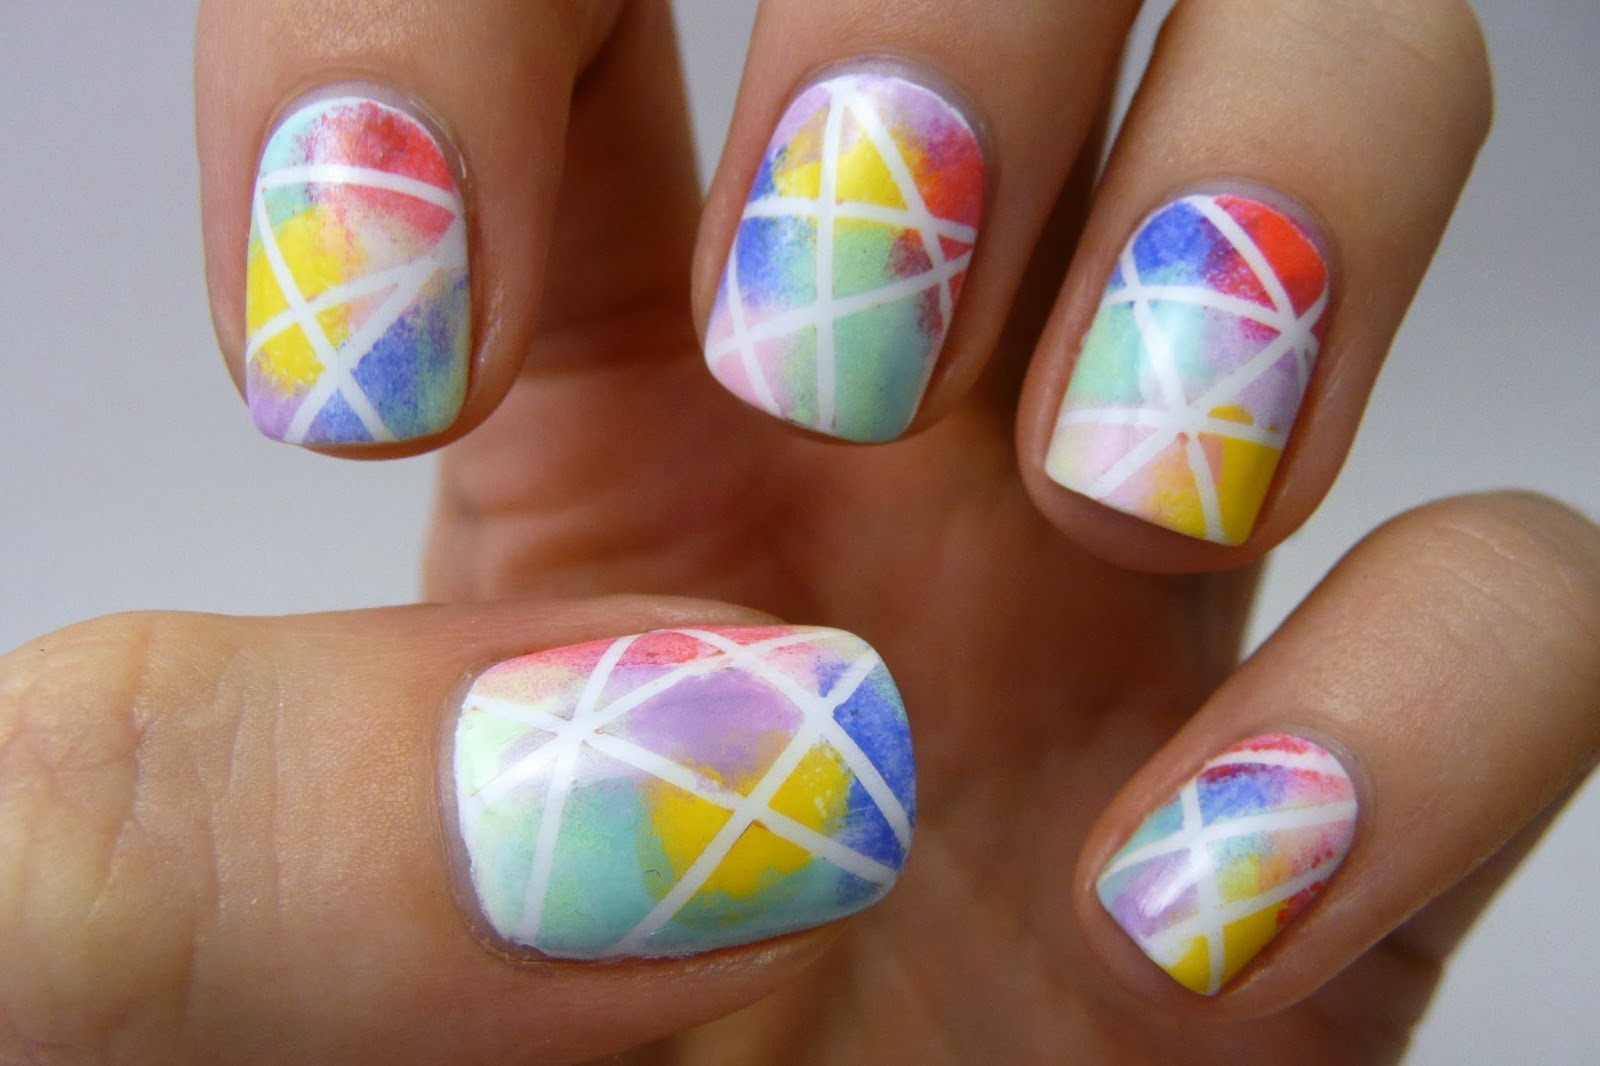
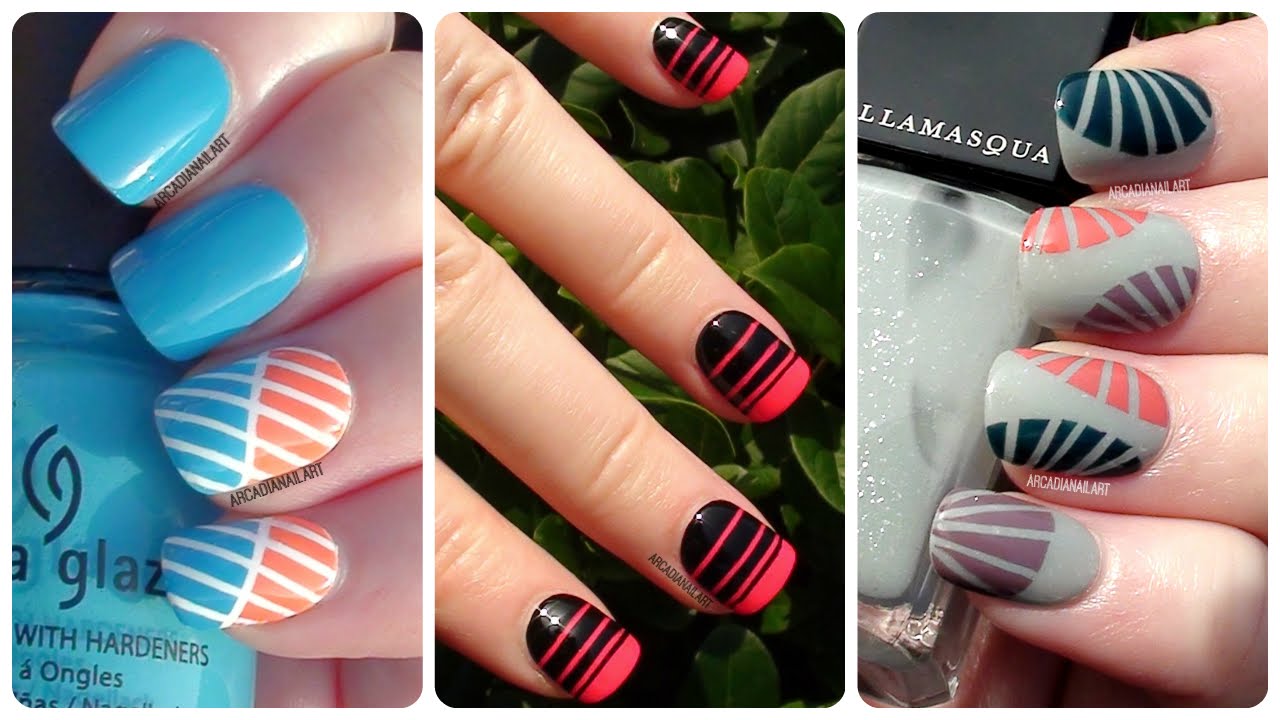
If you're new to nail art, don't worry – striping tape nail designs are perfect for beginners! All you need is some striping tape, a base color, and a top coat. Start by painting your nails with the base color of your choice and let it dry completely. Then, cut small strips of striping tape and place them on your nails in various patterns. Finally, apply a top coat to seal in your design and voila – you have simple and chic striping tape nail art!2. Simple Striping Tape Nail Art


2. Simple Striping Tape Nail Art


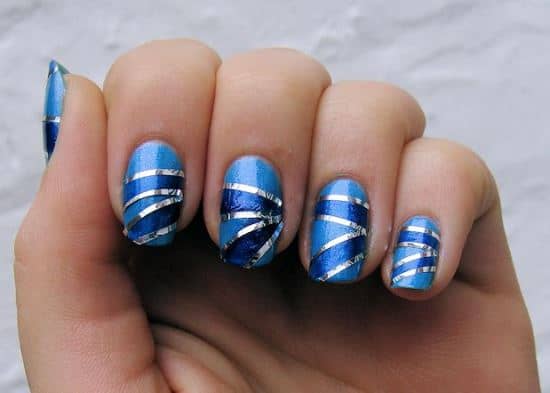
Don't have a lot of time to spare but still want a stylish manicure? Striping tape nail designs are the perfect solution! With just a few strips of tape, you can create a unique and eye-catching design in no time. Whether you're going for a simple diagonal pattern or a more intricate geometric design, striping tape makes it easy to achieve a flawless look without spending hours on your nails.3. Quick and Easy Striping Tape Nail Designs


3. Quick and Easy Striping Tape Nail Designs


If you're new to nail art, it can be overwhelming to try more complicated designs. But with striping tape, even beginners can create stunning nail art. The tape acts as a guide, making it easy to create straight lines and precise patterns. Plus, if you make a mistake, you can simply remove the tape and try again. With a little bit of practice, you'll be a striping tape nail art pro in no time!4. Beginner-Friendly Striping Tape Nail Art


4. Beginner-Friendly Striping Tape Nail Art


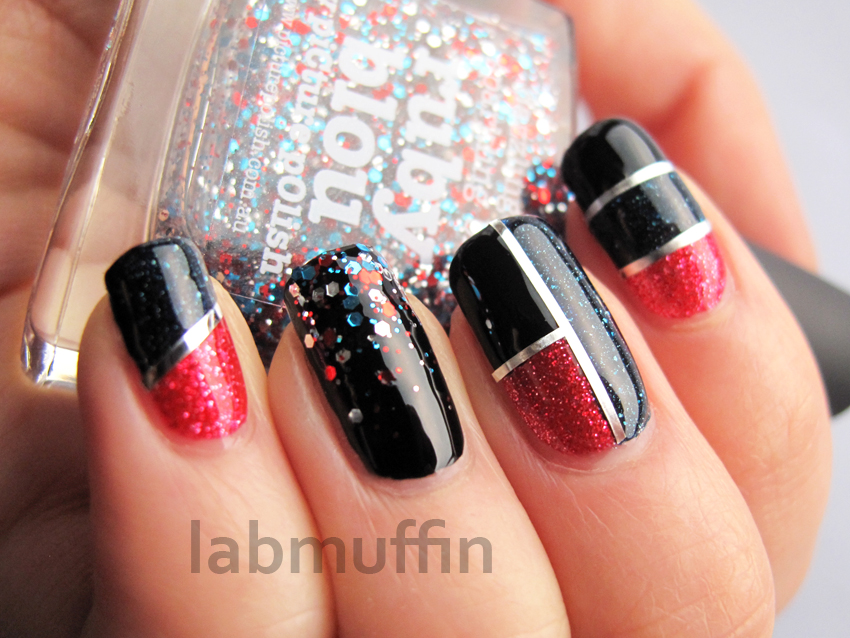
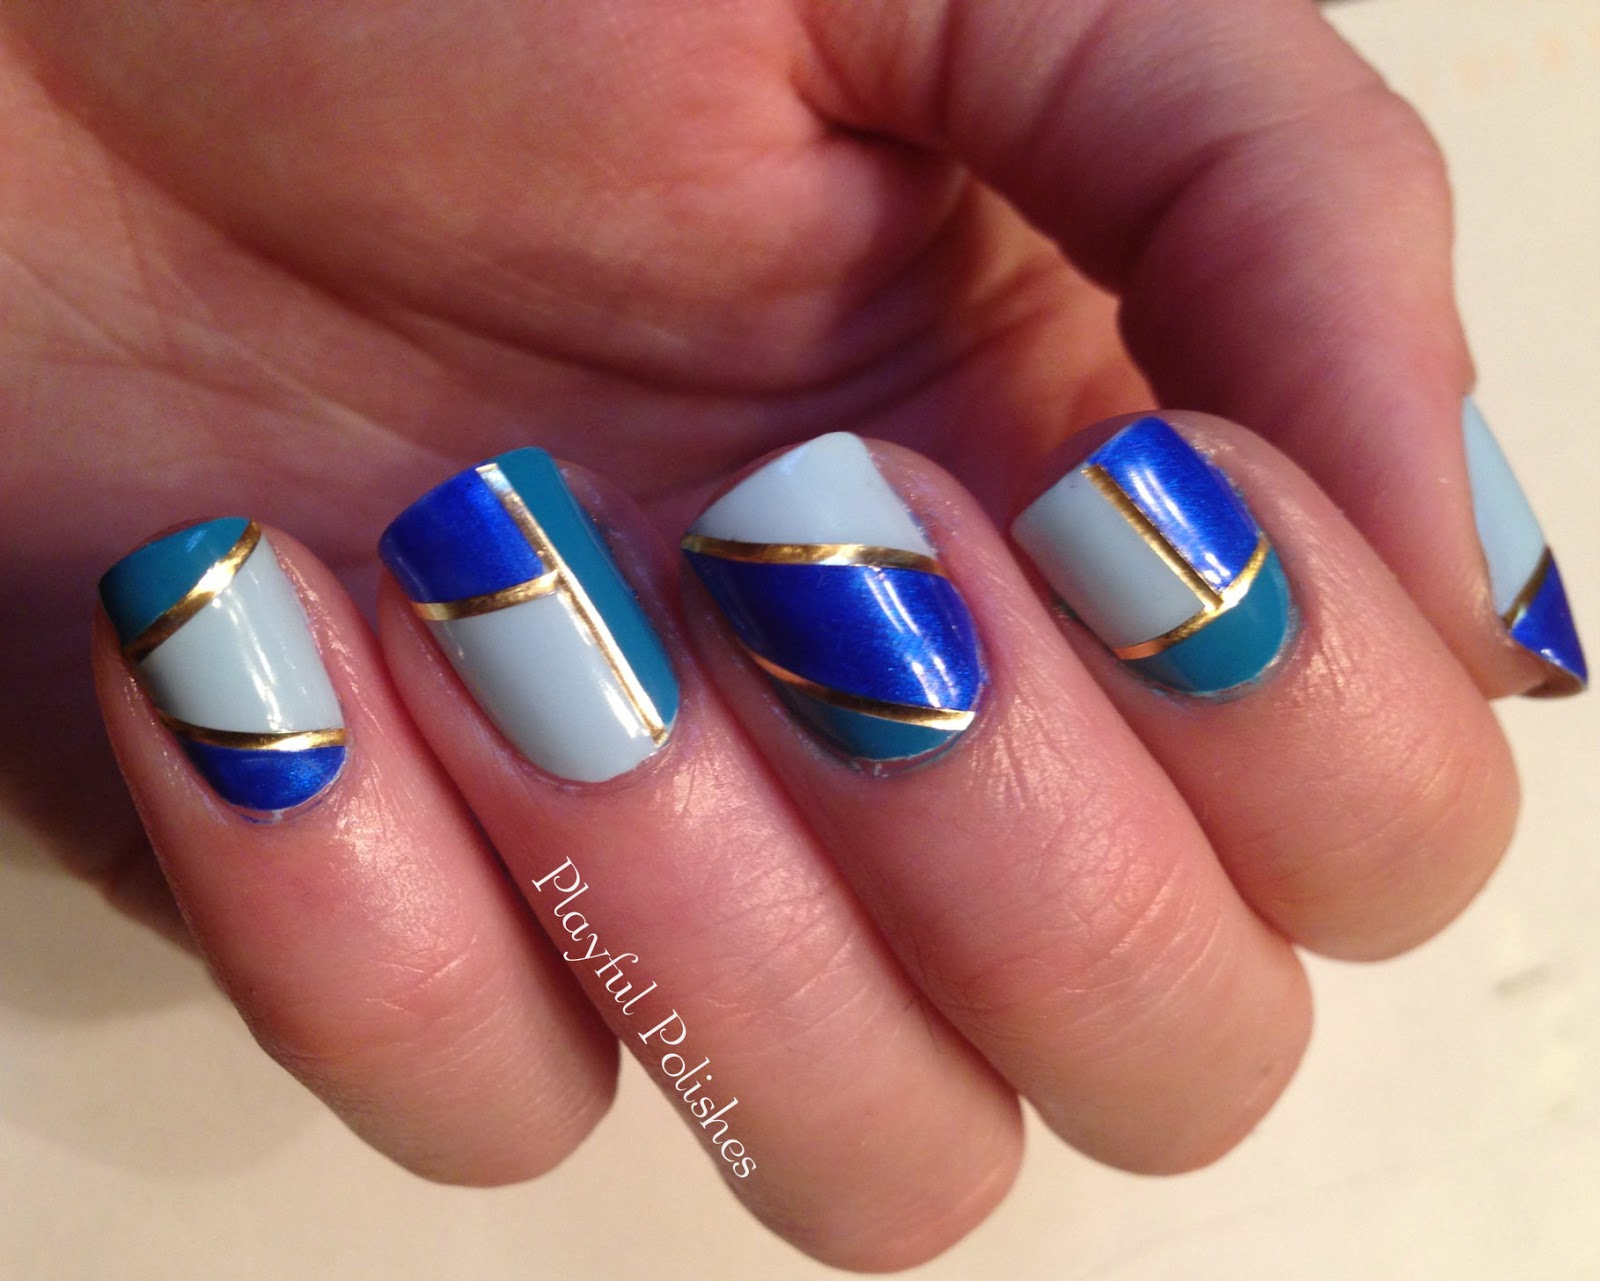
Striping tape comes in a variety of colors and patterns, making it perfect for creating fun and unique nail designs. You can mix and match different colors, create stripes, or even use the tape to make intricate designs like chevrons or diamonds. The possibilities are endless, so let your creativity run wild and have fun with your striping tape nail ideas!5. Fun and Easy Striping Tape Nail Ideas


5. Fun and Easy Striping Tape Nail Ideas

If you're new to striping tape nail designs, it can be helpful to have a step-by-step guide to follow. First, choose your base color and apply it to your nails. Once it's dry, cut strips of striping tape and place them on your nails in your desired pattern. Then, apply a second color over the tape and let it dry. Finally, carefully remove the tape to reveal your design and finish with a top coat. Follow these steps and you'll have a flawless striping tape nail design in no time!6. Step-by-Step Striping Tape Nail Design Guide


6. Step-by-Step Striping Tape Nail Design Guide


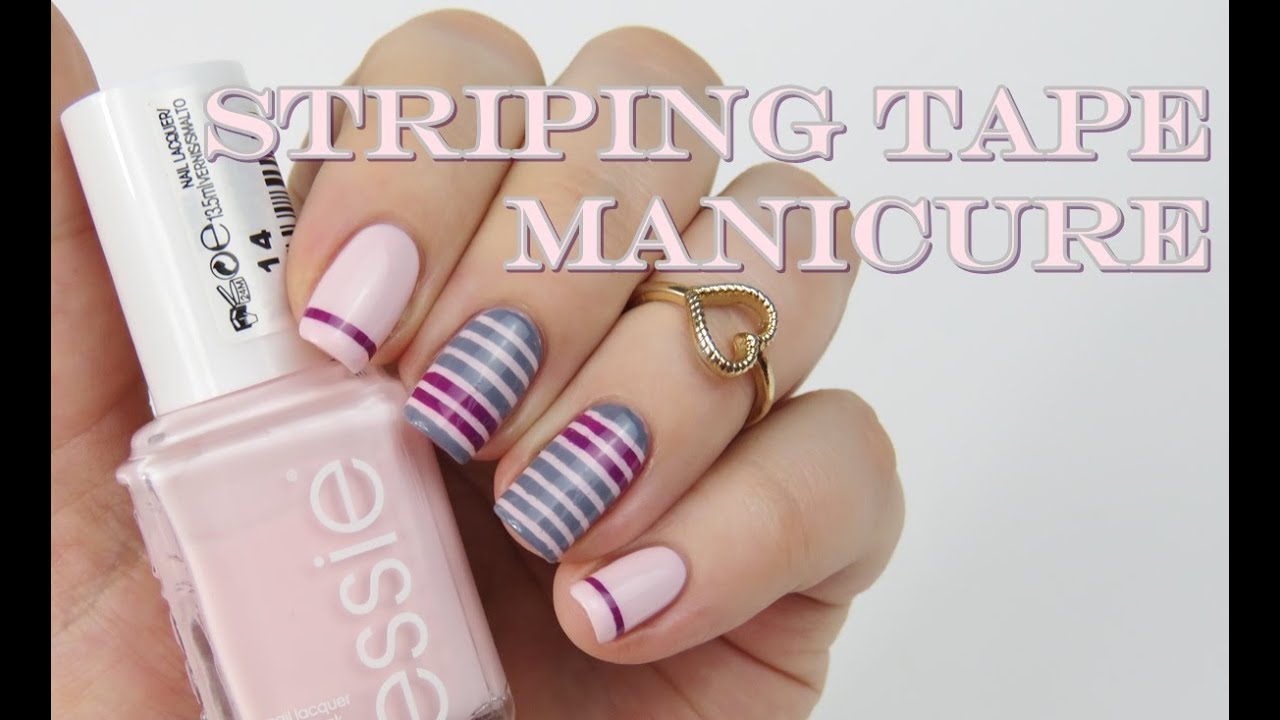
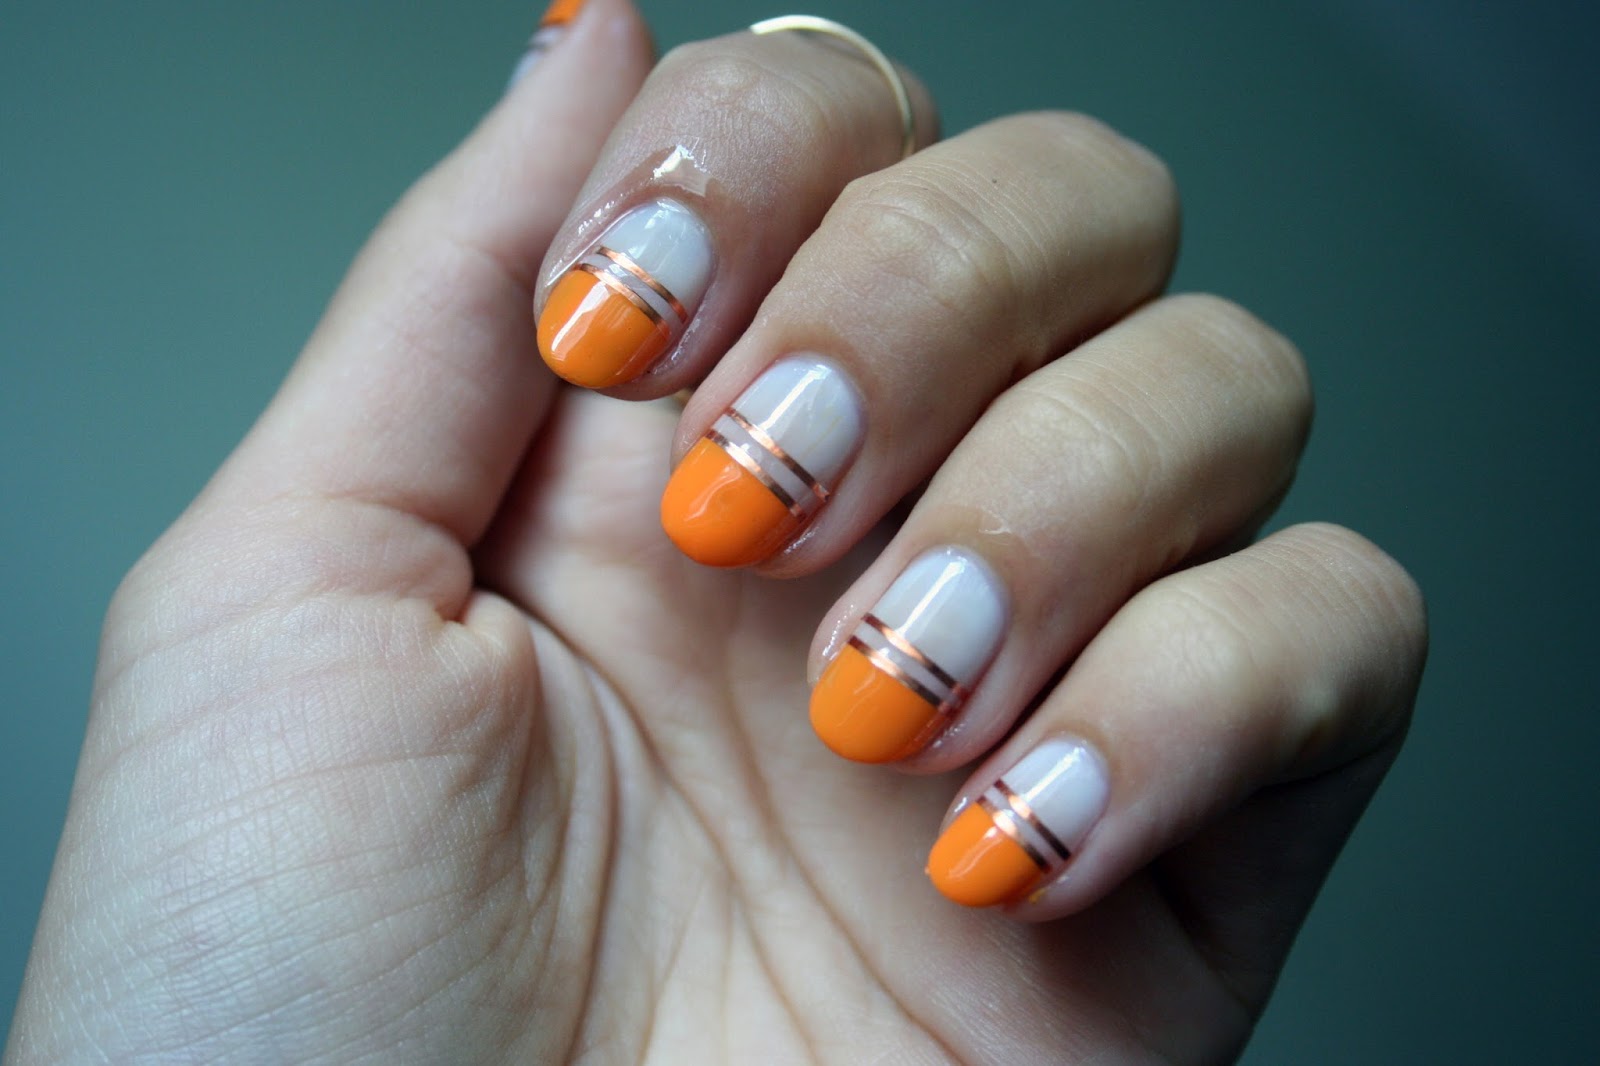
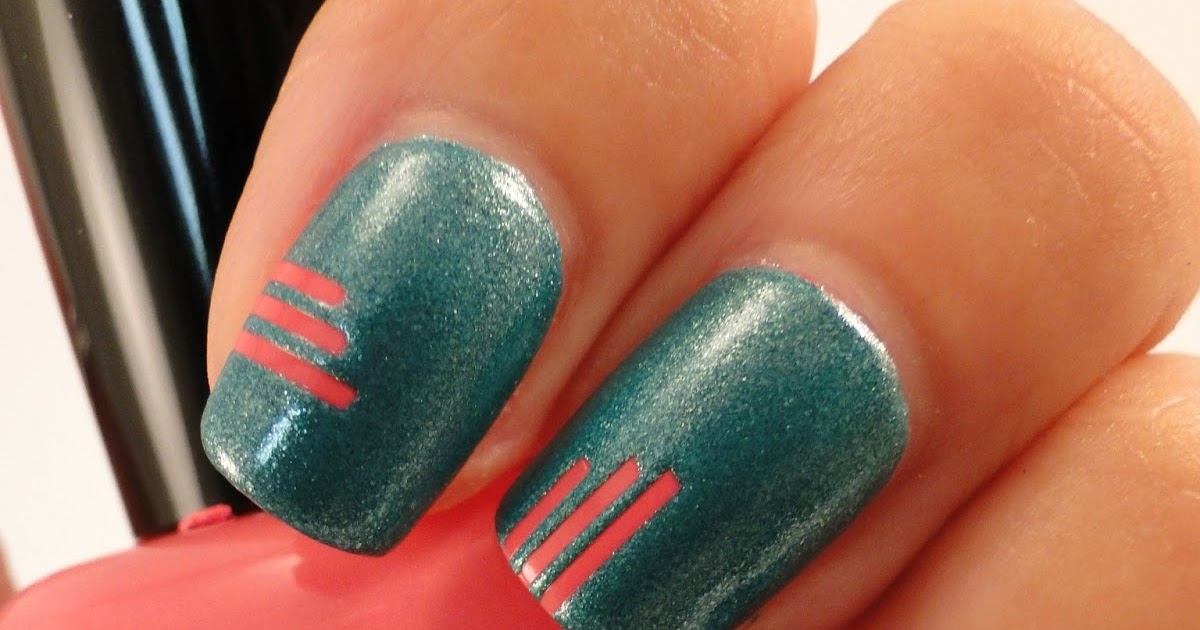
If you prefer a more understated look, striping tape can still be a great addition to your nail art. By using neutral or pastel colors and simple patterns, you can create minimalist striping tape nail designs that are elegant and chic. Whether you opt for a single stripe or a subtle geometric design, these minimalist designs are perfect for any occasion.7. Minimalist Striping Tape Nail Designs


7. Minimalist Striping Tape Nail Designs

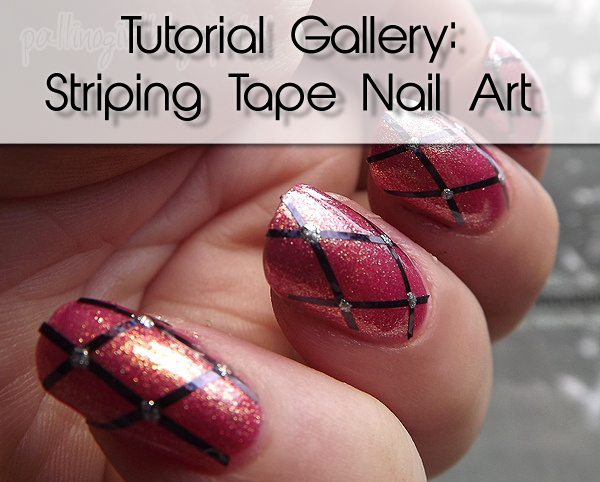
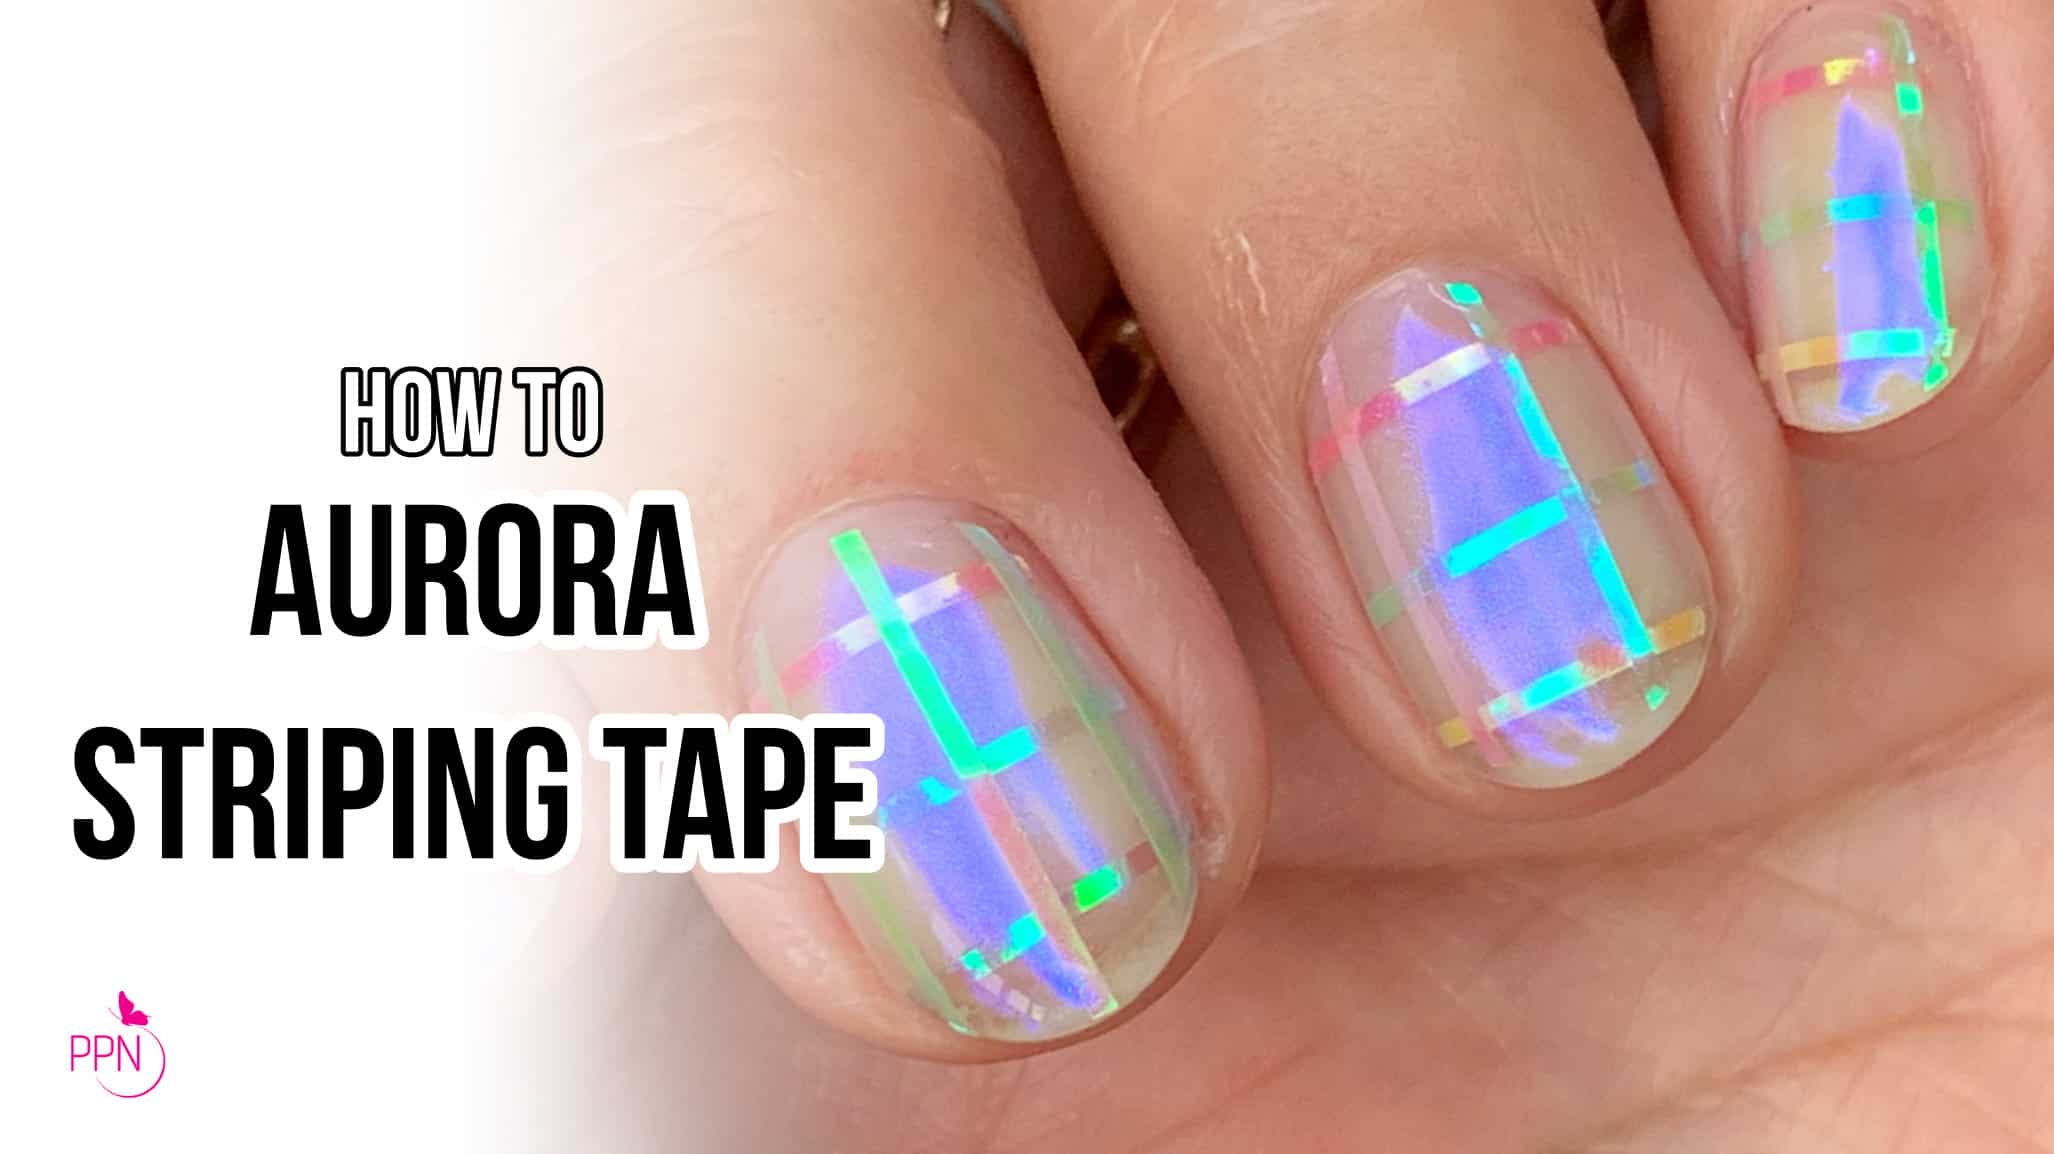
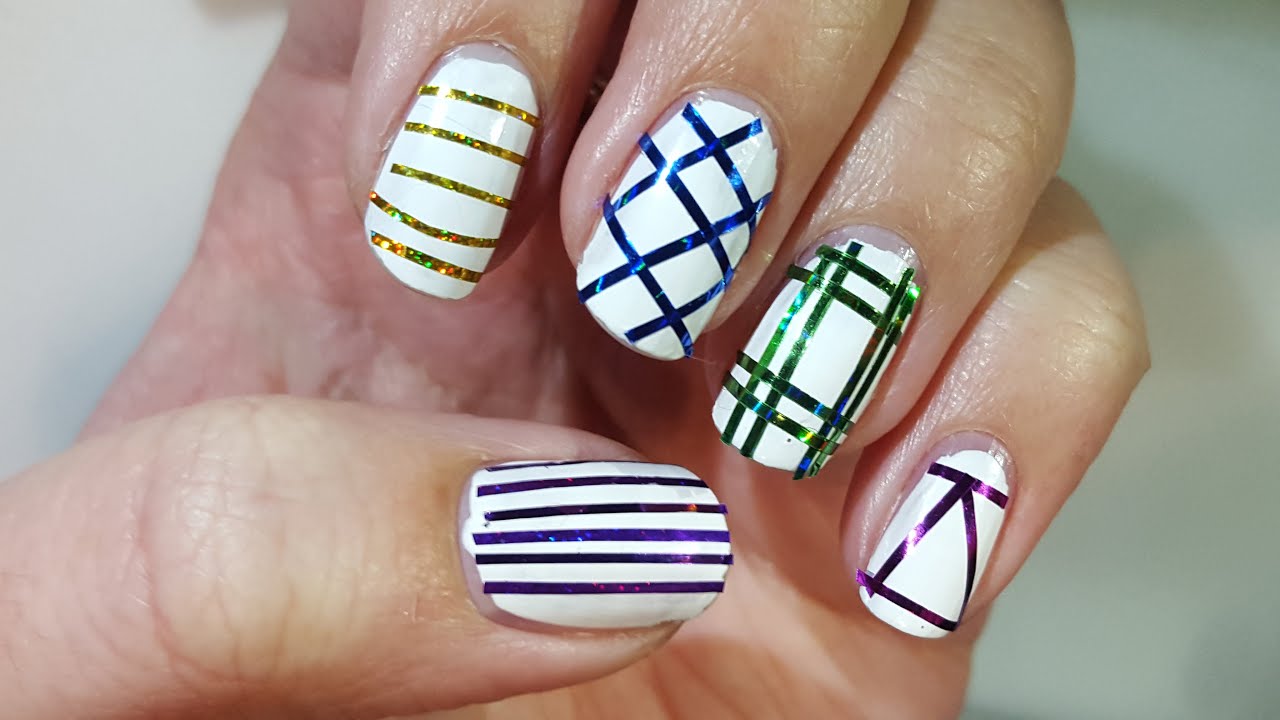
Striping tape is not just limited to creating straight lines – you can also use it to create unique and creative designs! With a little bit of imagination, you can create nail art that is totally unique and unlike anything you've seen before. And the best part? These creative striping tape nail art designs are still easy enough for beginners to achieve!8. Creative Striping Tape Nail Art for Beginners


8. Creative Striping Tape Nail Art for Beginners

Think you can't rock striping tape nail designs because you have short nails? Think again! Striping tape is perfect for short nails because it allows you to create designs without taking up too much space. You can create thin lines, small geometric shapes, or use the tape to accent a single nail. With striping tape, short nails can still have a big impact!9. Easy Striping Tape Nail Designs for Short Nails


9. Easy Striping Tape Nail Designs for Short Nails


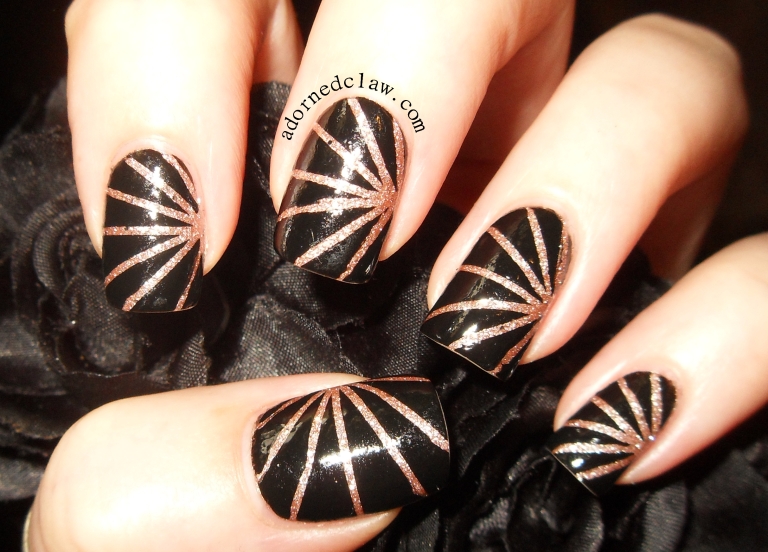
Striping tape nail designs are not only easy and fun, but they can also be elegant and sophisticated. By using metallic or glittery tape, you can create a luxurious and glamorous look. These elegant striping tape nail designs are perfect for special occasions like weddings, prom, or a night out on the town. Plus, they're so easy to achieve that you can have elegant nails in no time!10. Elegant Striping Tape Nail Designs for Any Occasion
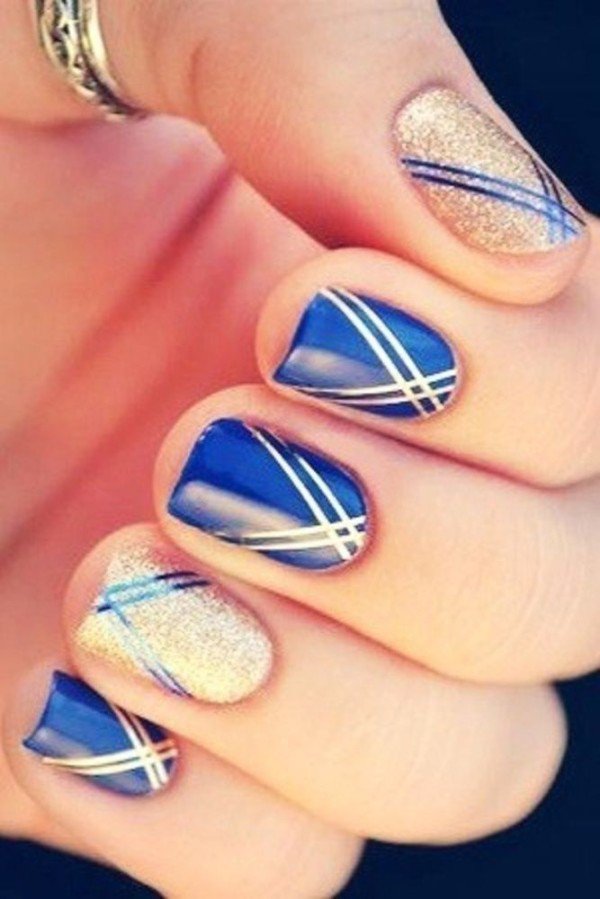


10. Elegant Striping Tape Nail Designs for Any Occasion

Create Stunning Nail Designs with Easy Striping Tape

Unleash Your Creativity with Striping Tape
 One of the best ways to elevate your nail game is by adding some
striping tape
to your collection of nail tools. This versatile and easy-to-use material allows you to create intricate and professional-looking designs without having to be a nail art pro. With just a few simple steps, you can achieve stunning and unique nail designs that are sure to turn heads.
One of the best ways to elevate your nail game is by adding some
striping tape
to your collection of nail tools. This versatile and easy-to-use material allows you to create intricate and professional-looking designs without having to be a nail art pro. With just a few simple steps, you can achieve stunning and unique nail designs that are sure to turn heads.
Getting Started
 Before you begin, it's important to gather all the necessary materials. You will need
striping tape
, a base coat and top coat, your desired nail polish colors, and a pair of tweezers. It's also helpful to have a small pair of scissors on hand in case you need to trim the tape.
Before you begin, it's important to gather all the necessary materials. You will need
striping tape
, a base coat and top coat, your desired nail polish colors, and a pair of tweezers. It's also helpful to have a small pair of scissors on hand in case you need to trim the tape.
Step 1: Prep your Nails
 Start by prepping your nails as you normally would for any at-home manicure. This includes shaping, buffing, and applying a base coat to protect your natural nails.
Step 2: Apply the Base Color
 Once your nails are prepped, apply your desired base color. This can be a solid color or a gradient effect using multiple colors. Let the polish dry completely before moving on to the next step.
Step 3: Cut and Place the Tape
 Using your tweezers, carefully cut small strips of
striping tape
and place them on your nails in your desired design. You can create geometric shapes, stripes, or even intricate patterns. The possibilities are endless!
Using your tweezers, carefully cut small strips of
striping tape
and place them on your nails in your desired design. You can create geometric shapes, stripes, or even intricate patterns. The possibilities are endless!
Step 4: Add the Accent Color
 Now it's time to add your accent color. Use a thin brush or a toothpick to carefully fill in the spaces between the tape with your chosen color. Make sure to apply a thin layer to avoid any smudging.
Step 5: Remove the Tape
.jpeg) Once the accent color is dry, gently remove the tape using your tweezers. This step requires some patience and a steady hand, but the end result is worth it.
Once the accent color is dry, gently remove the tape using your tweezers. This step requires some patience and a steady hand, but the end result is worth it.
Step 6: Seal with Top Coat
 To finish off your design, apply a top coat to seal in the colors and give your nails a glossy finish. This will also help to keep your design in place for longer.
With these easy steps, you can create beautiful and professional-looking nail designs using
striping tape
. Don't be afraid to experiment with different colors and designs to find the perfect look for you. So next time you're looking to spice up your nail game, reach for some striping tape and get creative!
To finish off your design, apply a top coat to seal in the colors and give your nails a glossy finish. This will also help to keep your design in place for longer.
With these easy steps, you can create beautiful and professional-looking nail designs using
striping tape
. Don't be afraid to experiment with different colors and designs to find the perfect look for you. So next time you're looking to spice up your nail game, reach for some striping tape and get creative!


