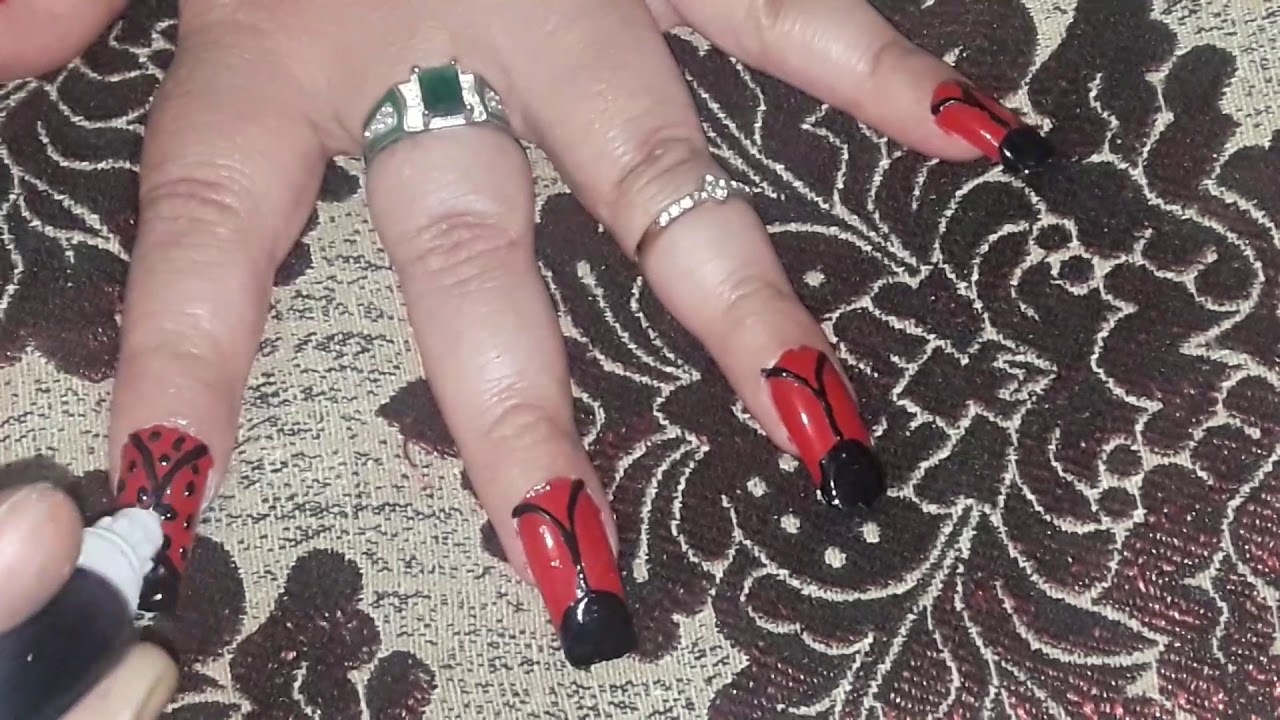
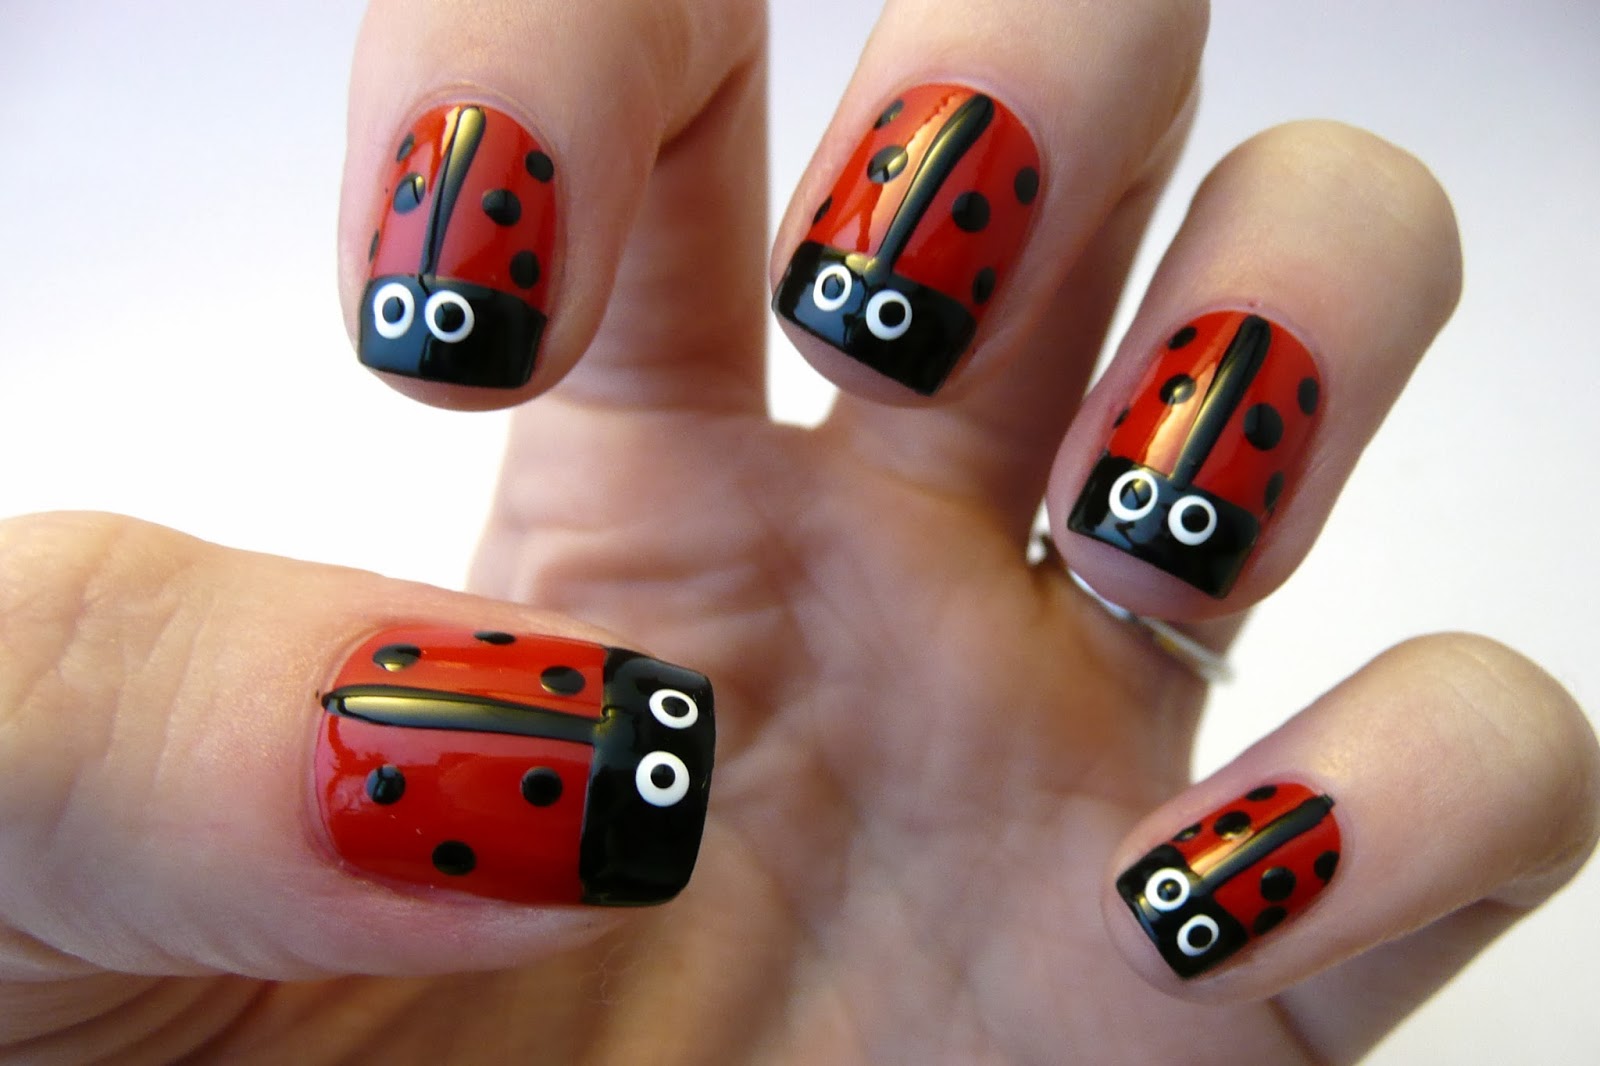
Are you looking for a cute and playful nail design that will make your nails stand out? Look no further than ladybug nail art! Not only is it adorable, but it's also easy to create. In this tutorial, we will show you step by step how to achieve this fun and whimsical look. To start, you will need a base coat, red and black nail polish, a dotting tool, and a thin brush. Begin by applying a base coat to protect your nails and allow it to dry completely. Then, apply two coats of red nail polish to all your nails. Once the red polish is completely dry, use a dotting tool to create the ladybug's head with black polish. Make a small dot near the tip of your nail and then drag the dot down to create an oval shape. This will be the ladybug's head. Next, use the thin brush and black polish to draw a line down the middle of your nail, starting at the head and going down to the base. This will be the ladybug's body. Then, using the dotting tool again, add black dots to the red part of your nail to create the ladybug's signature spots. Finish off the design by adding two small white dots for the ladybug's eyes and a small black line for the mouth. Allow the design to dry completely before applying a top coat to seal in your beautiful ladybug nail art.1. Ladybug Nail Art Tutorial


1. Ladybug Nail Art Tutorial


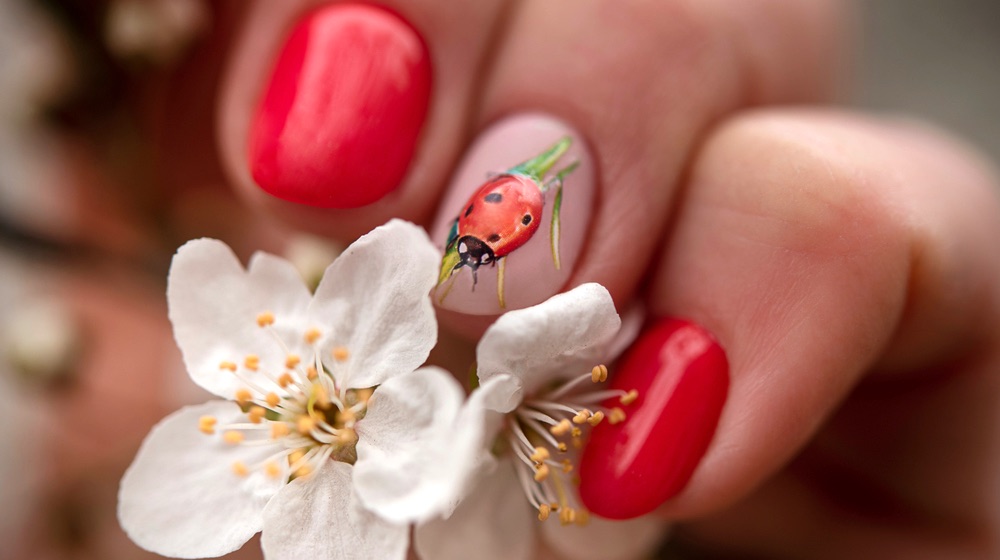
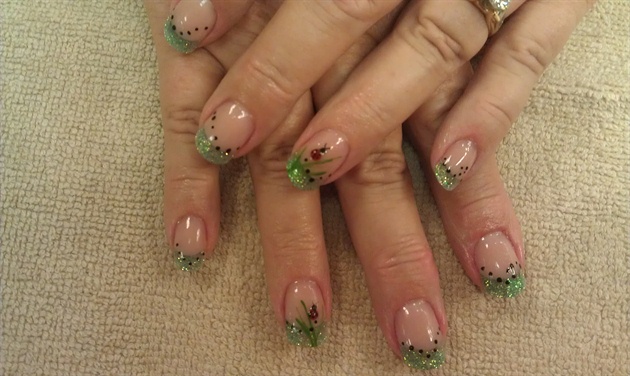
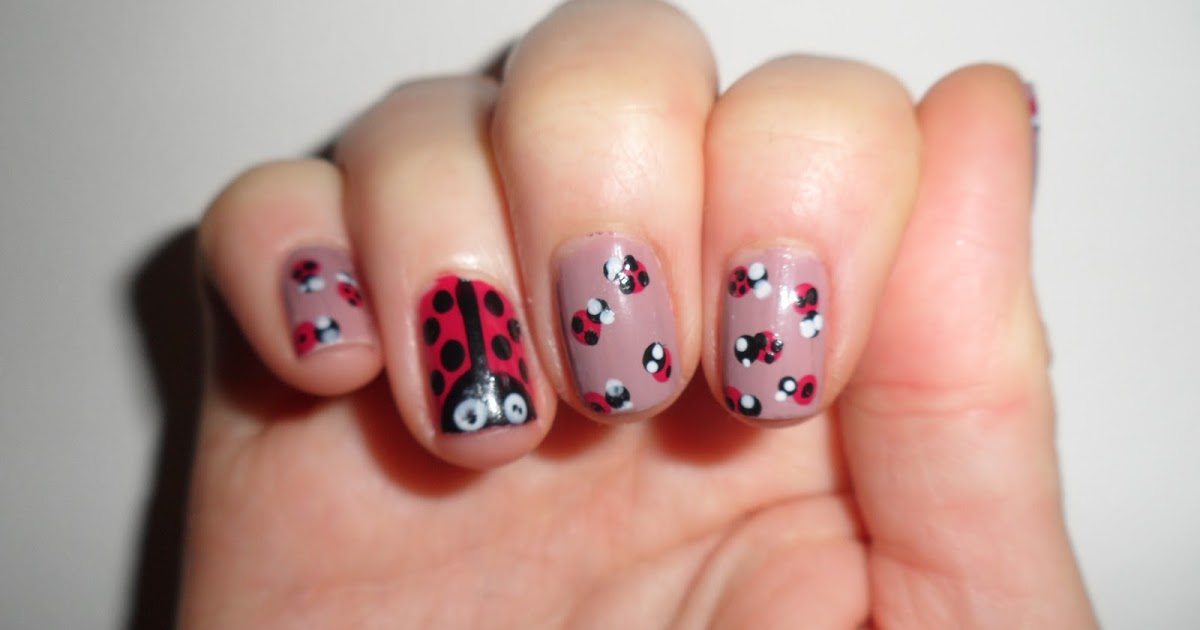
Ladybug nail art is not only cute and fun, but it also offers endless design possibilities. You can create different variations of ladybugs, add flowers or other bugs, or even create a whole ladybug family on your nails. Let your creativity run wild and have fun with these cute ladybug nail designs. For a simple and subtle ladybug design, you can opt for a white base instead of red and add ladybug accents on one or two nails. You can also try using different nail polish colors for the ladybug's body, such as pink or purple, for a more playful look. If you want to take your ladybug nail art to the next level, you can create a whole garden scene on your nails. Use green polish for the grass, add flowers with a dotting tool, and place ladybugs throughout the design. This will create an adorable and whimsical look that is perfect for spring or summer. Don't be afraid to experiment and try different designs to find the one that speaks to you. Ladybug nail art is all about having fun and expressing your personality through your nails.2. Cute Ladybug Nail Designs


2. Cute Ladybug Nail Designs


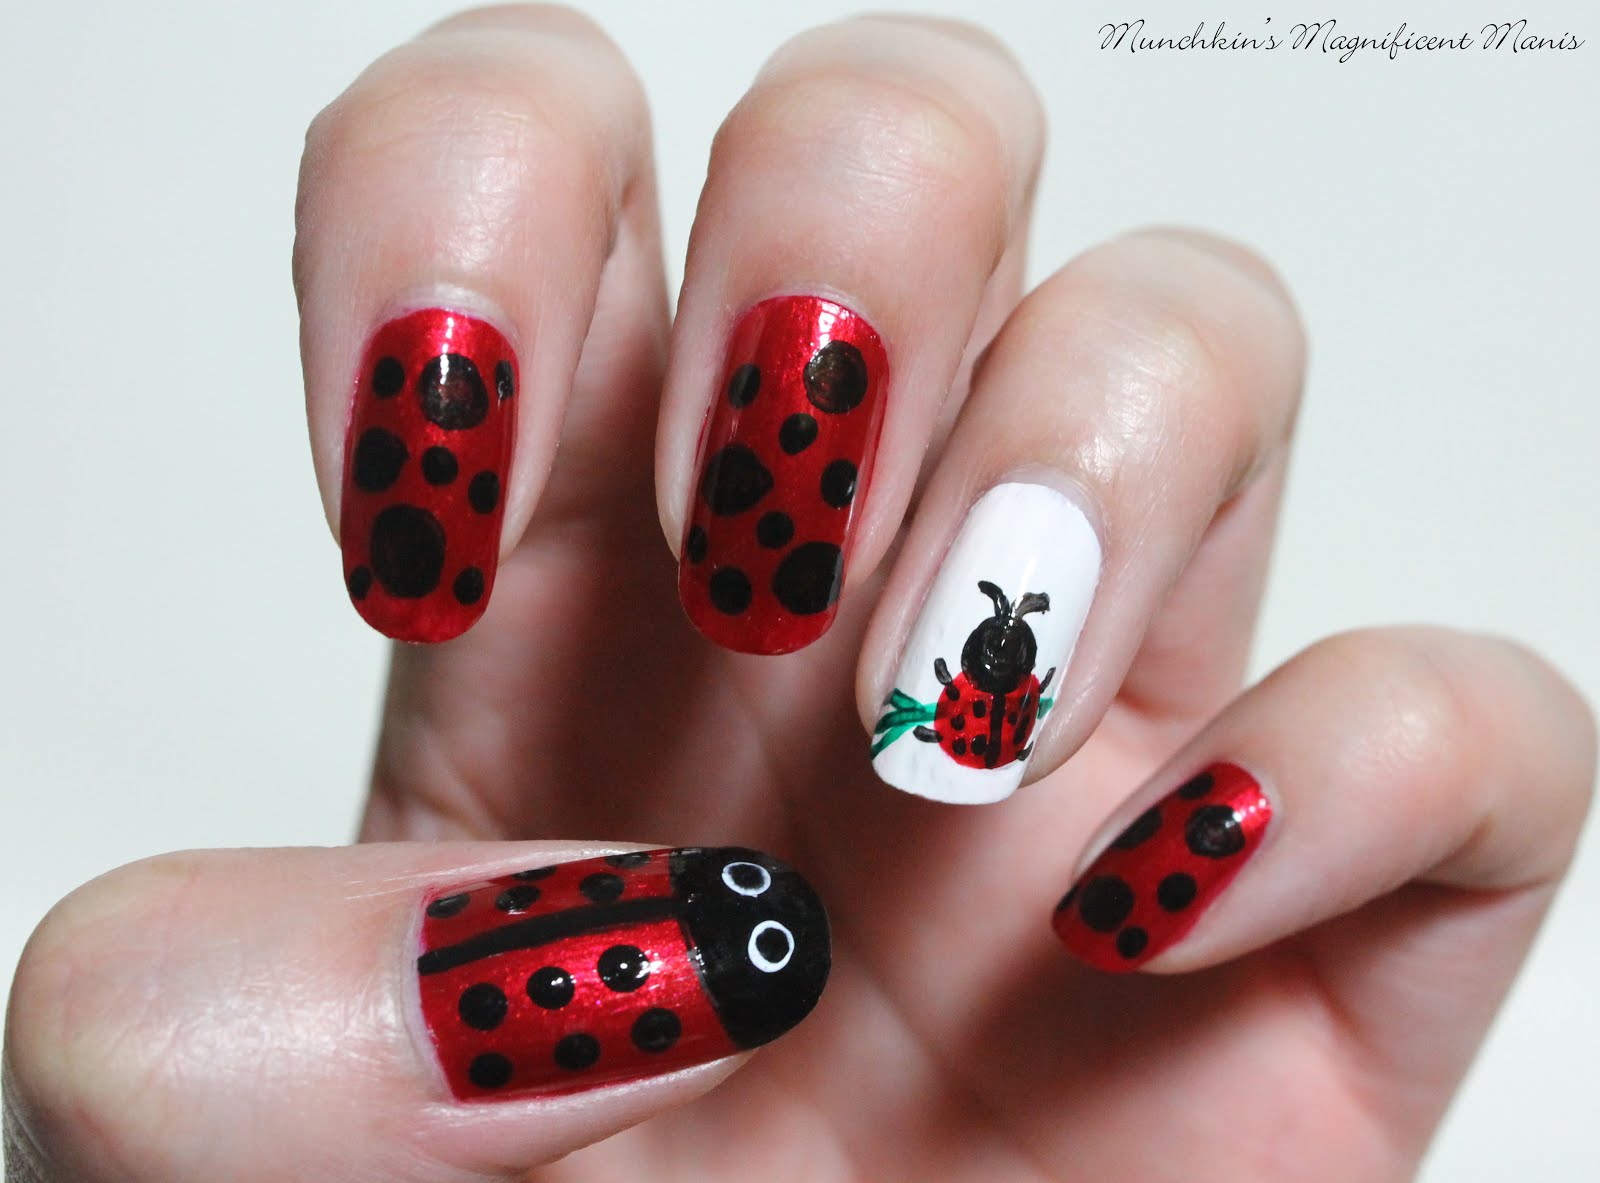
If you're in need of some inspiration for your ladybug nail art, we've got you covered. Here are some fun and creative ideas to help you achieve the perfect ladybug manicure: - Instead of a traditional ladybug design, try creating a cartoon version with big eyes and a smiley face. - Add ladybug accents to a French manicure by painting the tips of your nails red and adding black ladybug spots. - Use a black nail art pen to create intricate ladybug designs, such as a ladybug sitting on a leaf or a ladybug flying. - Create a ladybug family on your nails by painting different sizes of ladybugs on each nail. - Add a pop of color by painting your nails white and creating a ladybug design using yellow or blue polish. The possibilities are endless when it comes to ladybug nail art, so don't be afraid to try new ideas and make the design your own.3. Ladybug Nail Art Ideas


3. Ladybug Nail Art Ideas


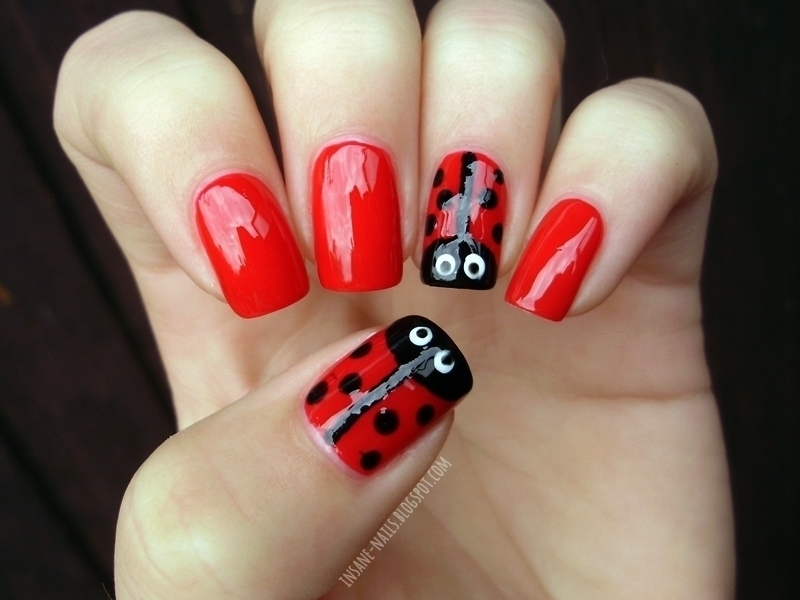
If you're new to nail art or just need a refresher, here is a step by step guide to creating a ladybug nail design: Step 1: Start by applying a base coat to protect your nails. Step 2: Apply two coats of red nail polish to all your nails and allow it to dry completely. Step 3: Using a dotting tool, create the ladybug's head with black polish by making a small dot near the tip of your nail and dragging it down to create an oval shape. Step 4: Use a thin brush and black polish to draw a line down the middle of your nail, starting at the head and going down to the base. This will be the ladybug's body. Step 5: Use the dotting tool again to add black dots to the red part of your nail to create the ladybug's spots. Step 6: Add two small white dots for the ladybug's eyes and a small black line for the mouth. Step 7: Allow the design to dry completely before applying a top coat to seal in your design. With these simple steps, you can achieve a cute and playful ladybug nail design in no time.4. Ladybug Nail Art Step by Step


4. Ladybug Nail Art Step by Step

If you're new to nail art or struggle with creating intricate designs, ladybug nail art is a great place to start. It's simple, easy, and doesn't require any special tools or skills. Start by following the step by step tutorial mentioned earlier, and once you feel comfortable with the basic design, you can start experimenting with different variations and adding your own touch to the design. You can also try using nail stickers or nail wraps with ladybug designs for an even easier option. Simply apply the stickers or wraps to your nails, and you'll have a cute ladybug manicure in minutes.5. Ladybug Nail Art for Beginners


5. Ladybug Nail Art for Beginners
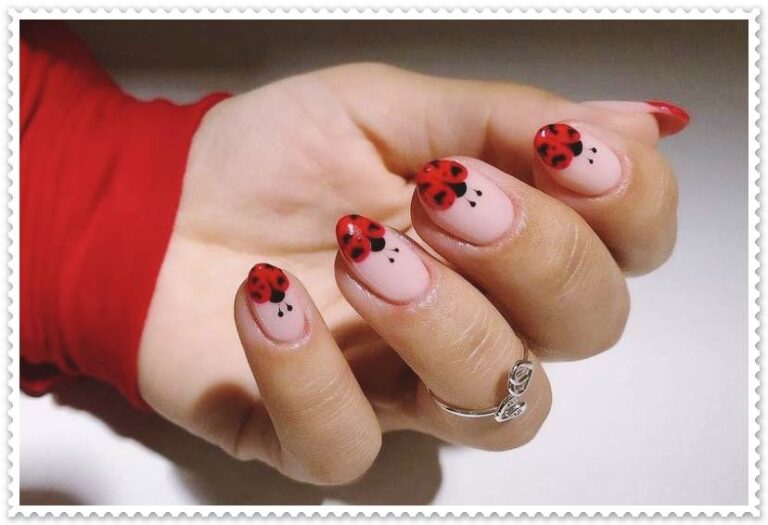
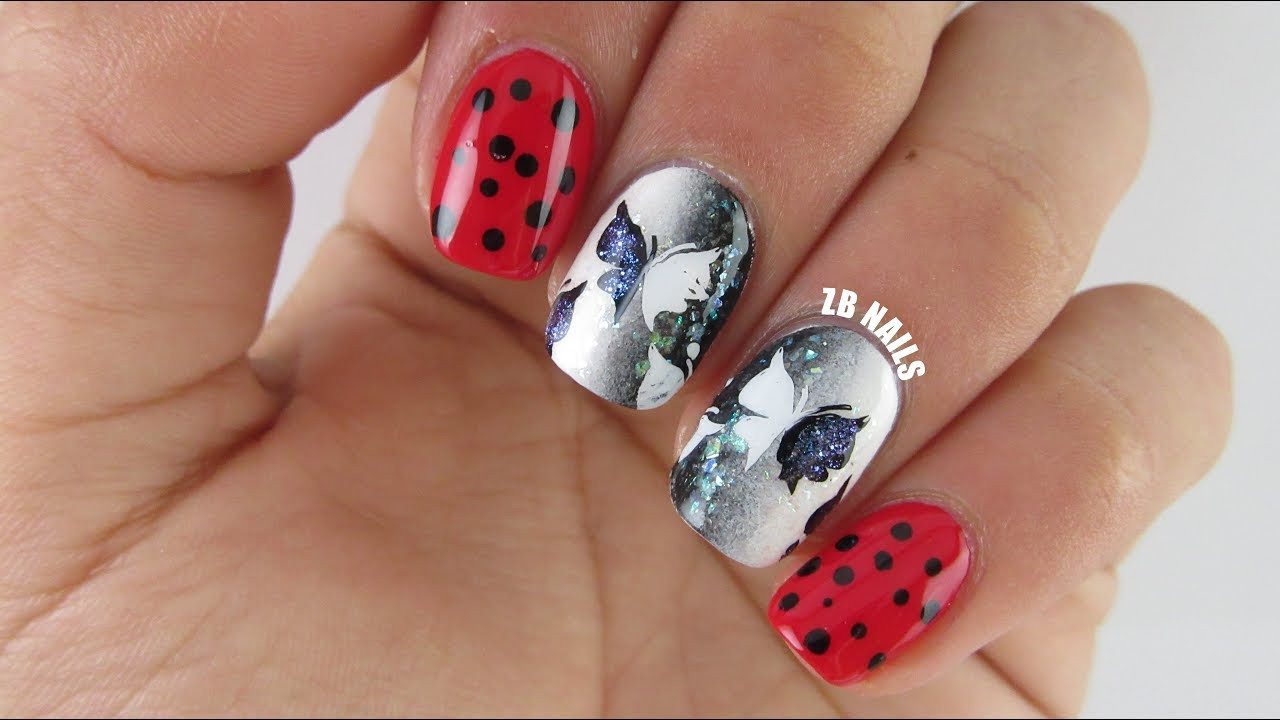
Short nails can be just as fun and stylish as long nails, and ladybug nail art is the perfect example. Here are some tips for creating ladybug designs on short nails: - Use a thin brush or a nail art pen to create smaller ladybugs and designs that will fit on your shorter nails. - Try painting the ladybugs diagonally on your nails to create a longer illusion. - Opt for a simpler ladybug design, such as just the head and a few spots, to avoid overcrowding your short nails. - Use smaller dotting tools to create the ladybug's spots. Just because you have short nails doesn't mean you can't rock a cute and playful ladybug nail design.6. Ladybug Nail Art Designs for Short Nails


6. Ladybug Nail Art Designs for Short Nails

If you're pressed for time or don't have the skills to create intricate nail designs, ladybug nail art stickers are a great option. They are easy to apply, come in a variety of designs, and can instantly elevate your manicure. You can find ladybug nail art stickers in most beauty stores or online, and they come in different sizes, colors, and designs. You can choose to use them as an accent on one or two nails or cover all your nails with ladybug stickers for a playful look.7. Ladybug Nail Art Stickers

7. Ladybug Nail Art Stickers


Dotting tools are essential when it comes to creating ladybug nail art. They are great for creating the ladybug's head, spots, and other small details. You can also use them to create fun dot designs on your nails, such as a ladybug pattern or a ladybug family. Experiment with different sizes of dotting tools to create varying sizes of spots and designs. You can also use different colors for the dots, such as white or yellow, to add a pop of color to your ladybug nail art.8. Ladybug Nail Art with Dots

8. Ladybug Nail Art with Dots
For a cute and girly twist on ladybug nail art, add some flowers to the design. You can use a dotting tool to create flowers with different colors and sizes, or you can use nail art stickers with flower designs. You can also opt for a floral background for your ladybug design by painting your nails with a flower pattern and adding ladybug accents on top.9. Ladybug Nail Art with Flowers

9. Ladybug Nail Art with Flowers
To add some sparkle to your ladybug nail art, try incorporating rhinestones into the design. You can use rhinestones to create the ladybug's spots or add them as an accent on one or two nails. For a more subtle look, use black or red rhinestones to create the ladybug's spots. You can also use clear or white rhinestones for a more glamorous and sparkly effect. With these top 10 ladybug nail art ideas, you can create a fun and playful manicure that will surely turn heads. Whether you're a beginner or a nail art pro, ladybug nail art is a must-try for anyone who loves cute and creative nail designs.10. Ladybug Nail Art with Rhinestones
10. Ladybug Nail Art with Rhinestones
The Intricate Art of Ladybug Nail Designs: A Must-Try for Nail Enthusiasts
Unleash Your Creativity with Ladybug Nail Art
 When it comes to nail art, the possibilities are endless. From bold and intricate designs to simple and elegant ones, there is something for everyone. However, if you're looking to add a playful and whimsical touch to your nails, then ladybug nail art is the way to go. This fun and adorable design is perfect for any occasion and is a must-try for all nail enthusiasts.
Ladybug nail art
is inspired by the cute and colorful insects that are commonly associated with good luck and happiness. These tiny creatures have become a popular design in the world of nail art and for good reason. Ladybugs are a symbol of positivity and joy, making them the perfect addition to any nail design.
When it comes to nail art, the possibilities are endless. From bold and intricate designs to simple and elegant ones, there is something for everyone. However, if you're looking to add a playful and whimsical touch to your nails, then ladybug nail art is the way to go. This fun and adorable design is perfect for any occasion and is a must-try for all nail enthusiasts.
Ladybug nail art
is inspired by the cute and colorful insects that are commonly associated with good luck and happiness. These tiny creatures have become a popular design in the world of nail art and for good reason. Ladybugs are a symbol of positivity and joy, making them the perfect addition to any nail design.
How to Achieve the Perfect Ladybug Nail Design
 To create a ladybug nail design, you will need a few essential tools such as a base coat, red and black nail polish, a dotting tool or toothpick, and a top coat. Start by applying a base coat to protect your nails and allow it to dry completely. Next, paint your nails with a vibrant red polish and let it dry. Once dry, use a dotting tool or toothpick to create black polka dots on your nails. This will serve as the ladybug's body. Finally, use the dotting tool or toothpick to add black accents to create the ladybug's head and antenna. Finish off with a top coat to seal in your design and add shine.
Pro tip:
You can also add additional details such as tiny white dots for the ladybug's eyes or even add a leaf or flower design to complete the look.
To create a ladybug nail design, you will need a few essential tools such as a base coat, red and black nail polish, a dotting tool or toothpick, and a top coat. Start by applying a base coat to protect your nails and allow it to dry completely. Next, paint your nails with a vibrant red polish and let it dry. Once dry, use a dotting tool or toothpick to create black polka dots on your nails. This will serve as the ladybug's body. Finally, use the dotting tool or toothpick to add black accents to create the ladybug's head and antenna. Finish off with a top coat to seal in your design and add shine.
Pro tip:
You can also add additional details such as tiny white dots for the ladybug's eyes or even add a leaf or flower design to complete the look.
Why You Should Try Ladybug Nail Art
 Ladybug nail art is not only adorable but also versatile. It can be incorporated into various designs and styles, making it suitable for any occasion. Whether you want a simple and subtle design or a more elaborate and eye-catching one, ladybug nail art can be adapted to your preferences.
Moreover,
ladybug nail art
is a great way to show off your creativity and add a fun and playful touch to your look. It is also a conversation starter and a great way to spread positivity and good vibes.
In conclusion, ladybug nail art is a must-try for all nail enthusiasts. It is a fun, cute, and versatile design that will add a touch of whimsy to your nails. So why not unleash your creativity and give it a try? With these easy steps, you can achieve the perfect ladybug nail design and be the envy of all your friends.
Ladybug nail art is not only adorable but also versatile. It can be incorporated into various designs and styles, making it suitable for any occasion. Whether you want a simple and subtle design or a more elaborate and eye-catching one, ladybug nail art can be adapted to your preferences.
Moreover,
ladybug nail art
is a great way to show off your creativity and add a fun and playful touch to your look. It is also a conversation starter and a great way to spread positivity and good vibes.
In conclusion, ladybug nail art is a must-try for all nail enthusiasts. It is a fun, cute, and versatile design that will add a touch of whimsy to your nails. So why not unleash your creativity and give it a try? With these easy steps, you can achieve the perfect ladybug nail design and be the envy of all your friends.


