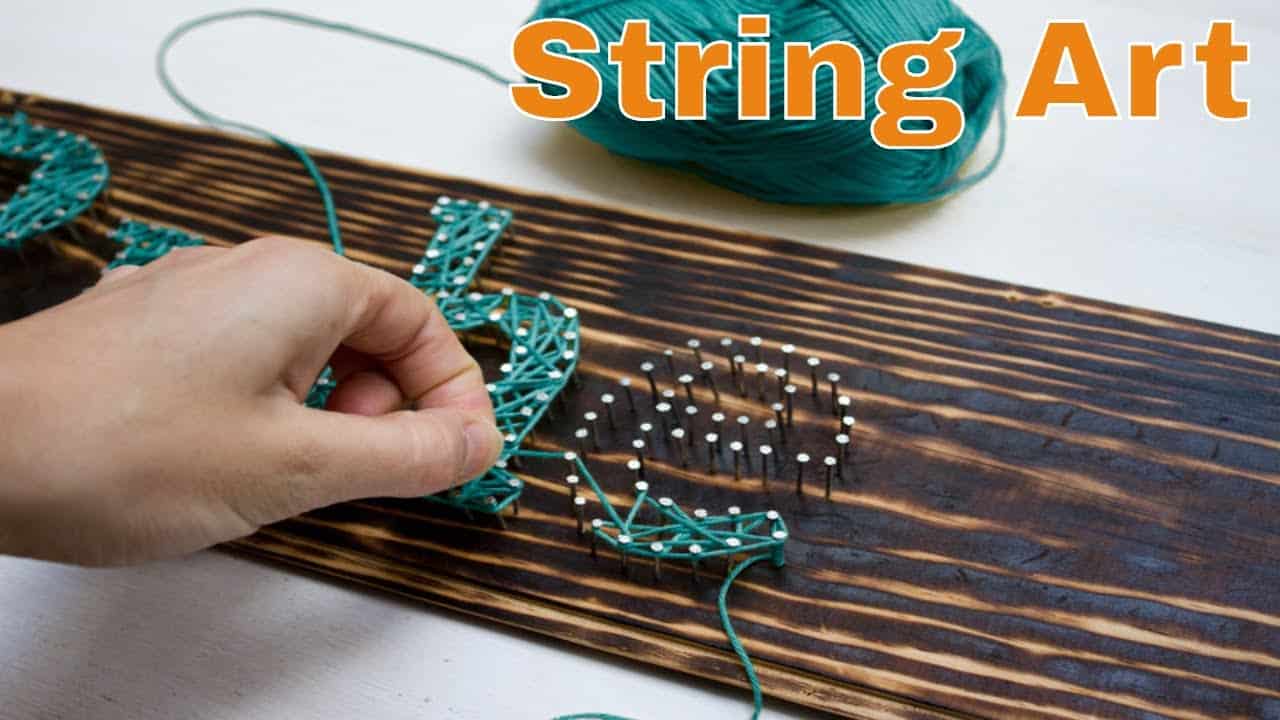
Nail and string art is a popular trend that allows you to create beautiful and unique designs using simple materials such as nails, string, and wood. This DIY craft is not only fun and easy, but it also adds a touch of creativity and personality to your home decor. In this article, we will share with you 10 simple paint nail and string wood designs that you can easily make at home.Simple Nail and String Art


Simple Nail and String Art


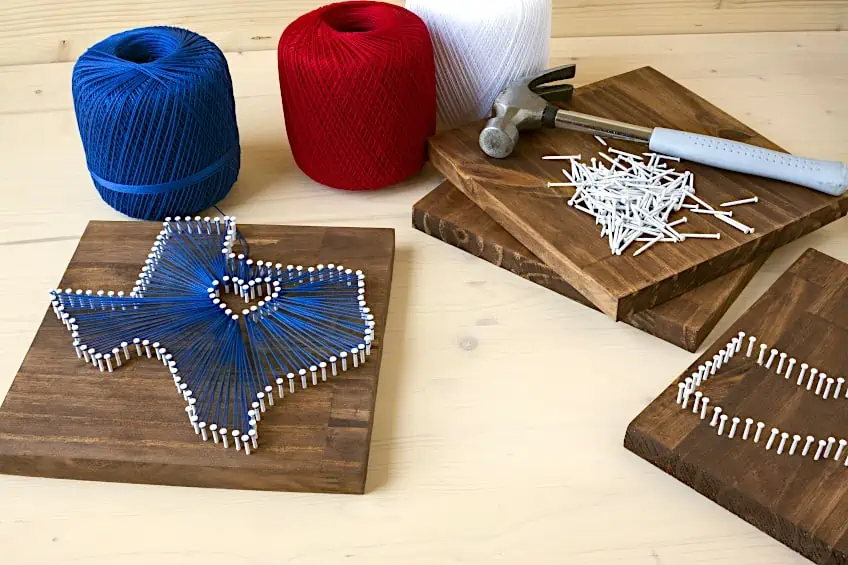
Wood string art is a great way to add a rustic and handmade touch to any room. You can create different patterns and designs using just a few supplies, making it a perfect project for beginners. To get started, you will need a wooden board, nails, and colorful embroidery thread. You can use any type of wood for this project, but pine or plywood works best.Easy Wood String Art


Easy Wood String Art
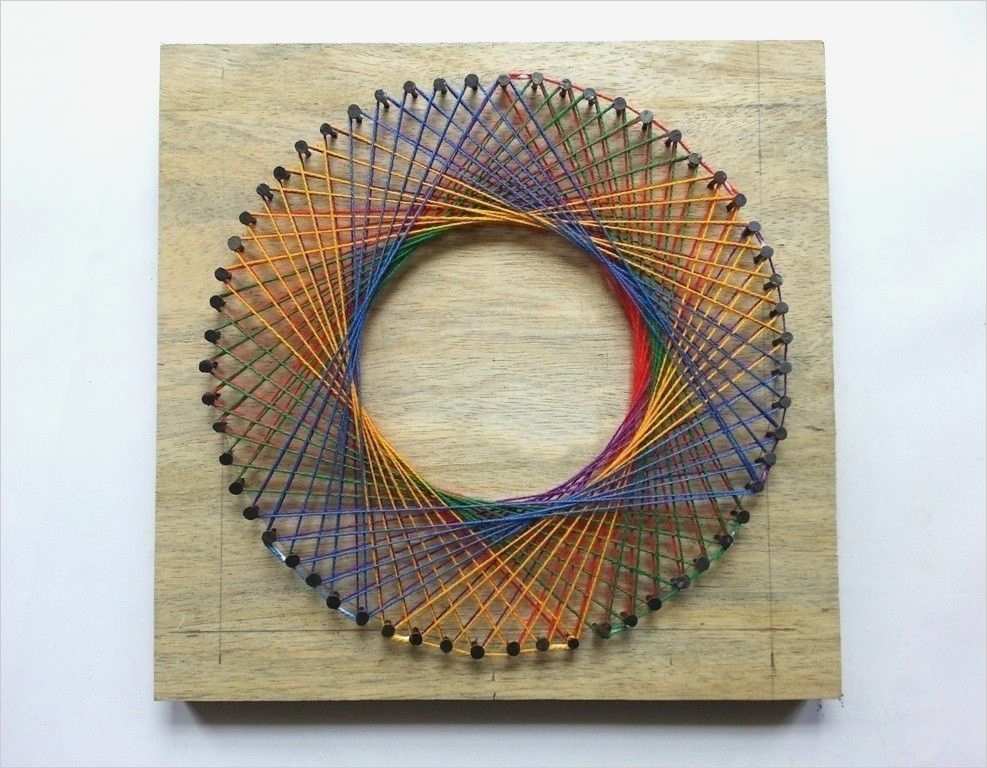
Instead of using plain wood, you can add a pop of color to your string art by painting the wooden board beforehand. This will give your design a unique and eye-catching look. You can use acrylic or spray paint, and let your creativity run wild by using different colors and patterns.DIY Painted String Art


DIY Painted String Art

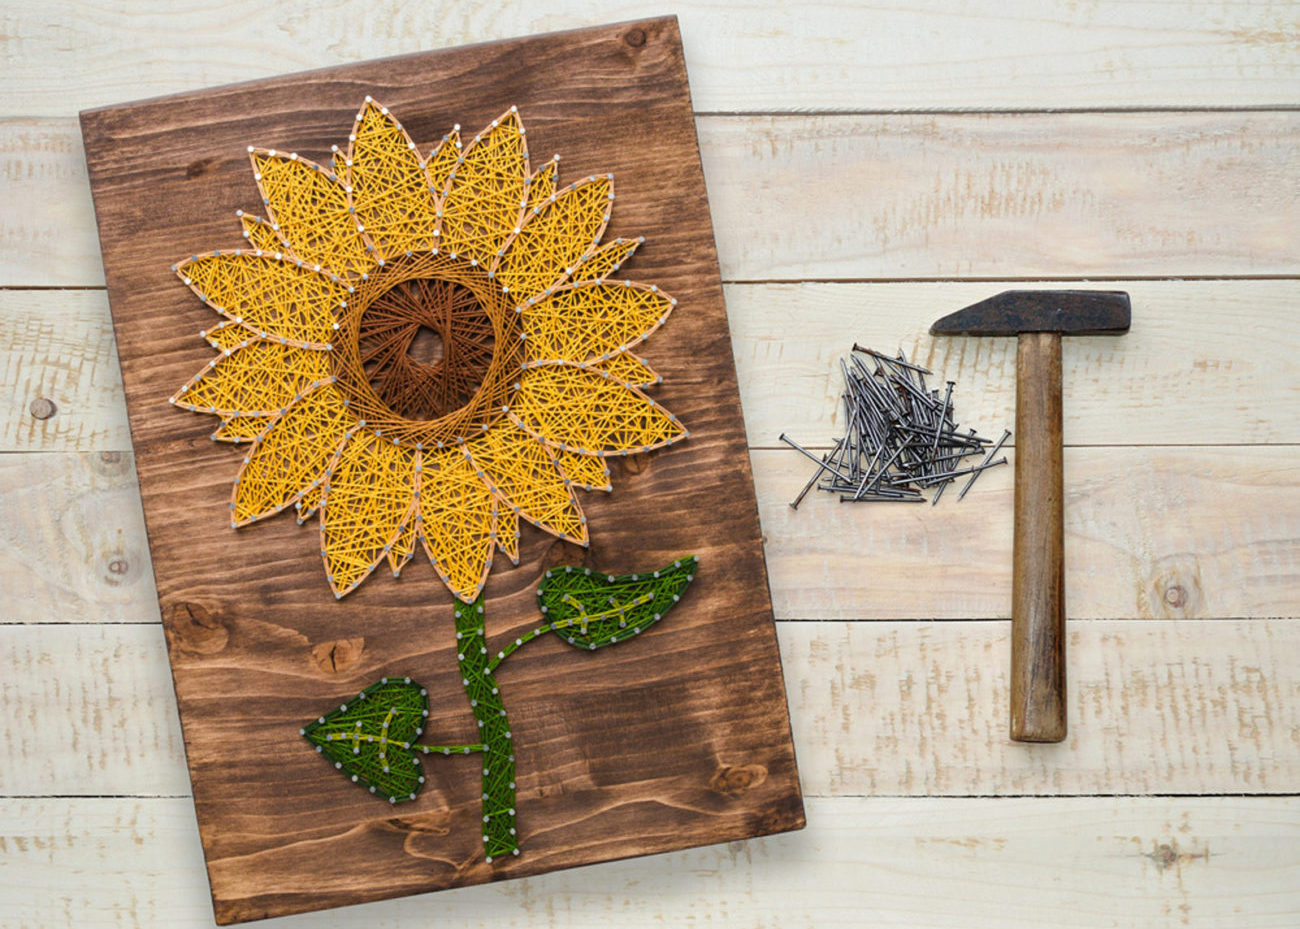
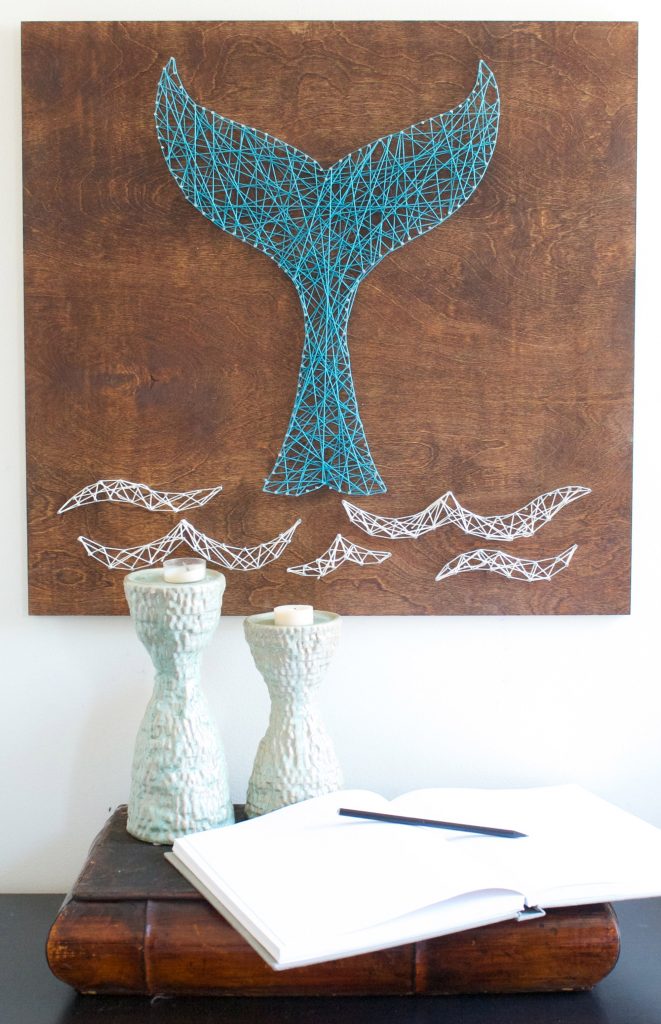
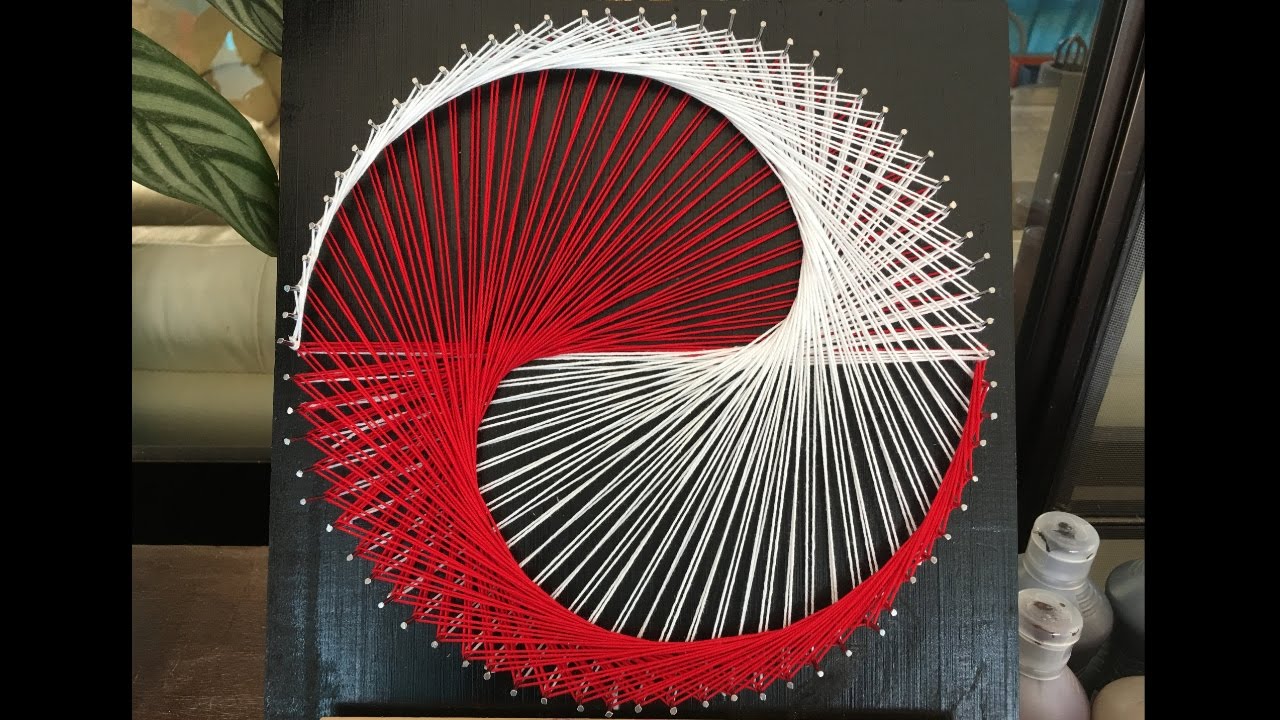
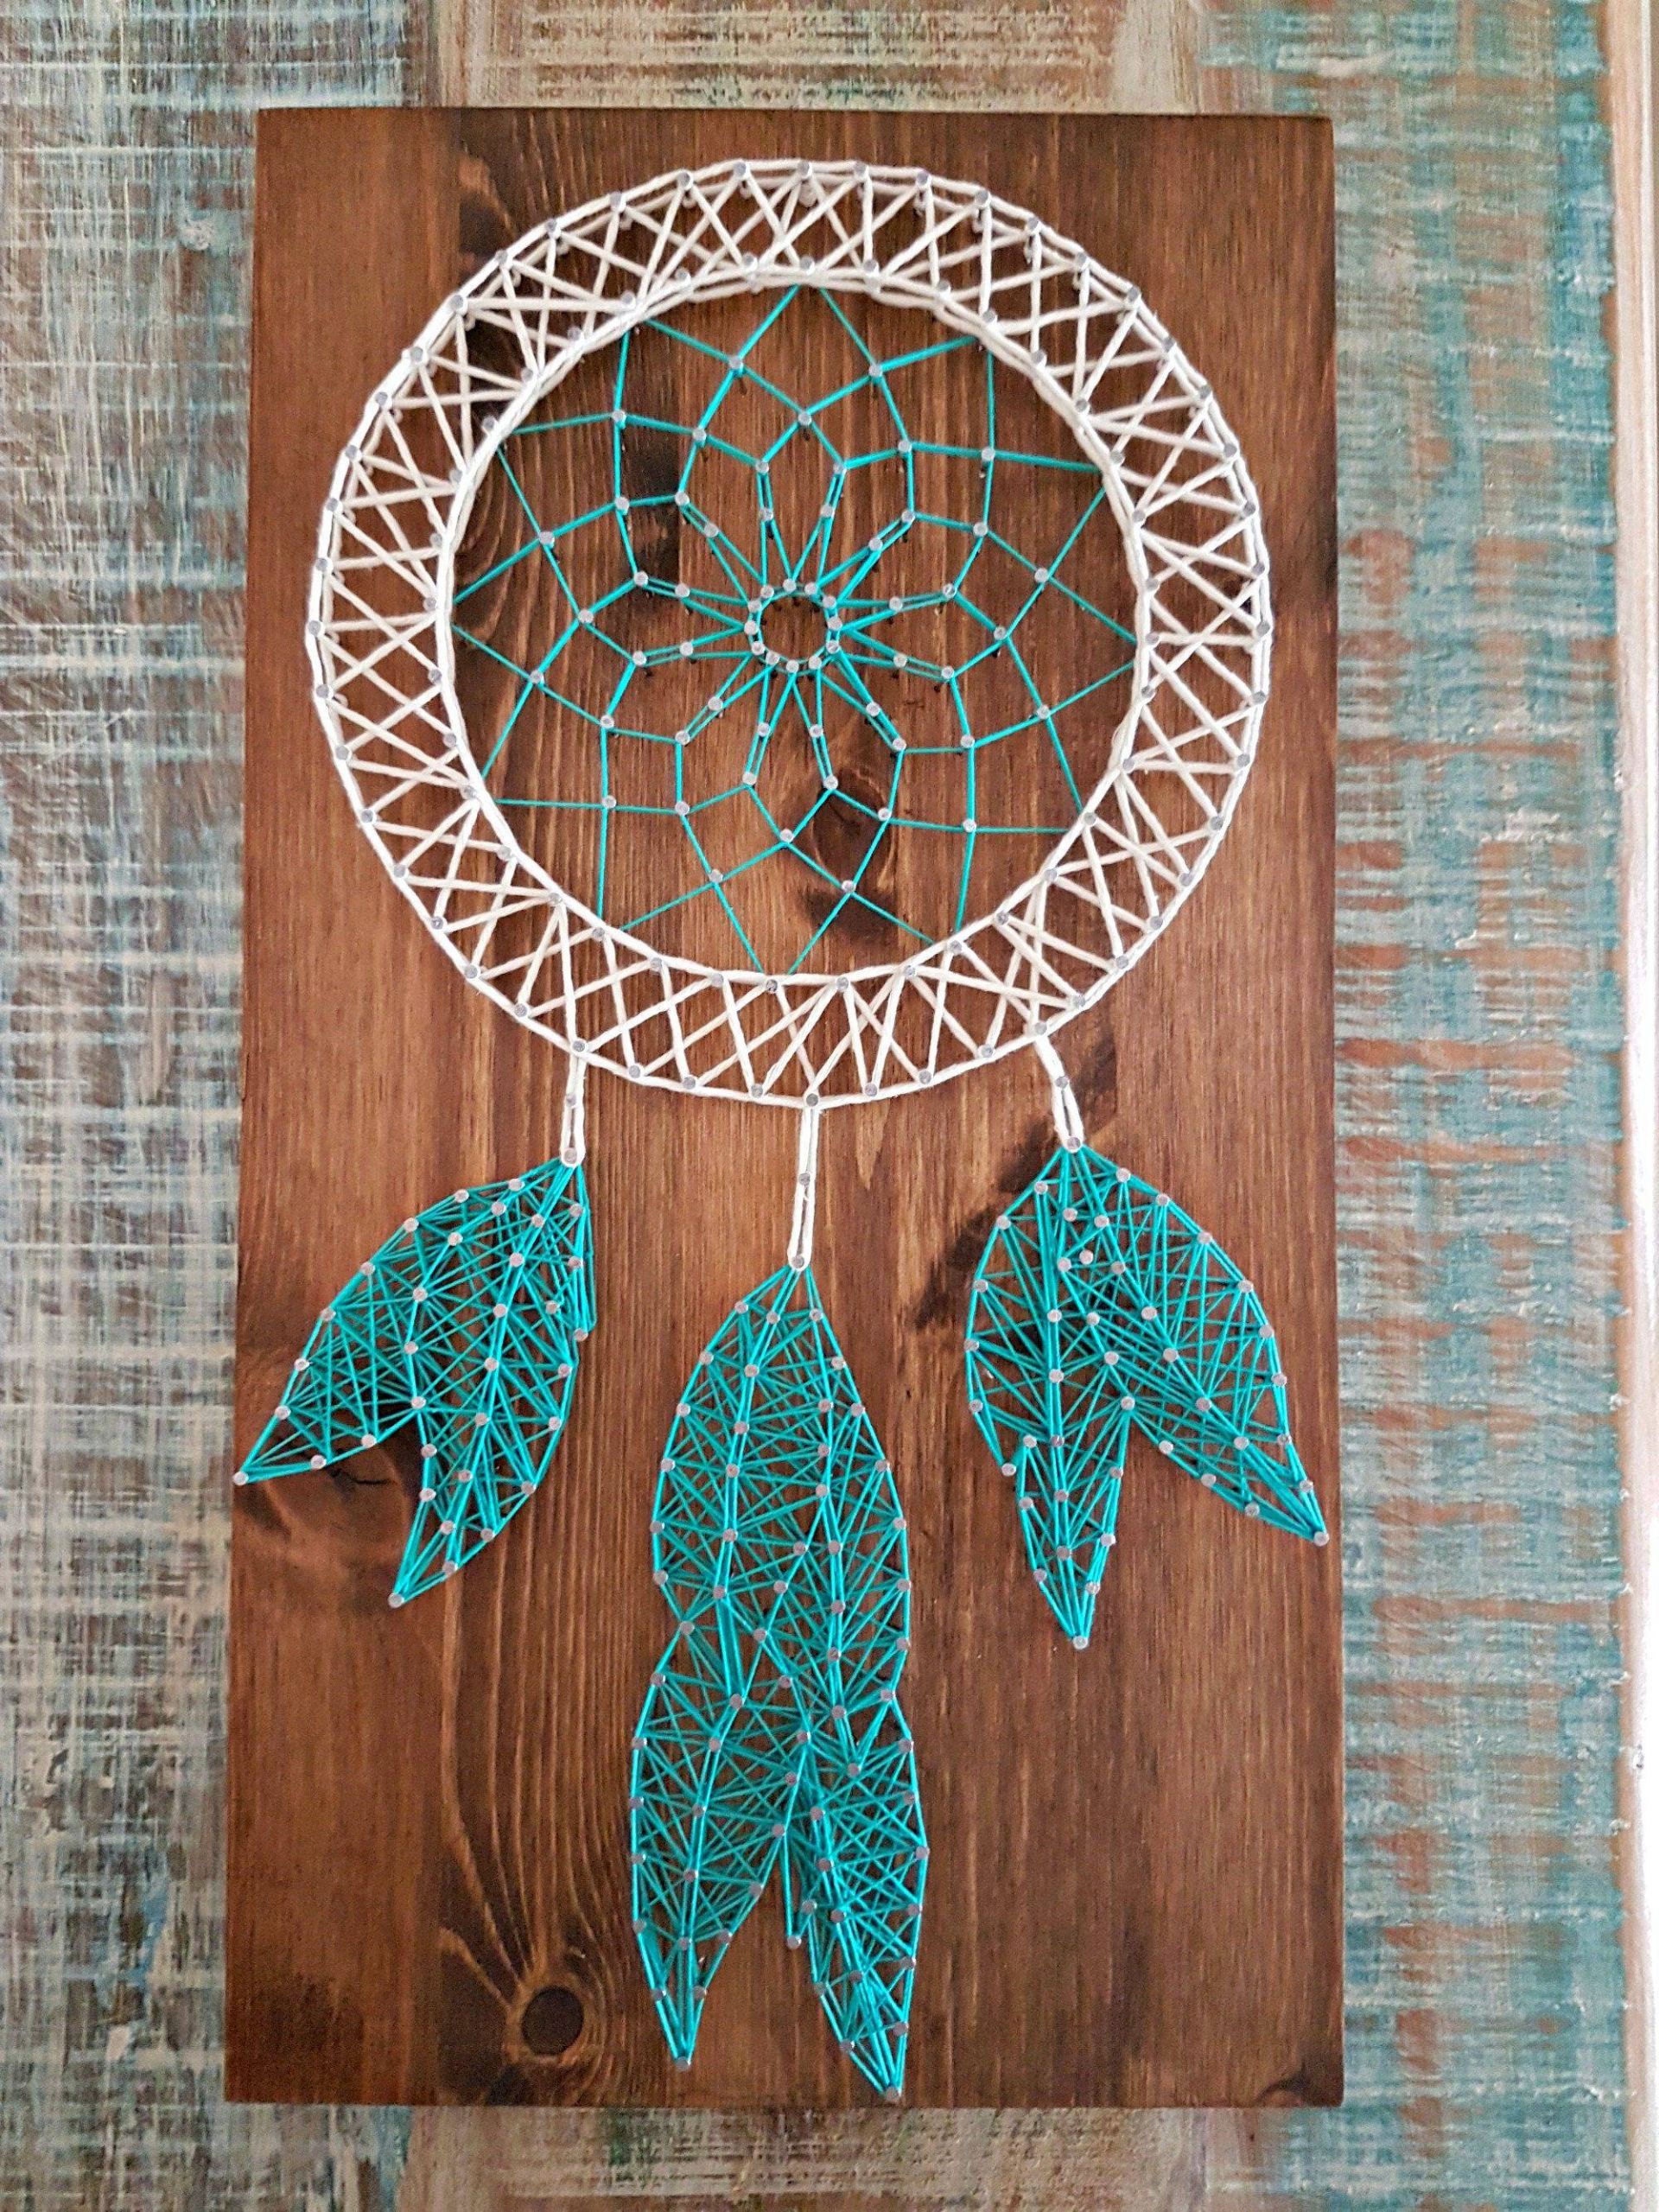
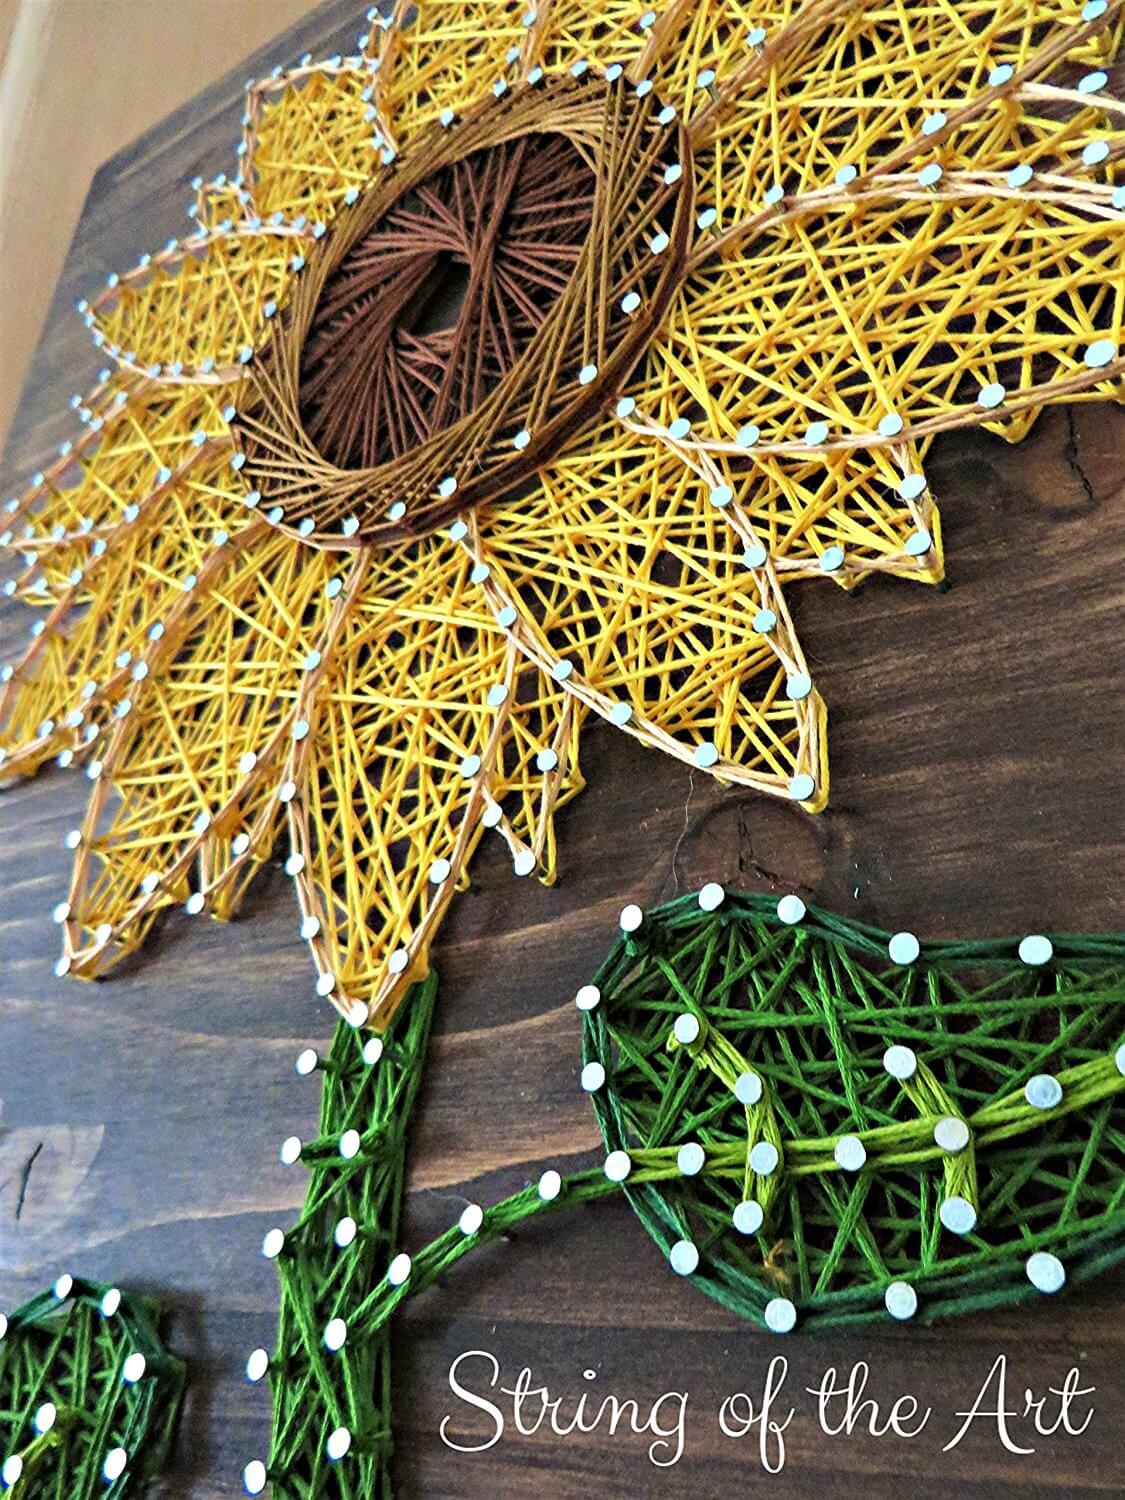
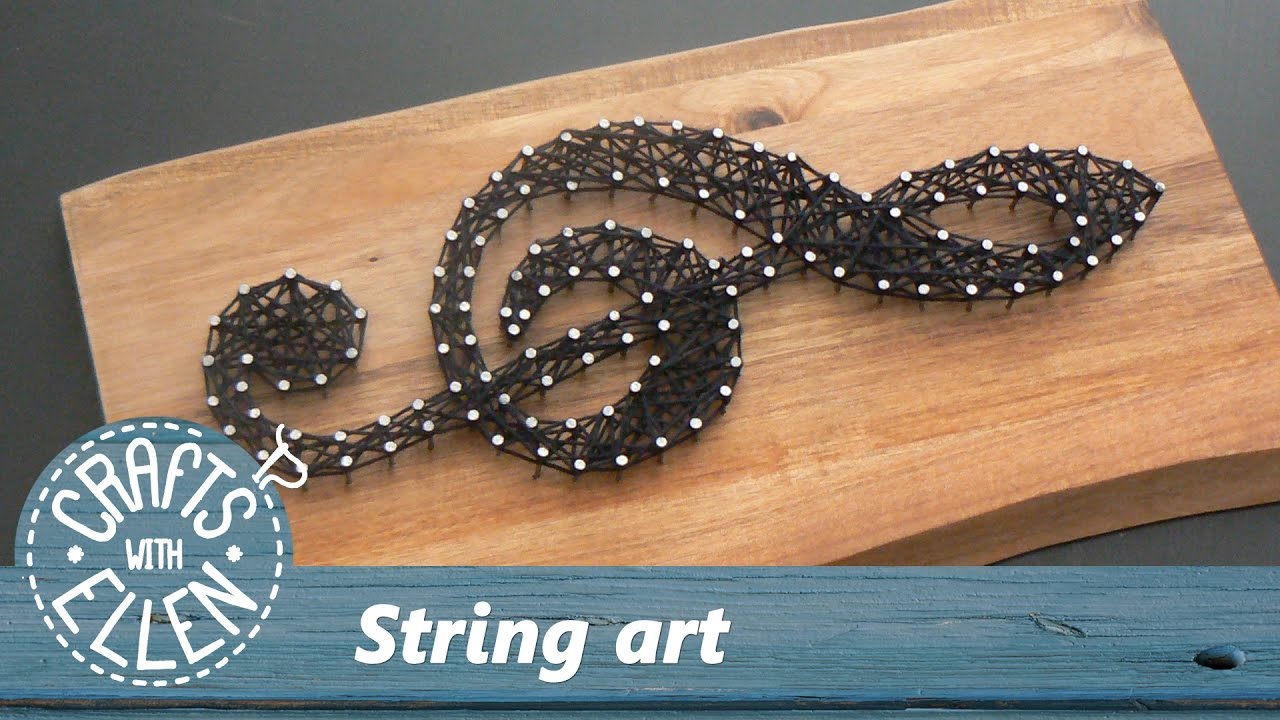
The beauty of string art is that there are endless design possibilities. You can create geometric shapes, animals, flowers, or even your favorite quotes. It all depends on your imagination and the level of difficulty you want to achieve. You can find plenty of design ideas and templates online or create your own from scratch.Wooden String Art Designs


Wooden String Art Designs


If you are new to string art, it may seem intimidating at first. However, with a step-by-step tutorial, you will see how easy and fun it is. First, you will need to mark the design on the wood using a pencil or stencil. Then, hammer the nails into the marked spots, leaving about a quarter of an inch exposed. Finally, start wrapping the string around the nails, following the pattern you created.Simple Nail String Art Tutorial
Simple Nail String Art Tutorial

As mentioned before, adding paint to your string art can give it a unique and personalized touch. You can paint the entire board, just the edges, or use a sponge to create a faded effect. You can also use different shades of the same color to create an ombre effect. The possibilities are endless, so don't be afraid to experiment.Painted Wood String Art Ideas
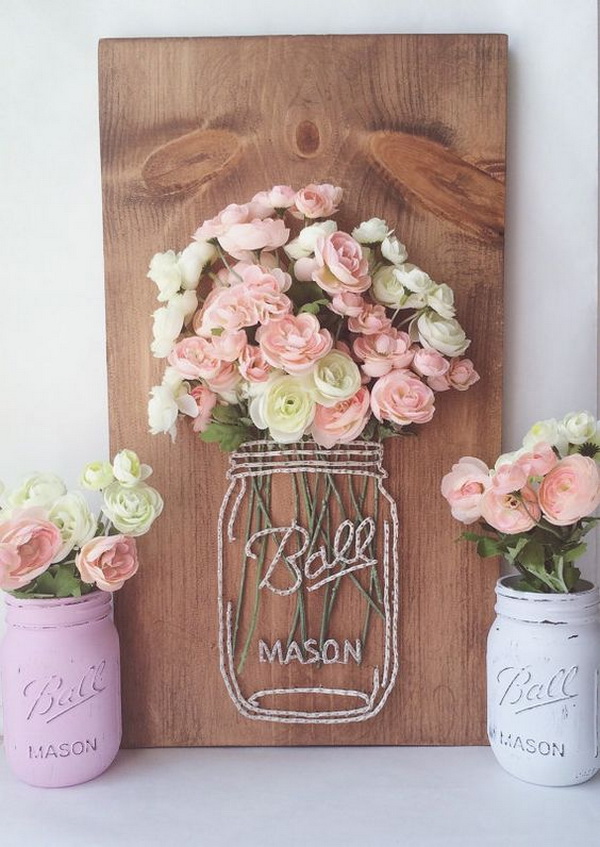
Painted Wood String Art Ideas


If you are looking for a quick and easy string art project, you can try using a pre-made design. There are many ready-to-use templates that you can print and use as a guide. This is a great option for those who are short on time but still want to create a beautiful piece of string art.Easy DIY String Art on Wood

Easy DIY String Art on Wood


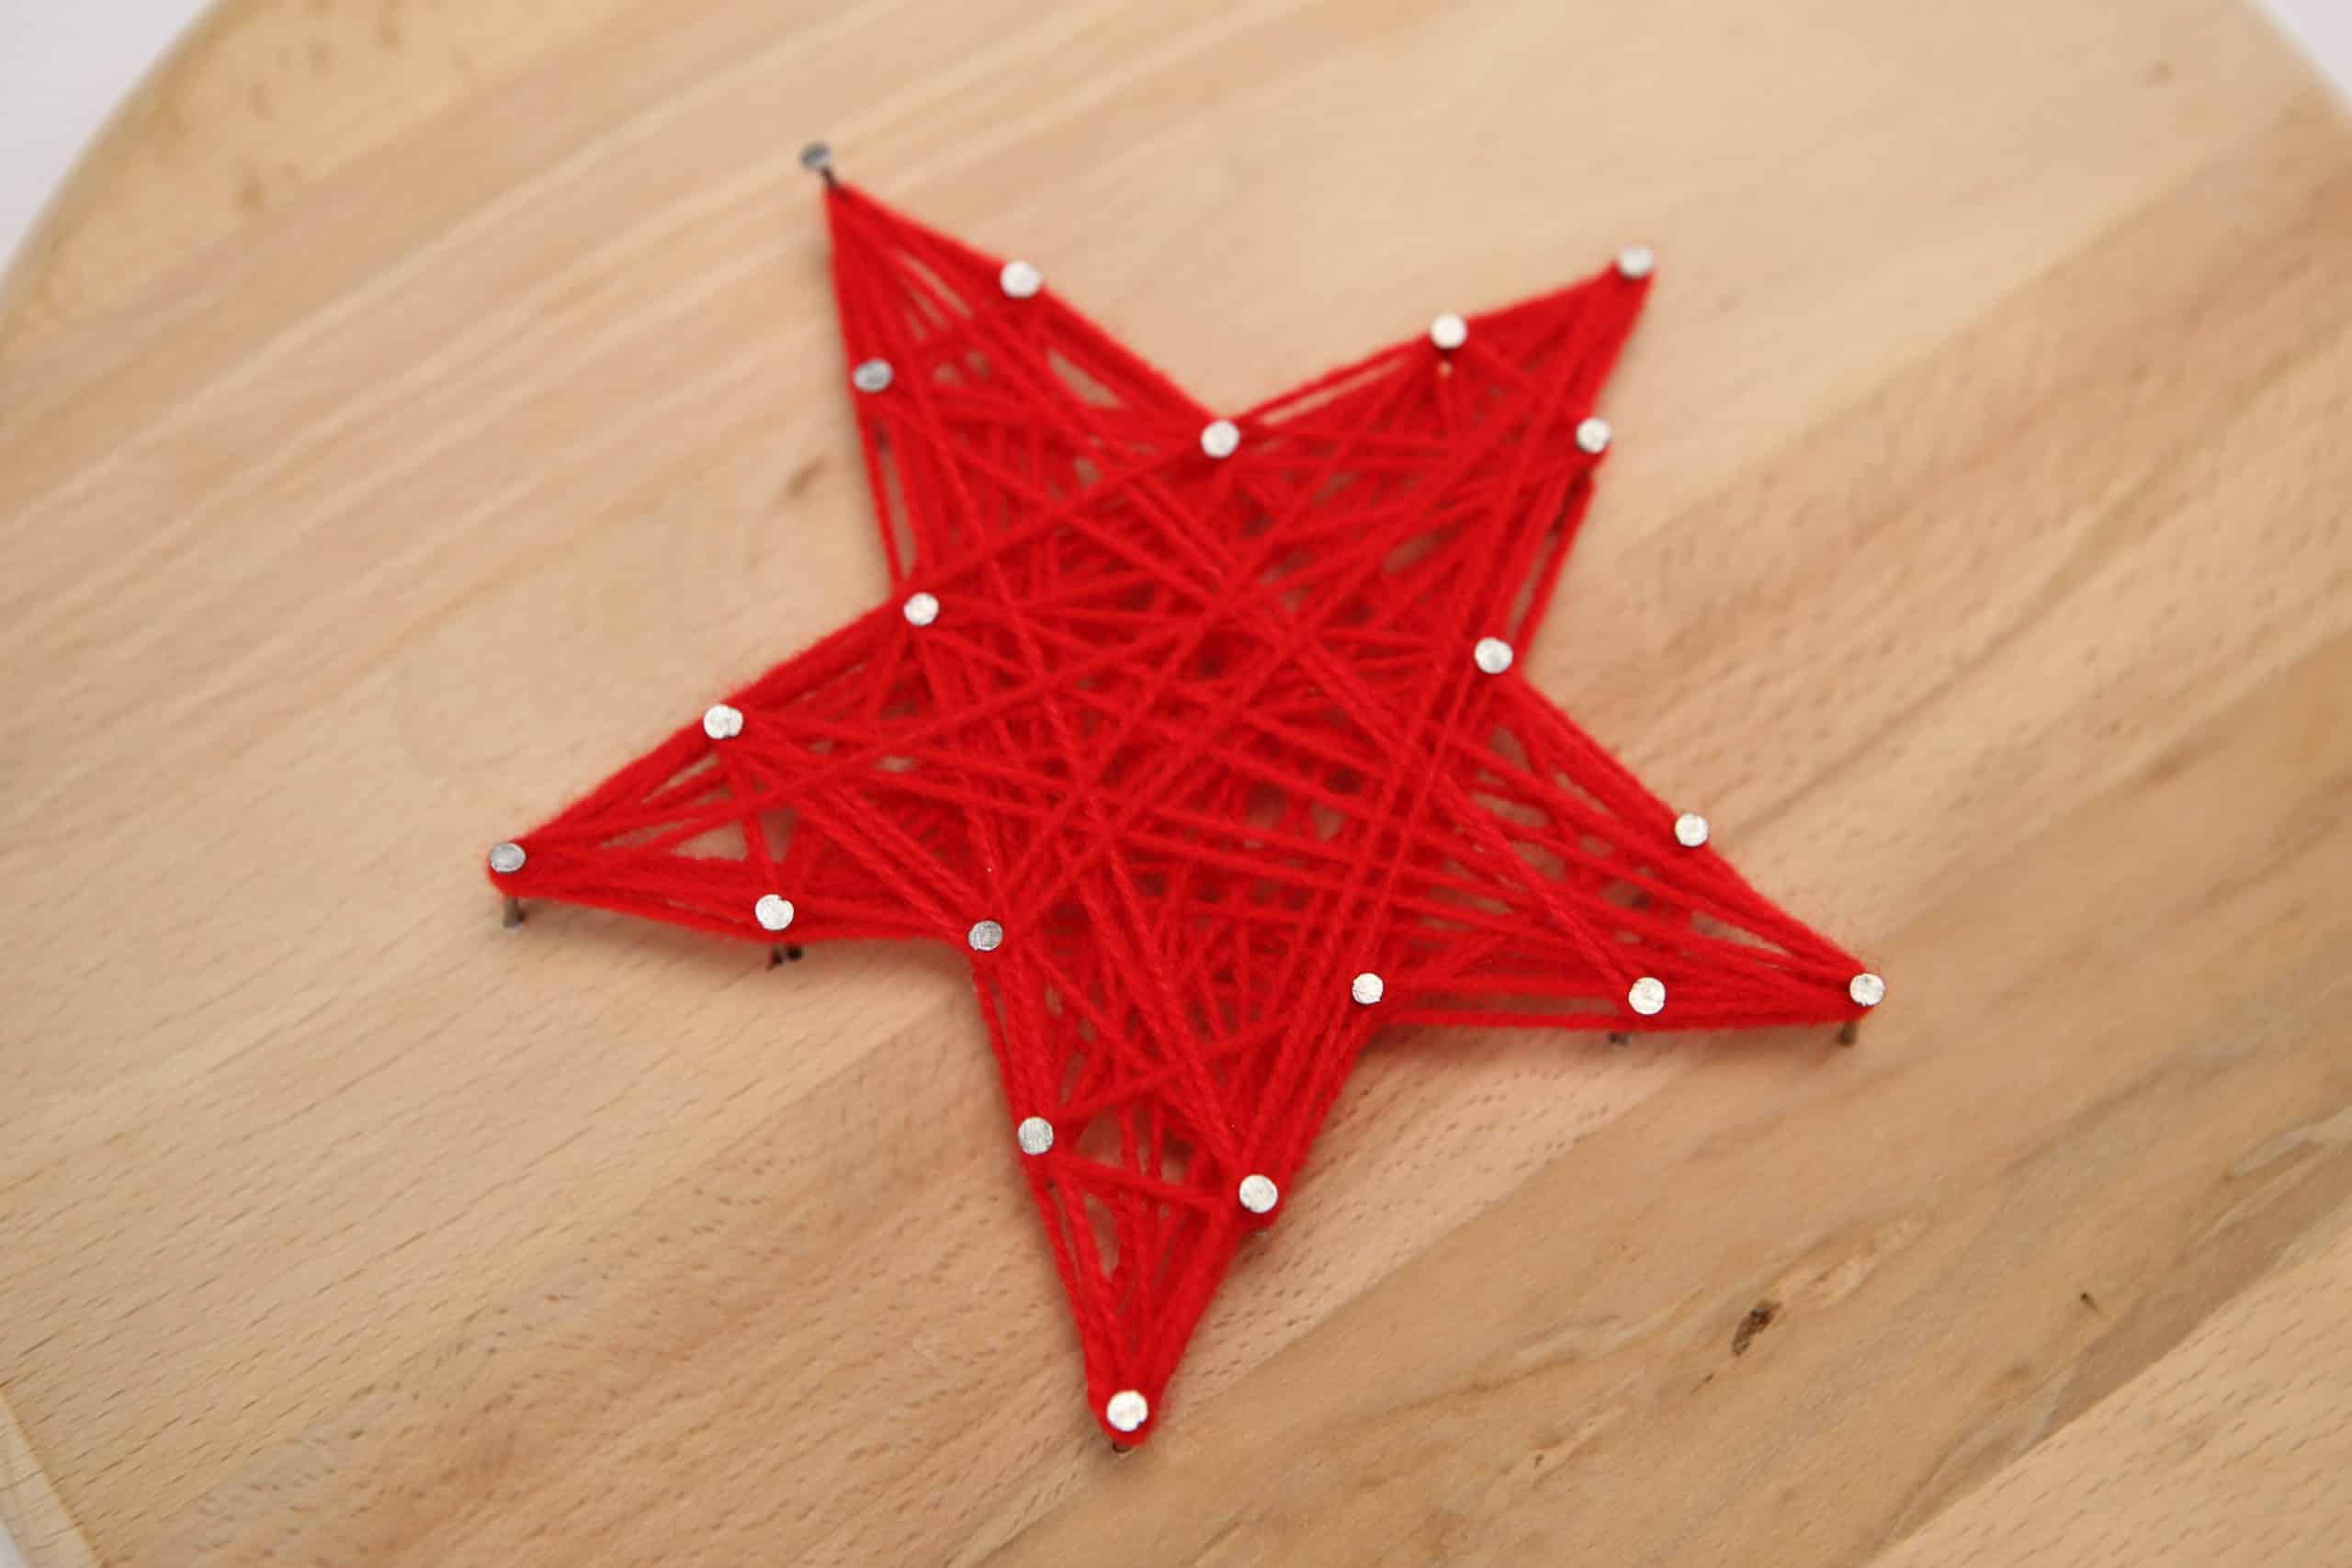
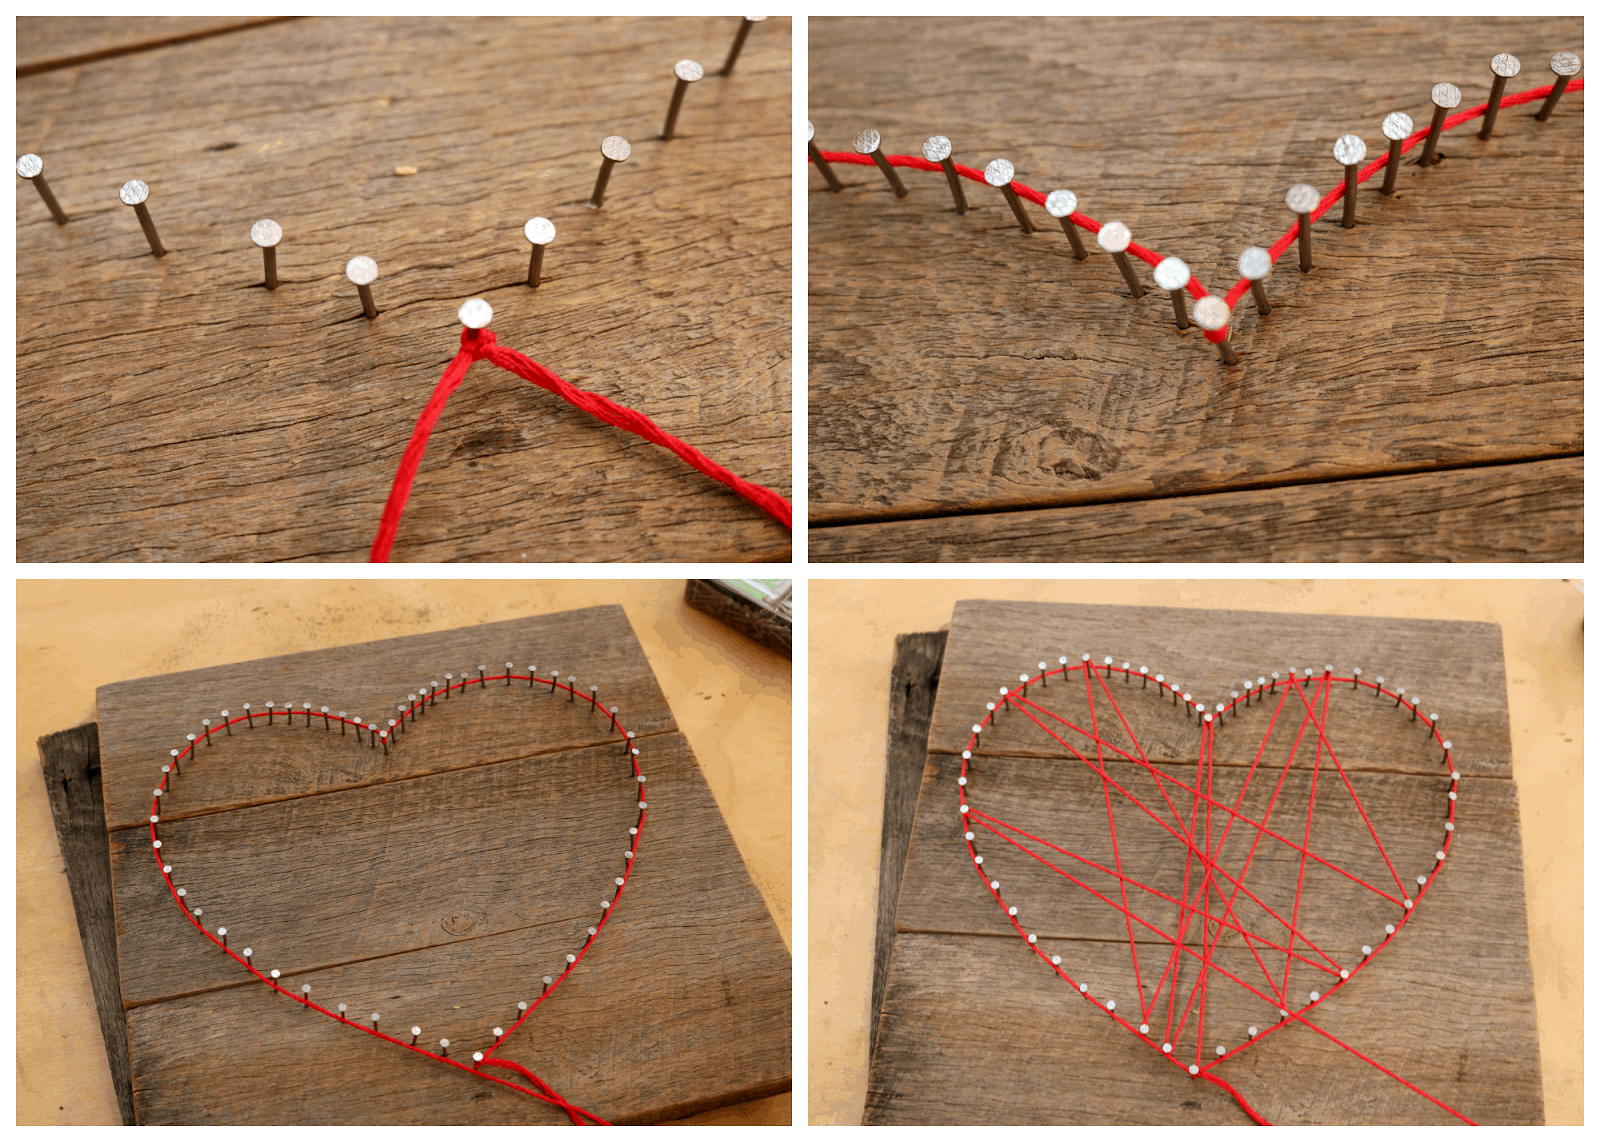
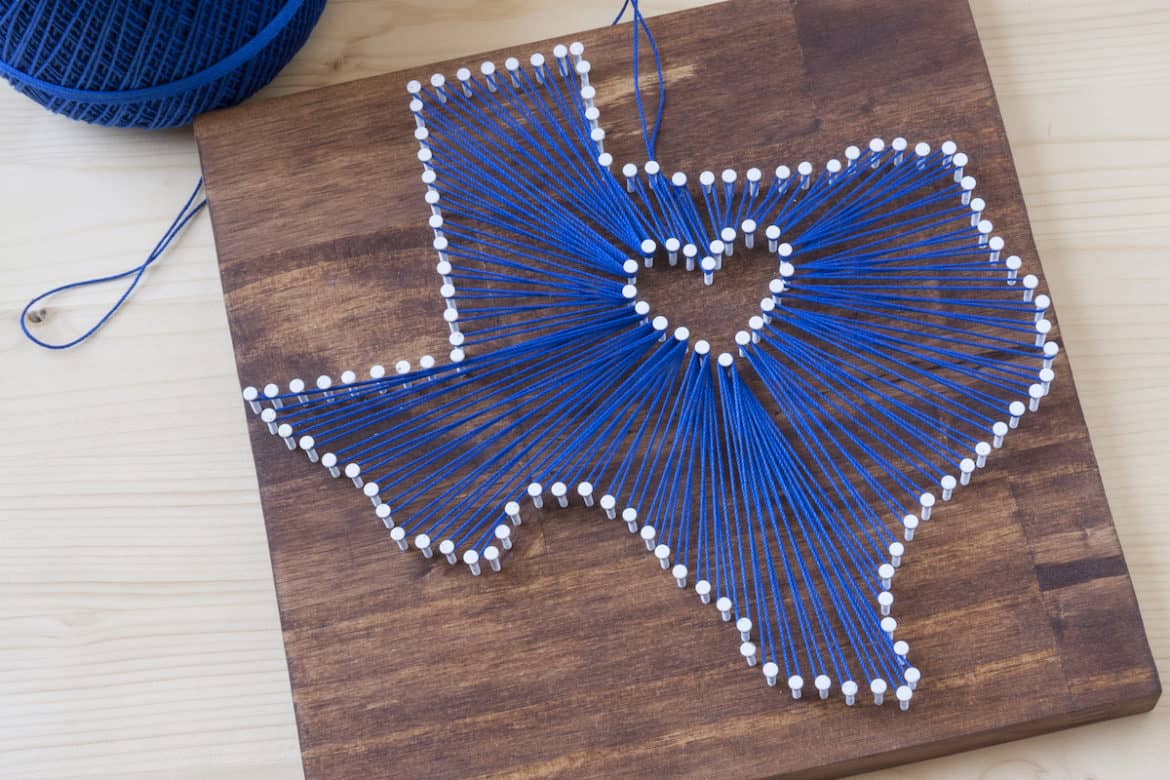
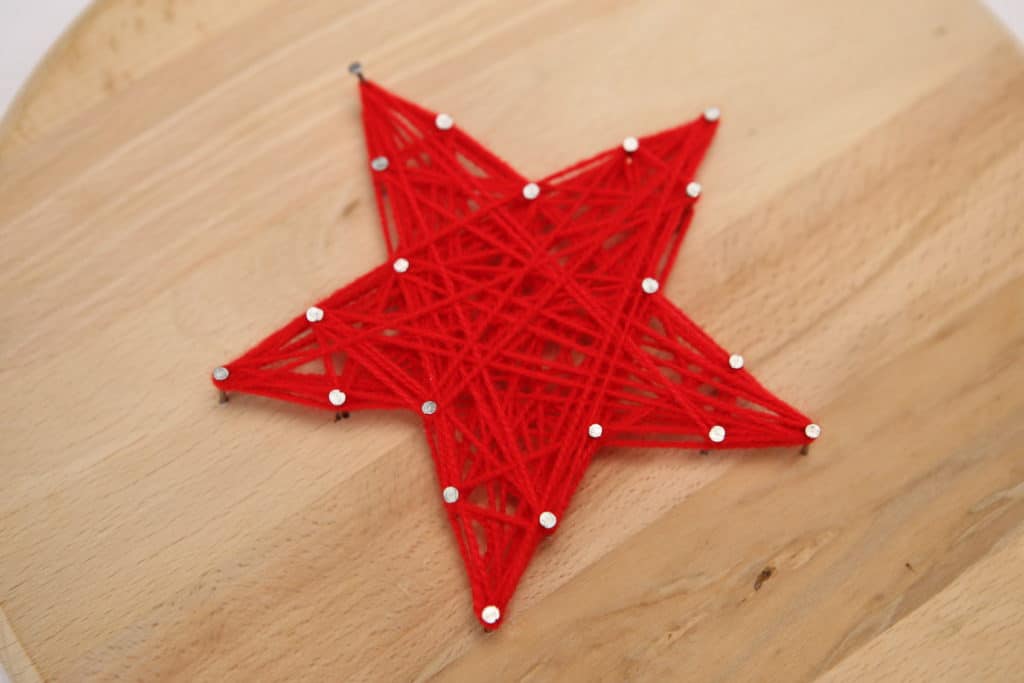
If you prefer to create your own designs, there are some simple patterns that you can follow. For example, you can create a heart shape by hammering nails around the edges and then wrapping the string around the nails in a criss-cross pattern. You can also create a star by starting with a cross shape and then wrapping the string around the nails in a star-like pattern.Simple String Art Patterns


Simple String Art Patterns

String art is not limited to just wood. You can also use other materials such as corkboard, canvas, or even a wire mesh to create unique and interesting designs. You can also combine different materials, such as using string to fill in a stencil on a canvas. Let your creativity guide you and have fun with it!Nail and String Art Projects

Nail and String Art Projects


If you are just starting with string art, it's best to choose a simple design with fewer nails. This will make it easier to wrap the string and avoid any mistakes. As you become more comfortable with the technique, you can move on to more complex designs. Remember, practice makes perfect!Wooden String Art for Beginners


Wooden String Art for Beginners


Enhance Your Home with a Simple Paint, Nail, and String Wood Design

Introduction
 Are you looking to add a touch of creativity and personality to your home? Look no further than a simple paint, nail, and string wood design. This DIY project is a fun and cost-effective way to spruce up any room in your house. Not only is it easy to create, but it also allows for endless possibilities in terms of design and customization. In this article, we will discuss the steps and materials needed to create a stunning wood design using basic painting techniques, nails, and string.
Materials Needed
 To get started on your paint, nail, and string wood design, you will need the following materials:
- Wood board (can be any size or shape)
- Paint (in your desired colors)
- Paint brushes
- Nails
- Hammer
- String (in your desired color)
- Scissors
- Pencil
- Ruler
- Optional: stencils or stickers for added design elements
To get started on your paint, nail, and string wood design, you will need the following materials:
- Wood board (can be any size or shape)
- Paint (in your desired colors)
- Paint brushes
- Nails
- Hammer
- String (in your desired color)
- Scissors
- Pencil
- Ruler
- Optional: stencils or stickers for added design elements
Step-by-Step Process
 1. Paint the Wood Board
The first step is to paint the wood board with your desired colors. You can choose to paint the entire board one color or create a pattern using multiple colors. This is where you can get creative and let your personal style shine. Allow the paint to dry completely before moving on to the next step.
2. Plan Your Design
Using a pencil and ruler, lightly sketch out your desired design on the painted wood board. This will serve as a guide for where to place the nails and string. You can also use stencils or stickers to create more intricate designs.
3. Hammer in the Nails
Using a hammer, carefully hammer in the nails along the sketched lines on the wood board. Make sure to leave enough space between each nail for the string to wrap around.
4. Begin Stringing
Starting at one end of the design, tie the string to a nail and begin wrapping it around the nails according to your design. You can wrap the string multiple times for a thicker and more defined look. Continue until you have completed the entire design.
5. Trim and Secure the String
Once you have completed stringing, tie the end of the string to a nail and trim off any excess. To ensure the string stays in place, you can also use a dab of glue or clear tape to secure it to the back of the wood board.
1. Paint the Wood Board
The first step is to paint the wood board with your desired colors. You can choose to paint the entire board one color or create a pattern using multiple colors. This is where you can get creative and let your personal style shine. Allow the paint to dry completely before moving on to the next step.
2. Plan Your Design
Using a pencil and ruler, lightly sketch out your desired design on the painted wood board. This will serve as a guide for where to place the nails and string. You can also use stencils or stickers to create more intricate designs.
3. Hammer in the Nails
Using a hammer, carefully hammer in the nails along the sketched lines on the wood board. Make sure to leave enough space between each nail for the string to wrap around.
4. Begin Stringing
Starting at one end of the design, tie the string to a nail and begin wrapping it around the nails according to your design. You can wrap the string multiple times for a thicker and more defined look. Continue until you have completed the entire design.
5. Trim and Secure the String
Once you have completed stringing, tie the end of the string to a nail and trim off any excess. To ensure the string stays in place, you can also use a dab of glue or clear tape to secure it to the back of the wood board.
Conclusion
 In just five simple steps, you can create a stunning paint, nail, and string wood design to add a unique touch to any room in your home. This DIY project is not only fun and easy, but it also allows for endless creative possibilities. So why wait? Gather your materials and get started on your own one-of-a-kind wood design today.


